One of the most talked-about photo editing tutorials this weekend is about a tool video editors have used for years and photographers finally get inside Lightroom: the vectorscope. Adobe added it in Lightroom Classic 16.0 and Lightroom 10.0 on November 10, and PetaPixel published a full walkthrough on November 15 on using it for white balance, skin tones and color grading.
We edit every event and headshot session in Lightroom, so here is a plain-language guide to what the vectorscope is, how to open it, and the simple ways it helps keep color consistent across a big gallery.
What is the Lightroom vectorscope?
Think of it as a histogram for color. A histogram shows how bright your photo is. The vectorscope shows which colors are in the photo and how strong they are:
- Direction from the center is the hue (red, yellow, green, cyan, blue, magenta).
- Distance from the center is saturation. Neutral grays and whites sit in the middle; strong colors reach toward the edge.
- The skin tone line is a diagonal guide where natural skin tends to fall, whatever a person’s skin color.
Hover over the photo and a crosshair shows where that exact spot lands on the scope. Select a mask, and the scope shows only the masked area.
How to open it
- Lightroom Classic 16: in the Develop module, right-click the Histogram panel and choose Show Vectorscope. You can choose which color space it plots in, such as sRGB or Adobe RGB.
- Lightroom desktop 10: open it from the right-side toolstrip.
- Update through the Creative Cloud app. It is a free update for subscribers. Back up your catalog first, and do not update the night before a big delivery.
1. Check white balance in mixed light
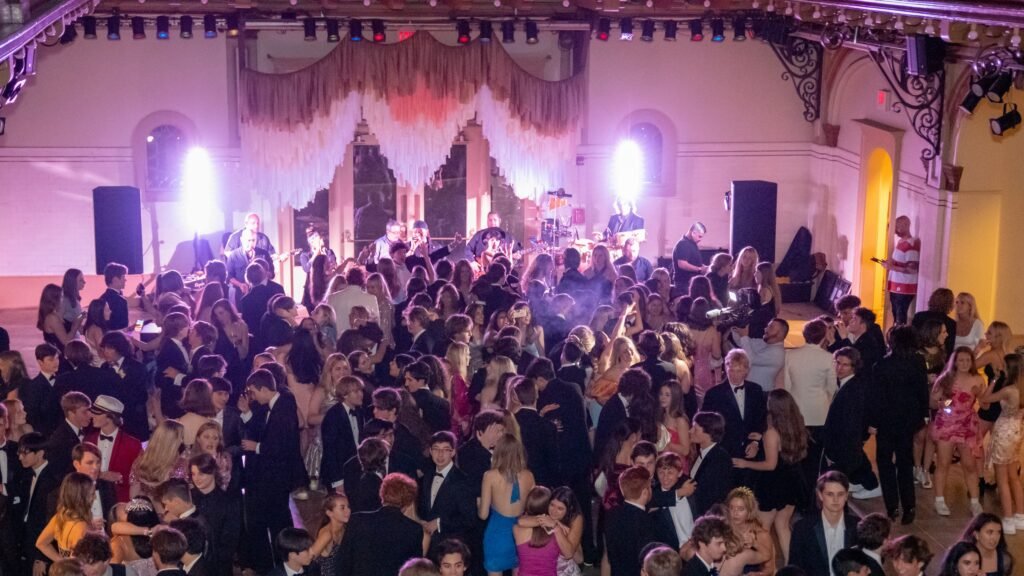
Event venues love to mix light: tungsten chandeliers, LED stage washes, window light and the occasional green fluorescent hallway. The photo above has purple, white and warm light in the same frame. Your eyes adjust to that; your monitor does not lie the same way.
On the scope, a correct white balance means the colors start from the center and spread outward. If the whole cloud is shoved toward orange or blue, the white balance is off. A colorful scene will never look perfectly balanced on the scope, and that is fine. You are only checking that neutrals sit near the middle.
Tip from the tutorial worth repeating: fix white balance before you add any creative color grade. Otherwise you end up correcting against the look you just added.
2. Get skin tones right on headshots
This is where the vectorscope matters most for headshot clients. When a face drifts green (light bouncing off trees or carpet) or magenta (some LED panels), it is easy to miss after an hour of editing. The scope makes it obvious.
- Open the Masking panel and use Select People to mask facial skin and body skin.
- With the mask selected, the vectorscope shows only skin.
- Nudge Temp, Tint or Hue inside the mask until the skin sits close to the skin tone line.
- Keep it a guide, not a rule. Real skin varies, and a natural look beats forcing every face onto the line.
3. Keep a whole gallery consistent
On a summit day or a team headshot session, we might deliver hundreds of images shot across different rooms and times of day. A quick vectorscope check on one image from each lighting setup helps every photo in the gallery feel like it came from the same day, the same camera and the same editor. That consistency is a big part of what clients notice, even if they cannot name it.
4. Use a color checker when color really matters
For brand-color work, product shots or a headshot station under unfamiliar light, photographing a color chart at the start of the setup gives you a known reference. Set white balance off the chart’s gray patch in Lightroom, then use the vectorscope to see how the room light shifted your colors. This is a scene-specific correction, best done early in the edit before any style or preset.
Gear that pairs well with the vectorscope
- Shop the Calibrite ColorChecker Passport at Adorama
- Shop Datacolor SpyderCheckr color charts at Adorama
- Browse monitor calibrators at Adorama (a scope cannot help if your screen is off)
Disclosure: some links in this post are affiliate links, which means Grey Bug Photography may earn a small commission if you buy through them, at no extra cost to you.
What this means for event and headshot clients in San Antonio
- More natural skin tones, even under tricky ballroom, stage or office lighting.
- More consistent galleries, so photos from the keynote, the breakout rooms and the evening reception look like one story.
- Faster, more confident edits, because color decisions are checked, not guessed.
The takeaway
The vectorscope will not make anyone a better photographer by itself, but it turns color from a judgment call into something you can see. For event and headshot work, where skin tones and consistency matter more than flashy looks, it is one of the most useful additions to Lightroom in years.
Sources: Adobe’s Lightroom Classic 16.0 and Lightroom 10.0 release (November 10, 2026), as covered by Newsshooter and LOOKSLIKEFILM, and PetaPixel’s tutorial “How to Use Vectorscope in Lightroom” (November 15, 2026).
Planning an event, conference or team headshots in San Antonio or anywhere in Texas? Reach out to Grey Bug Photography, or see how we work with planners on our For Planners page.