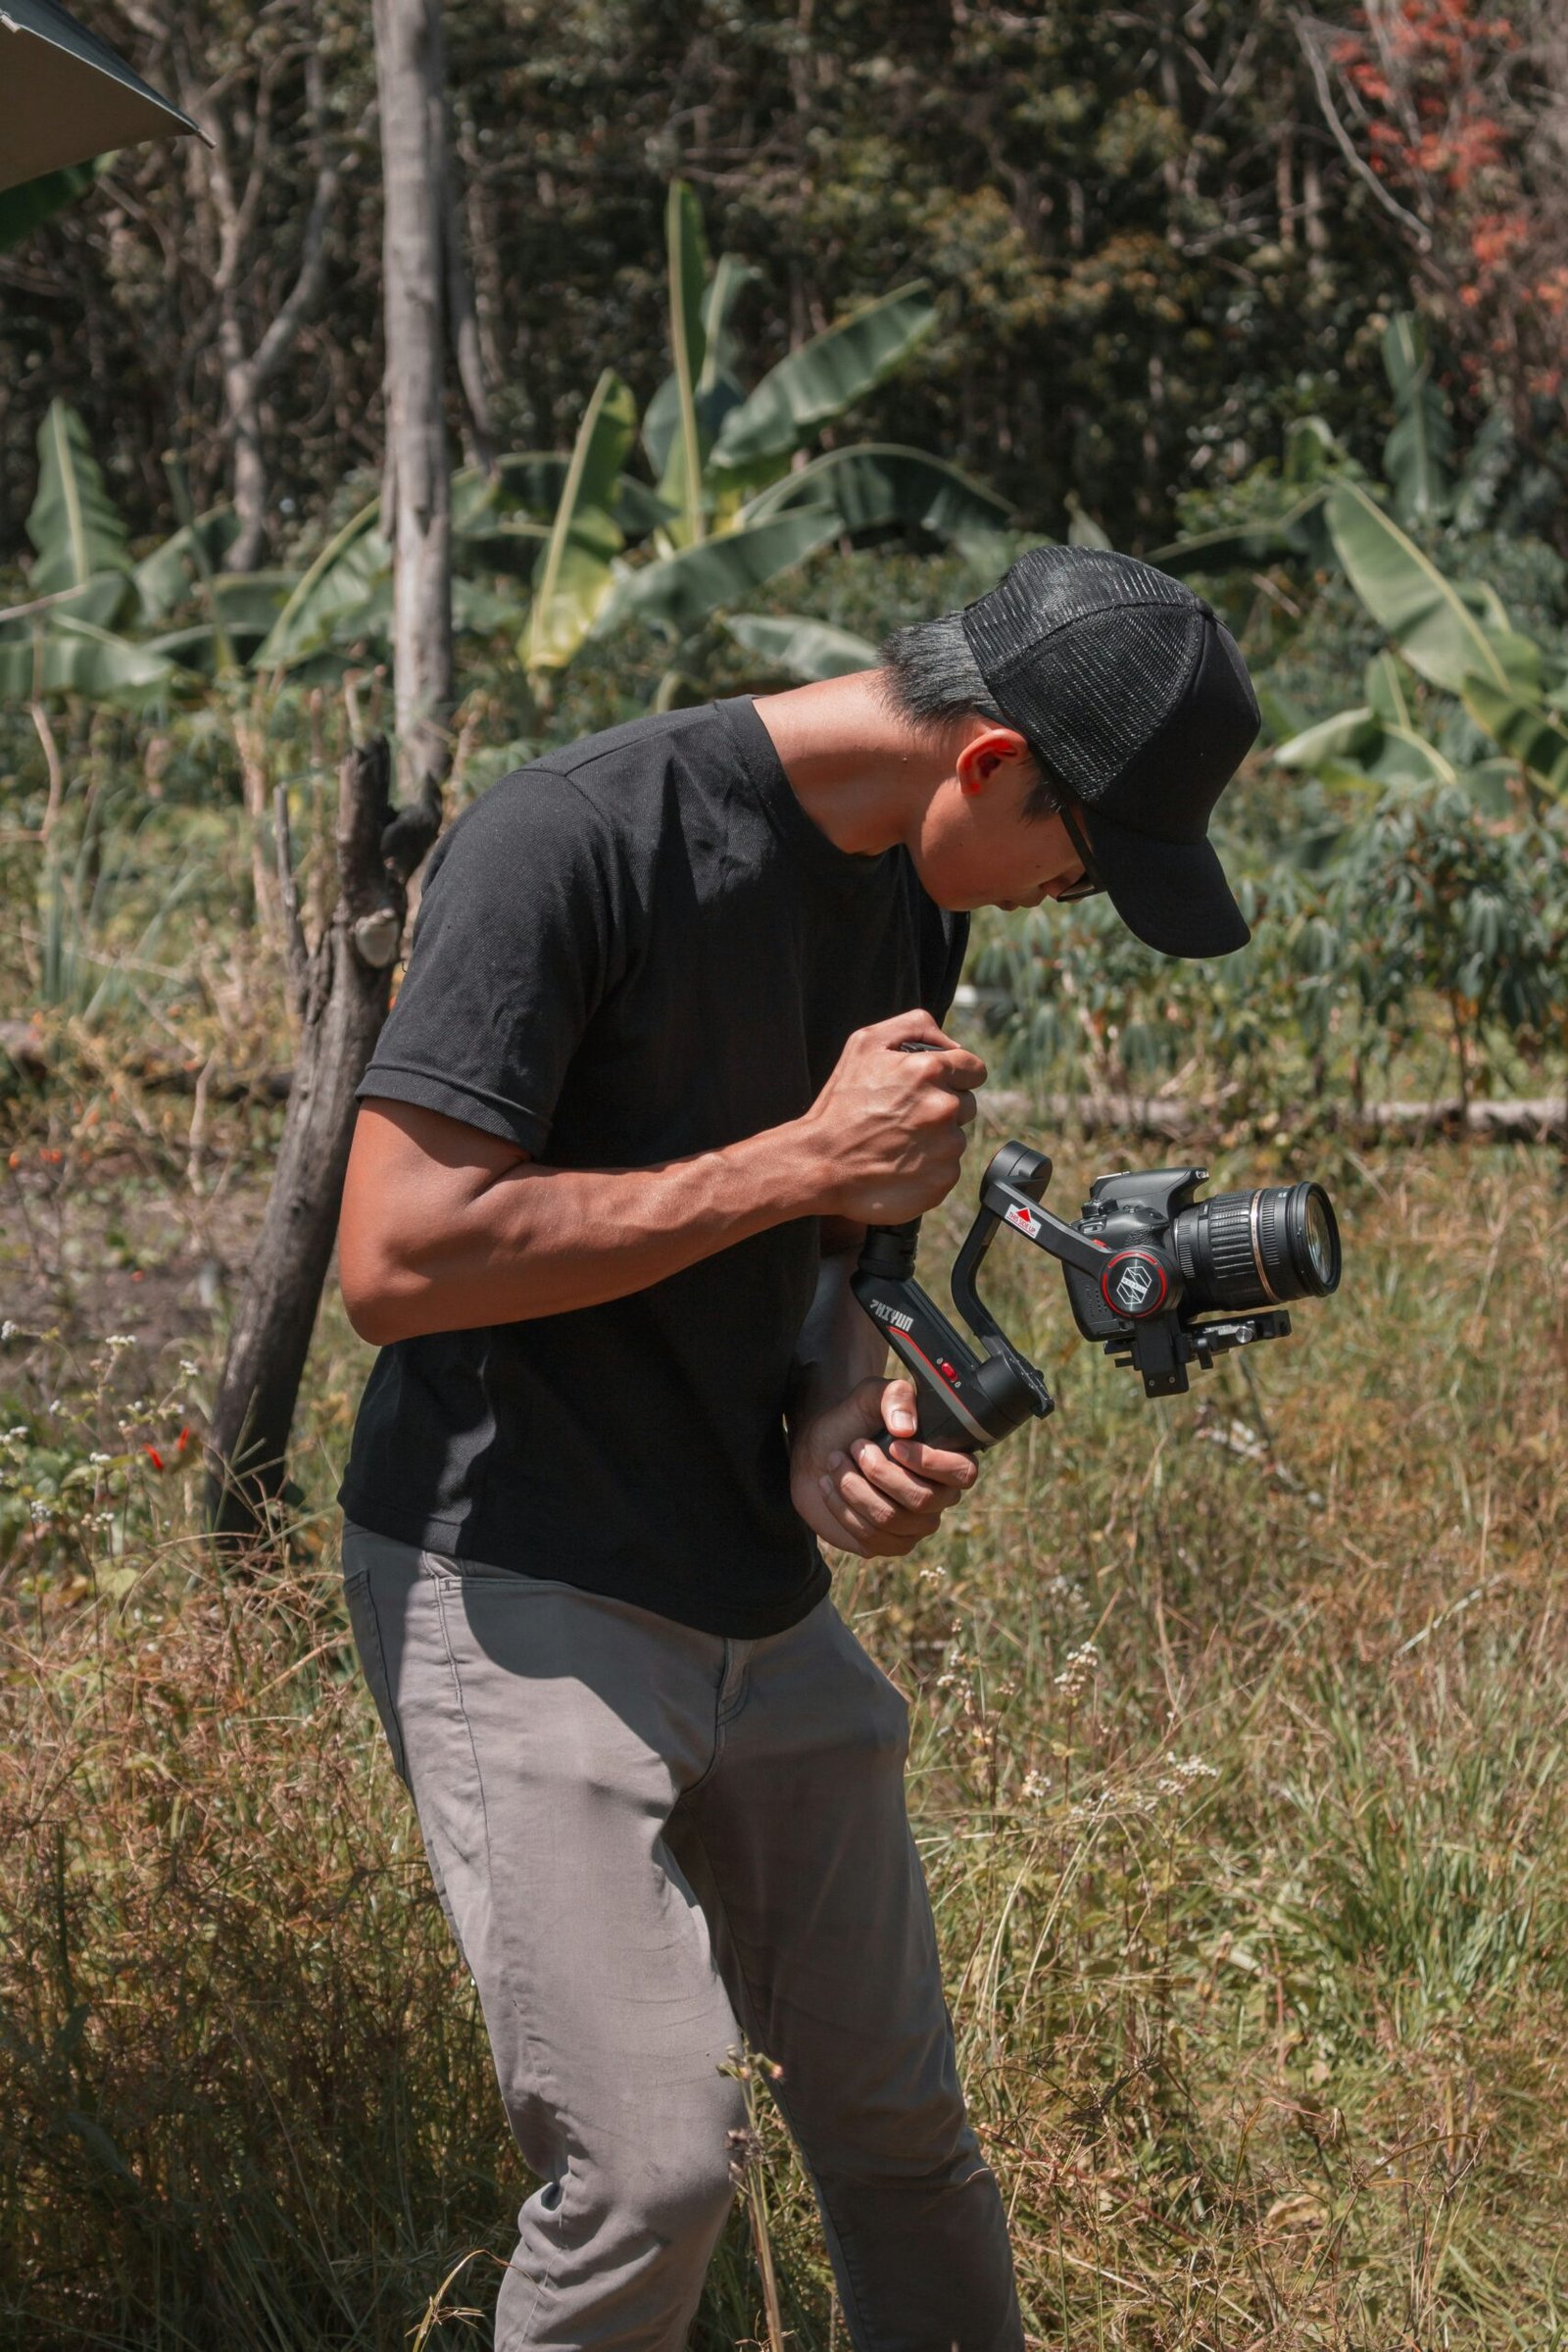
Lightning is one of those things that seems like it would be easy to capture on camera. All you have to do is find a good vantage point and wait for the right moment. But as any experienced photographer will tell you, “the right moment” rarely happens organically—it requires preparation and patience. In this article, I’ll walk you through my tips for getting started with photographing lightning in almost any situation.
Find the perfect spot.
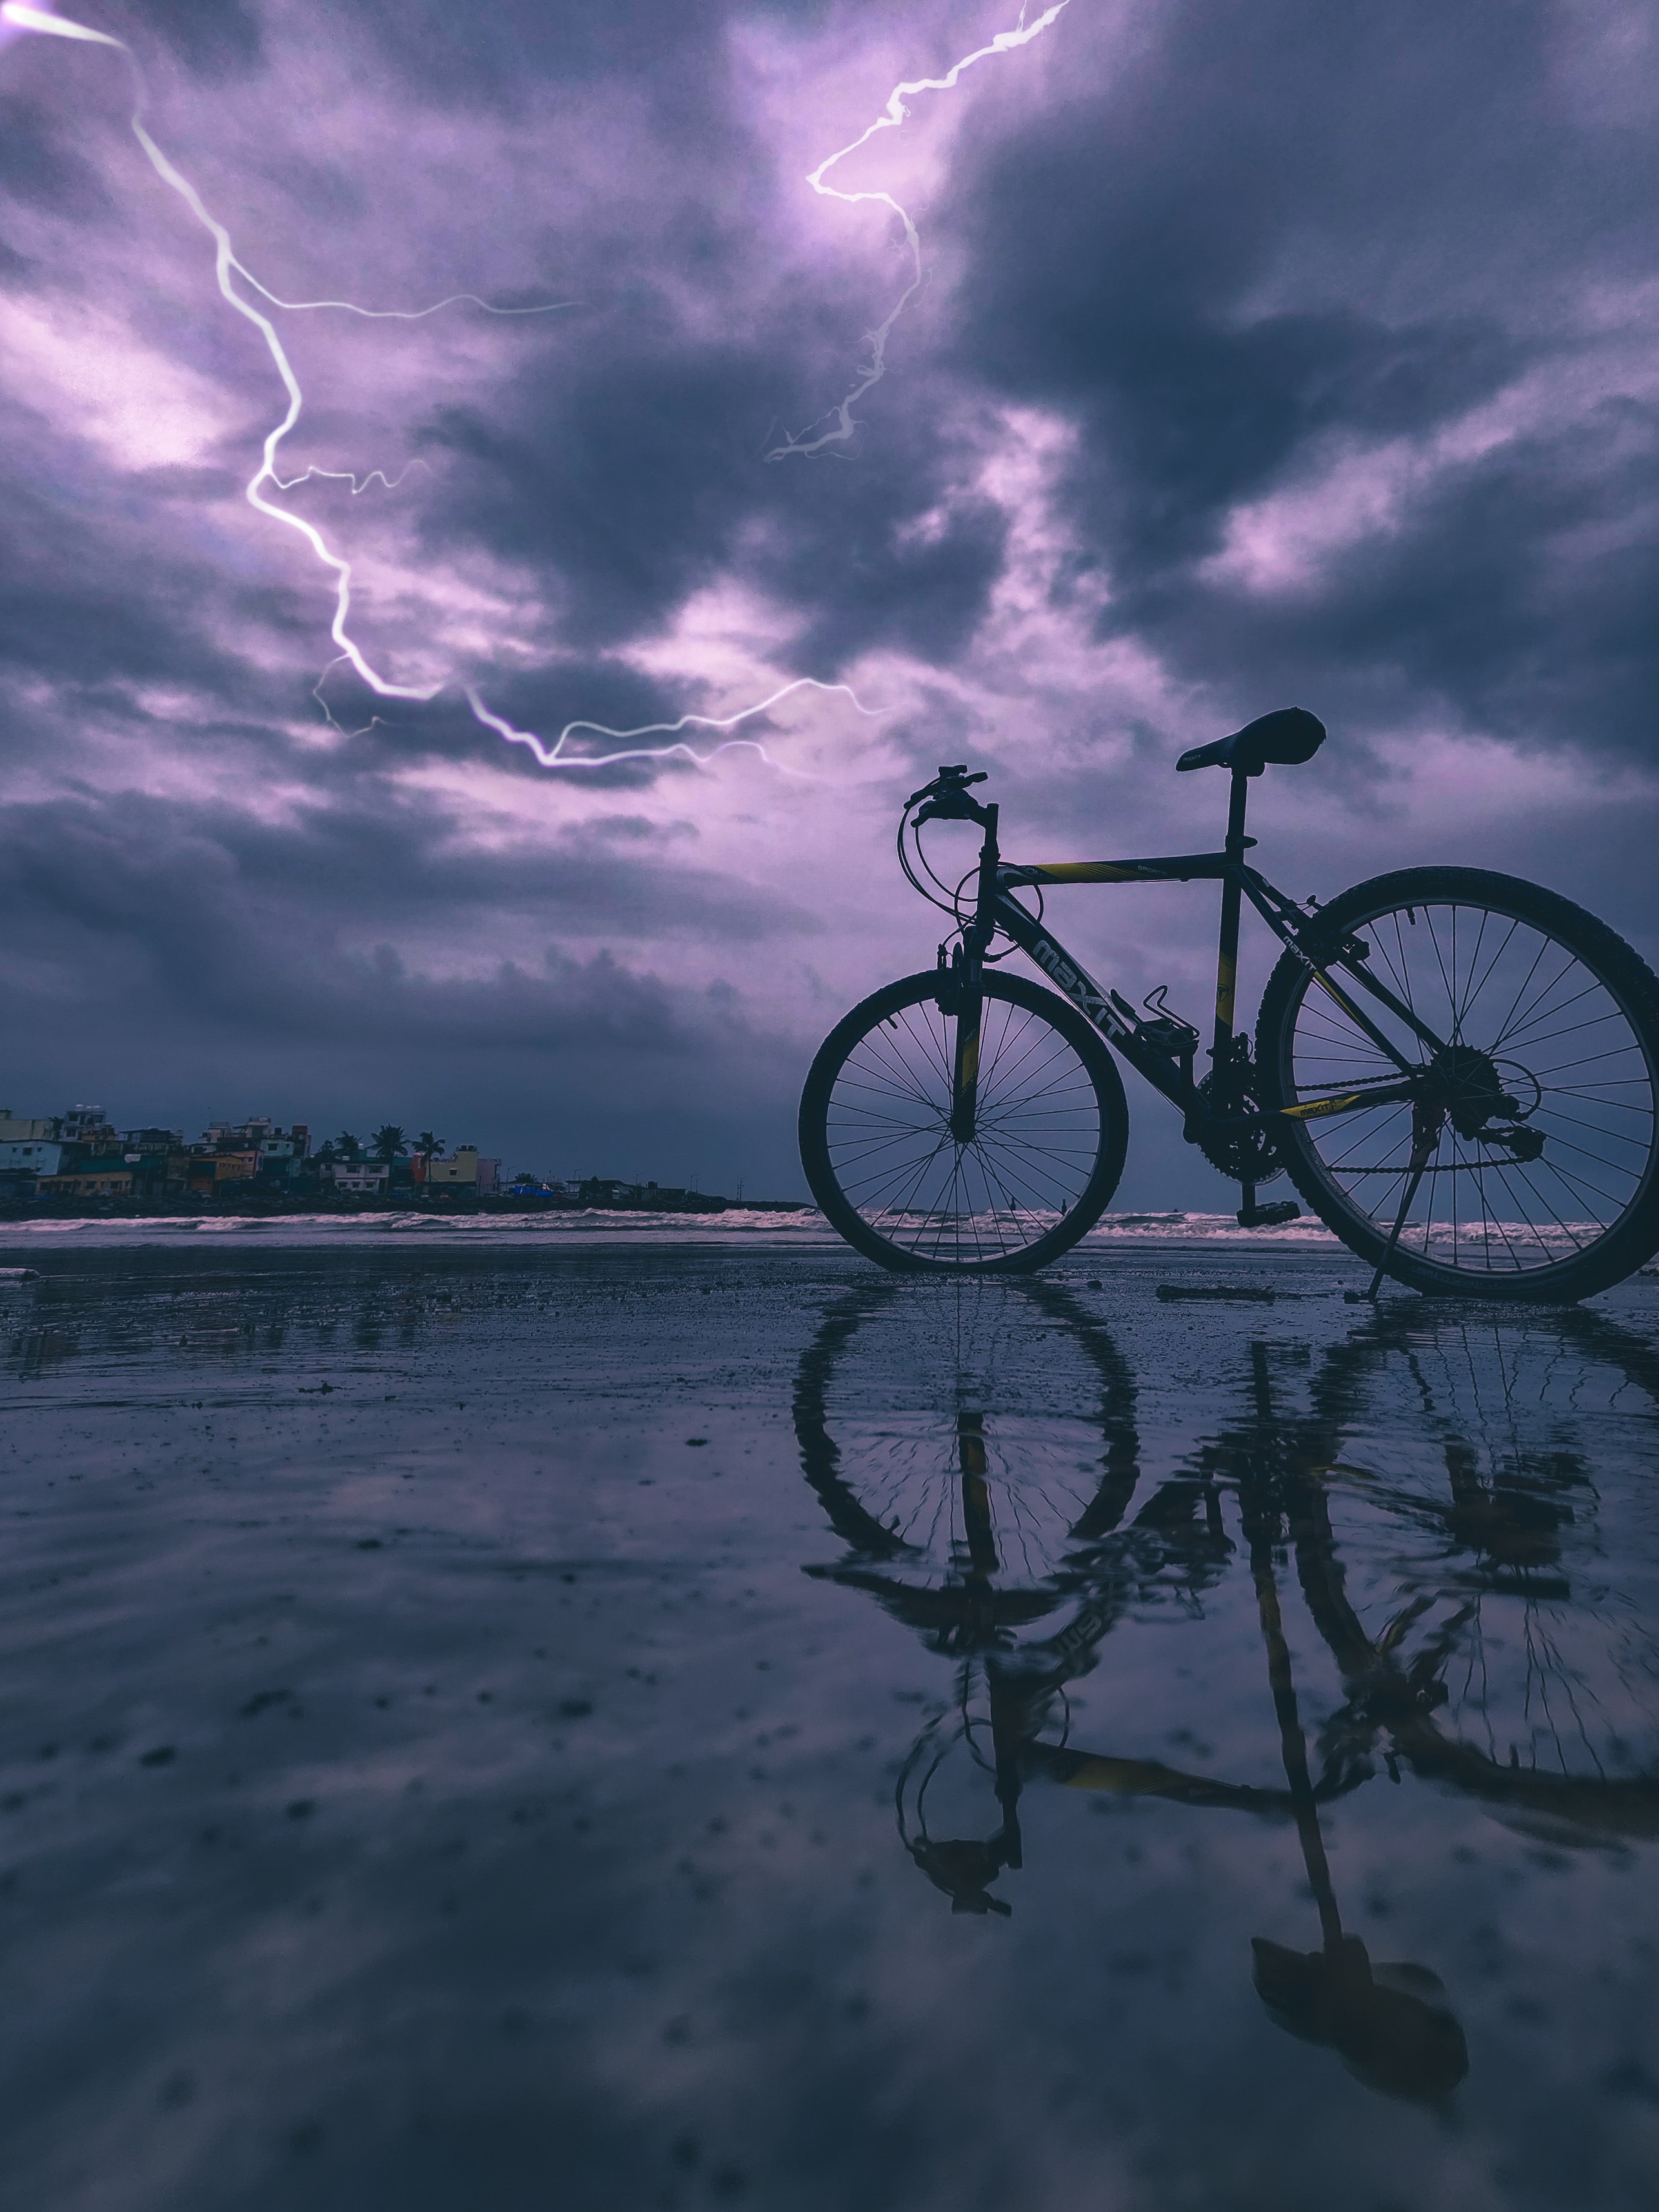
Finding the perfect spot to capture lightning is essential. The best place to do so is a place where you can see the sky, horizon and clouds as well as any incoming storms. You want to make sure there are no trees or buildings blocking your view of the sky and that there is no chance of getting hit by lightning while taking pictures. Try to incorporate the foreground into your shot. This makes for a better photo. Using your rule of thirds, keep the horizon in the top two-thirds. You can also use the reflection from a lake or pond to add to your photo.

Use your widest lens.
The wider the lens, the better. Use your widest lens. In this case, that means a 24mm or 28mm prime (fixed) lens on a full-frame camera or a 16mm or 18mm on APS-C cameras. If you don’t have one of those options and must use zoom lenses, then go as wide as possible before reaching for something like 28-70mm f/2.8G and use that at its widest setting of 24mm when shooting lightning bolts from far away so you can still capture their full length without being too close to them to risk being hit by lightning yourself!

Manually set your focus.
- Manually set your focus
Focus on the sky and not your foreground, as this will ensure that you have a sharp image. If possible use manual focus so that you do not risk losing sharpness due to camera shake when pressing down on a button to take the shot. Use an aperture of f/5 or higher, as this will allow for greater depth of field and keep both the lightning and clouds in focus at the same time (see below). When focusing, you should try to find a star and focus on that star that will set your focus to infinity. This will give you the best chance of getting your lighting in focus.
Set up in advance.
Set up in advance.
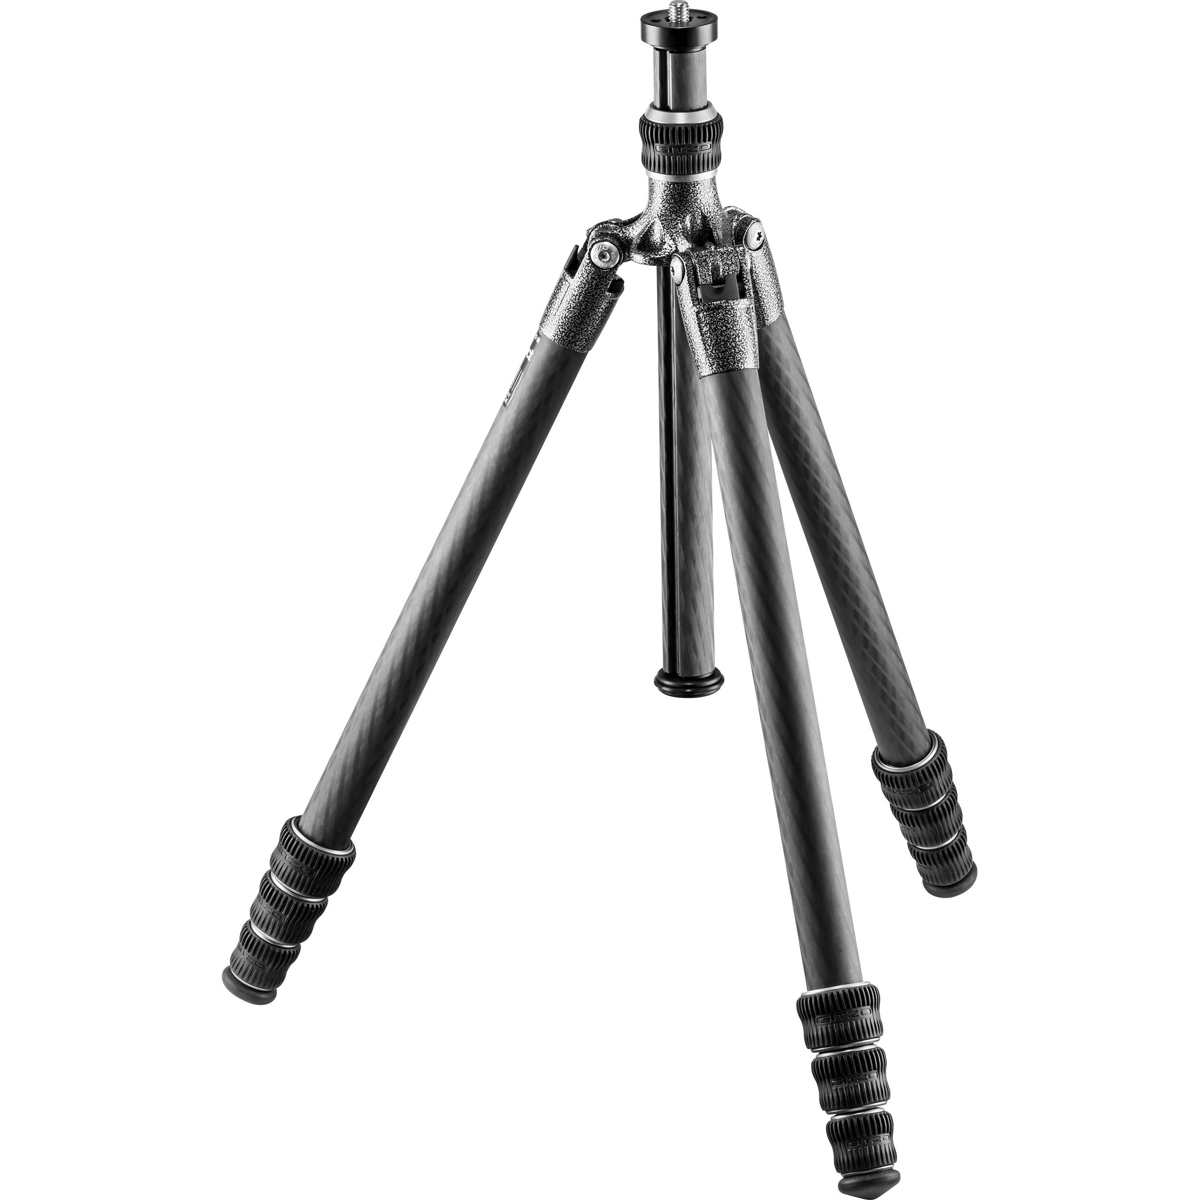
- Use a tripod. A sturdy tripod will help you avoid blurry pictures caused by camera shake. If you do not have a tripod handy, try using another object to rest your camera on, such as a fence post or tree branch. Just make sure it’s tall enough and sturdy enough!
- Use a remote shutter control or cable release. This will ensure that you press the shutter button only when lightning strikes, not before or after—which could lead to motion blur in your shot! You can find these accessories at most photography stores (or online). Just keep in mind that some models are designed for long exposures; if this is the case, you may need an intervalometer instead of just pressing down on the shutter button yourself every time lightning happens nearby—and remember: always use one hand while holding onto something sturdy with another hand before starting any long exposures!
- Set your ISO as low as possible (100). This helps minimize noise while also allowing more light through so there won’t be dark areas around bright flashes during exposure times longer than 1/200th second which might cause missed shots due to lack of exposure sensors working properly at higher ISOs like 800+.
Remember to use bulb mode or a timer.
- Use bulb mode or a timer. Bulb mode lets you capture lightning as a long exposure, which is great for capturing the whole storm. You can also use bulb mode to get several photos of lightning in one shot, or video it if you have an intervalometer on your camera and are shooting with a tripod at night (see this guide). You can use your timer so that you don’t shake the camera when pressing the shutter button.
When it comes to photographing lightning, a little bit of planning goes a long way!
When it comes to photographing lightning, a little bit of planning goes a long way!
- You need to know the location of the storm and how far away it is in miles. This can be very difficult to figure out yourself. The best way would be to get an app that does this for you, like Dark Sky or Radar Scope. If you don’t have access to these apps, then try visiting weather websites like Weather Underground or AccuWeather and see what their radar map looks like for where you’ll be shooting from (they usually show the most recent hour’s worth of data).
- Another thing to consider is where the best place for your camera will be for taking photos. A good rule of thumb is that wherever there are tall trees with branches above your head—such as on top of hills or mountains—those areas are ideal because they provide some protection from lightning strikes. But if there aren’t any tall trees around and/or if there’s no cover nearby, then just make sure that no one else is standing near where your tripod will go! It’s also important not just because people could get hurt but because someone might accidentally ruin all those hours spent preparing everything else by touching off a chain reaction effect with their body electricity when they touch something metal like an extension cord plugged into an outlet; this could cause them (and others) harm as well.”
Conclusion
In short, you should always be ready to capture lightning when it comes your way. That means having your gear in hand, knowing where you’ll shoot from, and getting there before the storm hits. And as we’ve seen here today, some of the best shots can happen in the most unexpected places—so don’t be afraid to take advantage of those opportunities when they arise!