Lighting Techniques
When it comes to capturing stunning headshots, lighting plays a crucial role in creating the desired
effect. Whether you’re shooting in natural light or using artificial lighting setups, understanding different lighting techniques can help you achieve professional-looking results. In this guide, we’ll explore various lighting setups for headshots, including natural light, studio lighting, and the effective use of light modifiers like reflectors and diffusers.
Natural Light
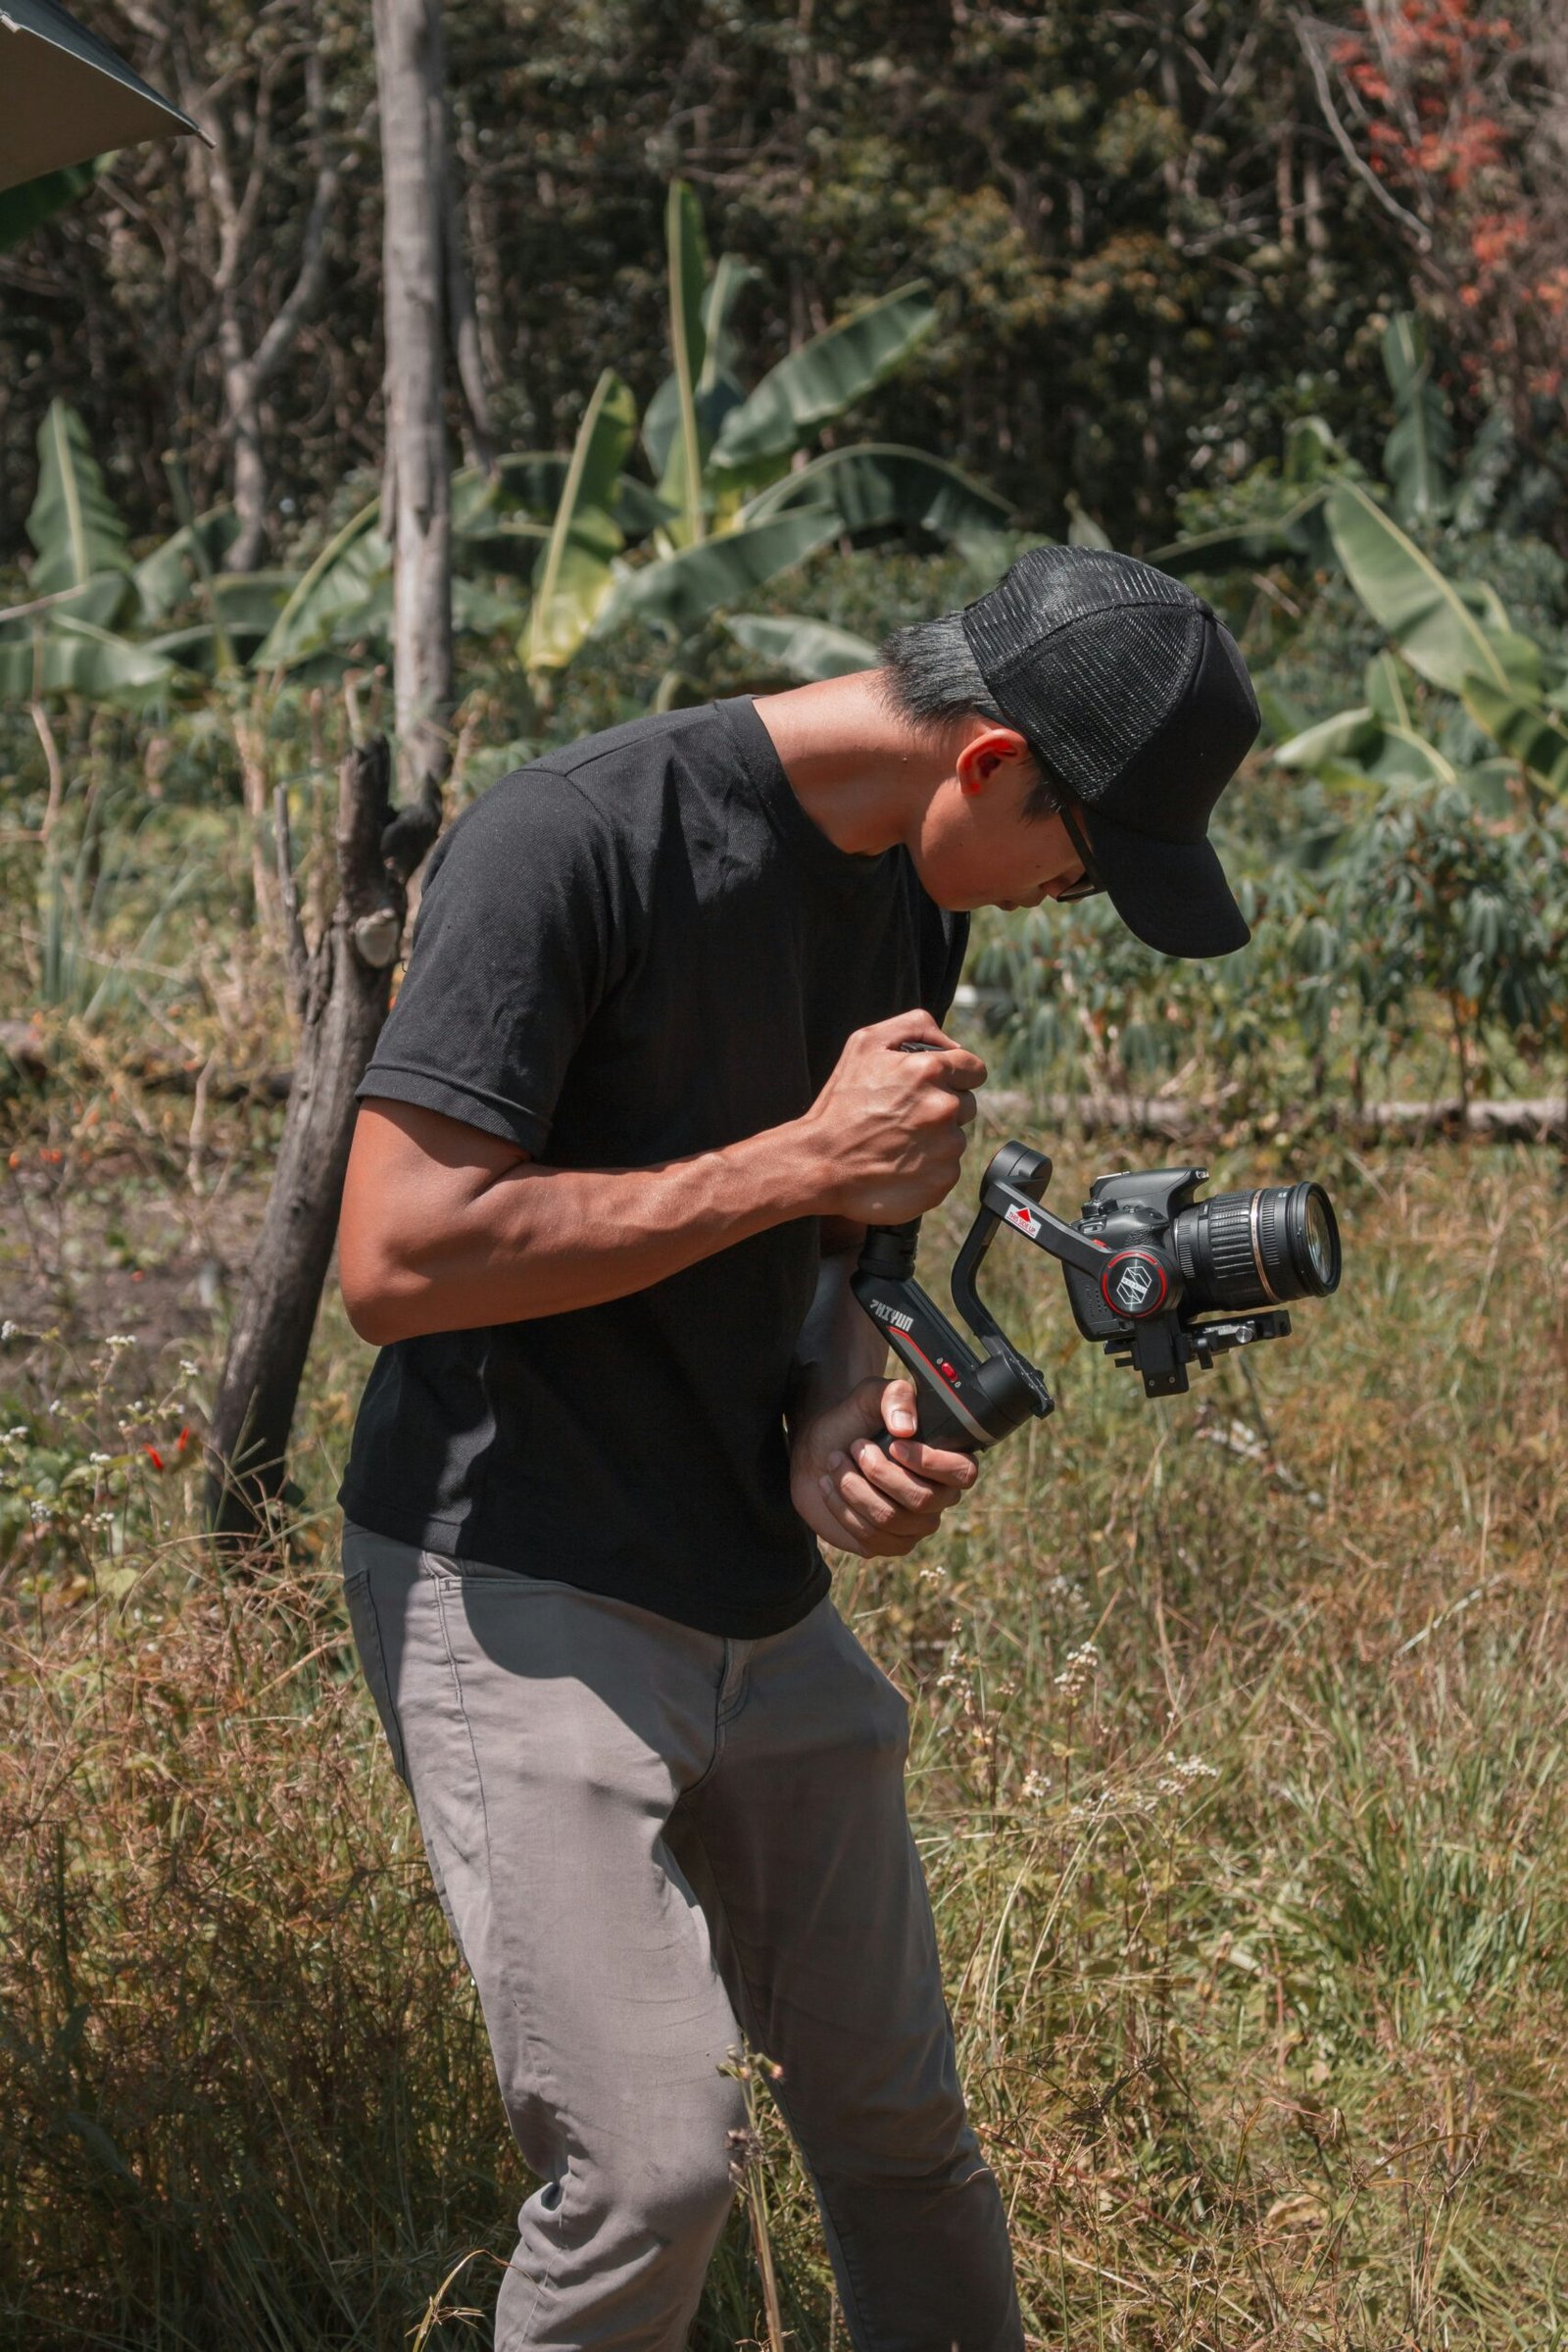
One of the most accessible and versatile lighting sources for headshots is natural light. When shooting outdoors, take advantage of the soft, diffused light during the golden hour, which occurs shortly after sunrise or before sunset. This time of day provides a warm, flattering glow that enhances the subject’s features.

Position your subject facing the light source, such as the sun or a large window, to ensure even illumination on their face. Avoid harsh shadows by using a reflector to bounce light back onto the subject’s face. Reflectors come in various colors, including silver, gold, and white, each producing a different effect. Experiment with different reflector colors to achieve the desired look.
Studio Lighting
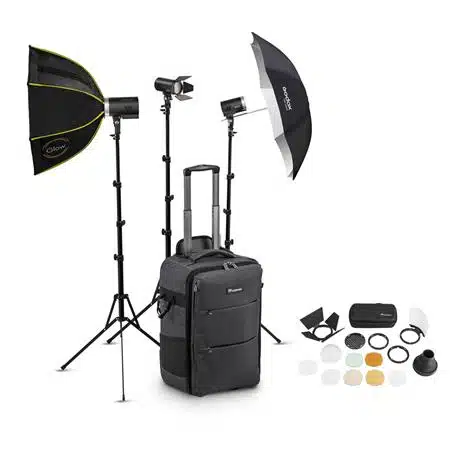
Studio lighting offers precise control over the lighting setup, making it a popular choice for headshot photography. Here are some common studio lighting setups:

1. Butterfly Lighting
Butterfly lighting, also known as paramount lighting, involves positioning the main light source directly in front of the subject, slightly above their eye level. This setup creates a small, butterfly-shaped shadow under the nose, adding depth and dimension to the face. Use a reflector or a second light source to fill in the shadows on the subject’s face.
2. Rembrandt Lighting
Rembrandt lighting is characterized by a triangle-shaped highlight on one side of the face, created by positioning the main light source at a 45-degree angle to the subject. This setup adds drama and a sense of depth to the image. To achieve this effect, ensure that the opposite side of the face is partially shadowed. Use a reflector or a second light source to fill in the shadows if needed.
3. Split Lighting
Split lighting involves positioning the main light source at a 90-degree angle to the subject, illuminating only one side of the face while leaving the other side in shadow. This setup creates a bold and dramatic look, perfect for adding intensity or creating a mysterious atmosphere. Use a reflector or a second light source to fill in the shadows if desired.
Light Modifiers: Reflectors and Diffusers
Light modifiers like reflectors and diffusers are essential tools for controlling and shaping light to achieve the desired effect in headshot photography. Here’s how you can effectively use them:
1. Reflectors
Reflectors are used to bounce light onto the subject, filling in shadows and creating a more even lighting setup. They come in various shapes, sizes, and colors. Silver reflectors provide a cool, crisp fill light, while gold reflectors add warmth and a flattering glow. White reflectors produce a neutral fill light. Experiment with different reflector colors to achieve the desired look.
To use a reflector, position it opposite the main light source, ensuring that it reflects light onto the subject’s face. Adjust the angle and distance of the reflector to control the intensity and direction of the fill light.
2. Diffusers
Diffusers soften harsh light, creating a more flattering and natural-looking result. They can be used with both natural light and artificial light sources. Diffusers are typically made of translucent material and are placed between the light source and the subject.
To use a diffuser, position it between the light source and the subject, ensuring that it evenly diffuses the light. This softens the shadows and reduces the contrast, resulting in a more pleasing and balanced headshot.
By understanding and implementing different lighting techniques, you can elevate your headshot photography to the next level. Whether you choose to work with natural light or experiment with studio lighting setups and light modifiers, remember to practice and experiment to find the perfect lighting setup for each individual shoot. Happy shooting!