Star Photography Techniques
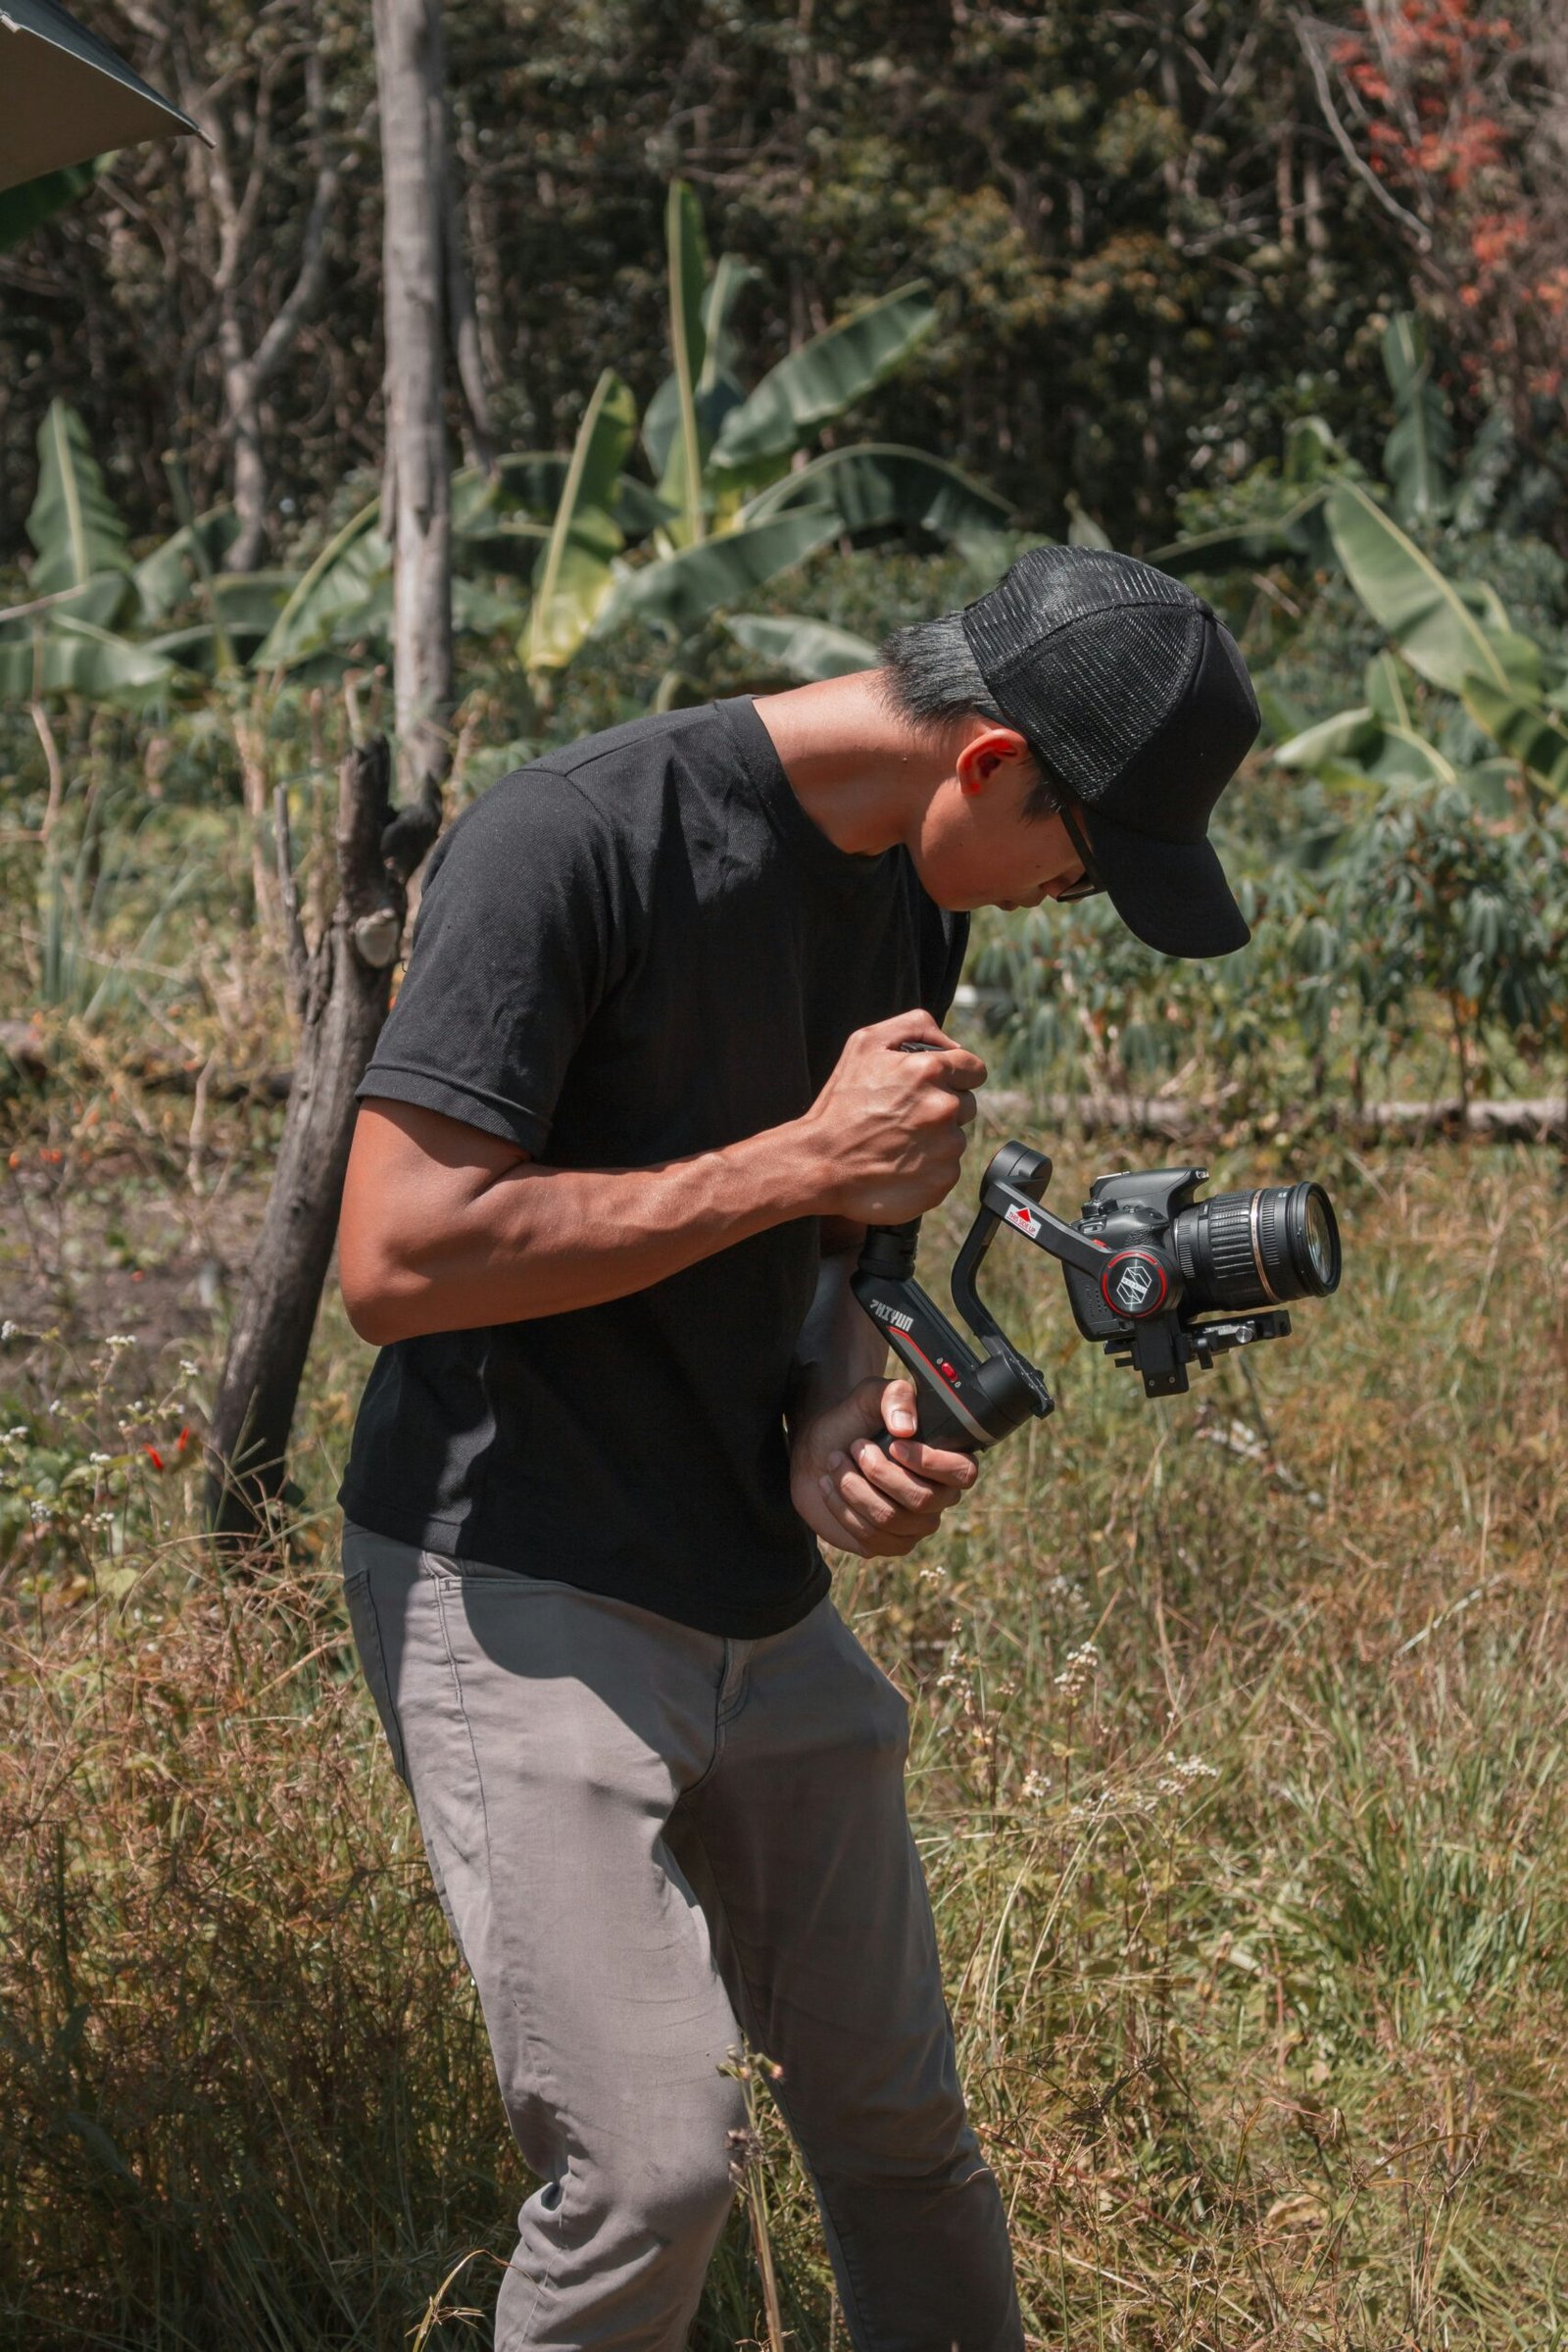
New star photography techniques at 15 seconds. Imagine yourself alone in the wilderness, surrounded by a blanket of twinkling stars. It’s just you and your camera, a single light source (perhaps your phone or flashlight), and nothing but darkness in every direction. You can’t help but feel small in such an enormous space—but that’s exactly what makes those moments so magical!
Use manual focus.
You can use manual focus to get a sharp image of the stars. This is especially helpful when it’s dark, as you’ll want to be able to see what you’re focusing on (and depending on your camera, your screen may go black in Live View). Look for the brightest star in the sky—it won’t be too far from where you are standing. Then, turn off autofocus, zoom all the way in on that star and adjust your focus ring until it looks clear and crisp.
Once you’ve found a nice sharp point of light with this method, move on to step two!
Set your aperture to f/2.8 or as wide as you can.
You’ll want the widest aperture you can get, but don’t go so wide that your images start to look grainy. The sweet spot is f/2.8 (or as close to it as possible). This aperture will let in a lot of light, which is good for things like starlight and fireworks, but it also gives you a good depth of field. So if you zoom in on your subject with an f-stop that’s too small or shoot at night using a camera phone that doesn’t have optical image stabilization (OIS), then even though you’re letting in more light than usual, there’s still a chance the image will end up blurry because there isn’t enough depth of field to keep everything sharp. This is why portrait photographers often choose f/2-2.8: it creates beautiful soft backgrounds while keeping their subjects sharp and separated from them visually.*
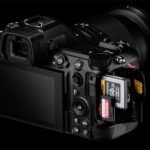
- This process should work with any DSLR camera made after 2008 or so—but older models might not be able to achieve such shallow DOFs at such low ISOs due to their small sensors (smaller sensors mean higher noise).
You can use a tripod to keep your camera steady, or you can turn on the camera’s image stabilization feature. But both of these options are expensive and cumbersome, so I don’t recommend them. Instead, use a shutter speed that is long enough to let in enough light (and still capture movement).
Shutter speed is how long the camera’s shutter remains open. The longer it stays open, the more light enters through the lens. This is important because stars move during exposure times shorter than about 15 seconds; anything shorter than this may result in exposure with no stars visible at all!
Set your ISO between 1200 and 3200.
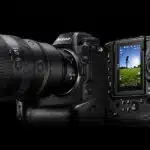
- Set your camera to manual mode.
- Use a tripod to minimize blur.
- Use a remote shutter release or set the self-timer on your camera (a 2-second delay will do the trick) to minimize shake when pressing the shutter button, particularly if you’re using a wide aperture or high ISO value (which both increase light sensitivity).
- Set your ISO as high as you can without getting too much noise, ideally around 3200 or higher for most cameras — but check with your manufacturer’s specifications for exact recommendations!
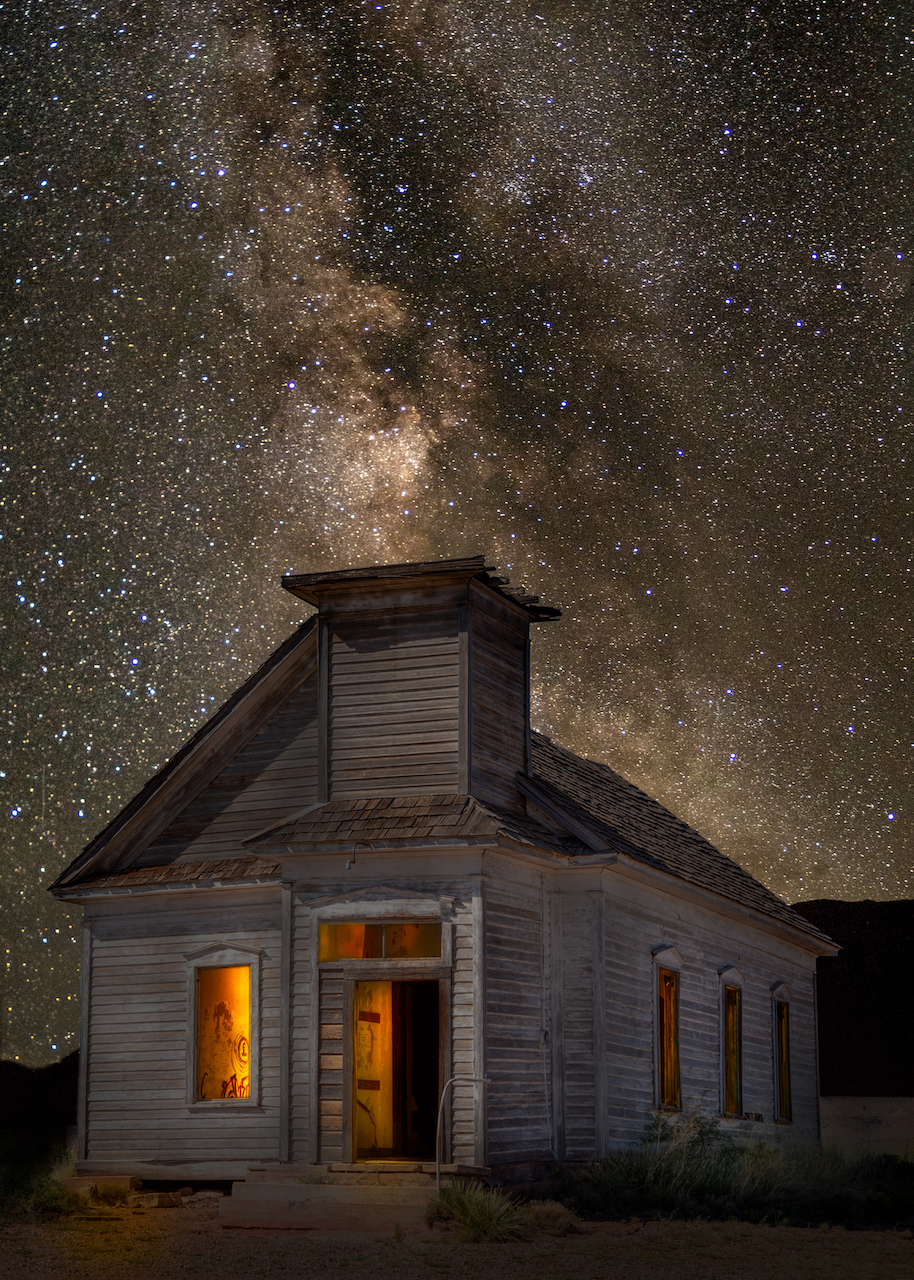
Compose your shot and take it without a flash.
The first thing you need to do is get your shot. It’s important to point your camera directly toward the sky, but avoid using a wide angle lens or zooming in too far. The best way to avoid star trails is by using a long exposure time. You can also use a tripod if you want, but it’s not necessary since there will be no movement in the photo anyway.
You’ll have plenty of time on your hands while waiting for this photo (you might as well make yourself some cookies), so make sure none of those stars are blocked by tree branches or other objects that might distract from the picture as a whole.

The more you practice, the better your results will be
The more you practice, the better your results will be. It’s a process that takes time and patience, but don’t get discouraged! Remember: practice is supposed to be fun. Try experimenting with different lenses and settings, look into using a tripod or remote shutter release so that your camera is perfectly still when taking the photograph (even if it means buying an extra gadget), and challenge yourself by trying some new techniques in low light conditions or even in complete darkness. Your friends will also love helping out once they figure out how awesome it is to take photos of stars (and you)!
Conclusion
You’re now well on your way to capturing star photos like a pro! I hope that these tips will help you get started, and if you have any questions or suggestions please feel free to leave them in the comments below. Happy shooting!