Product Photography and the equipment you need

Product photography and the equipment you need. Product photography is one of the most important parts of selling your products online, but it can be tricky to get right. That’s why we’re here with some product photography tips that will help you make sure your products look their best. We’ll cover everything from cameras and lenses to lighting and even location!
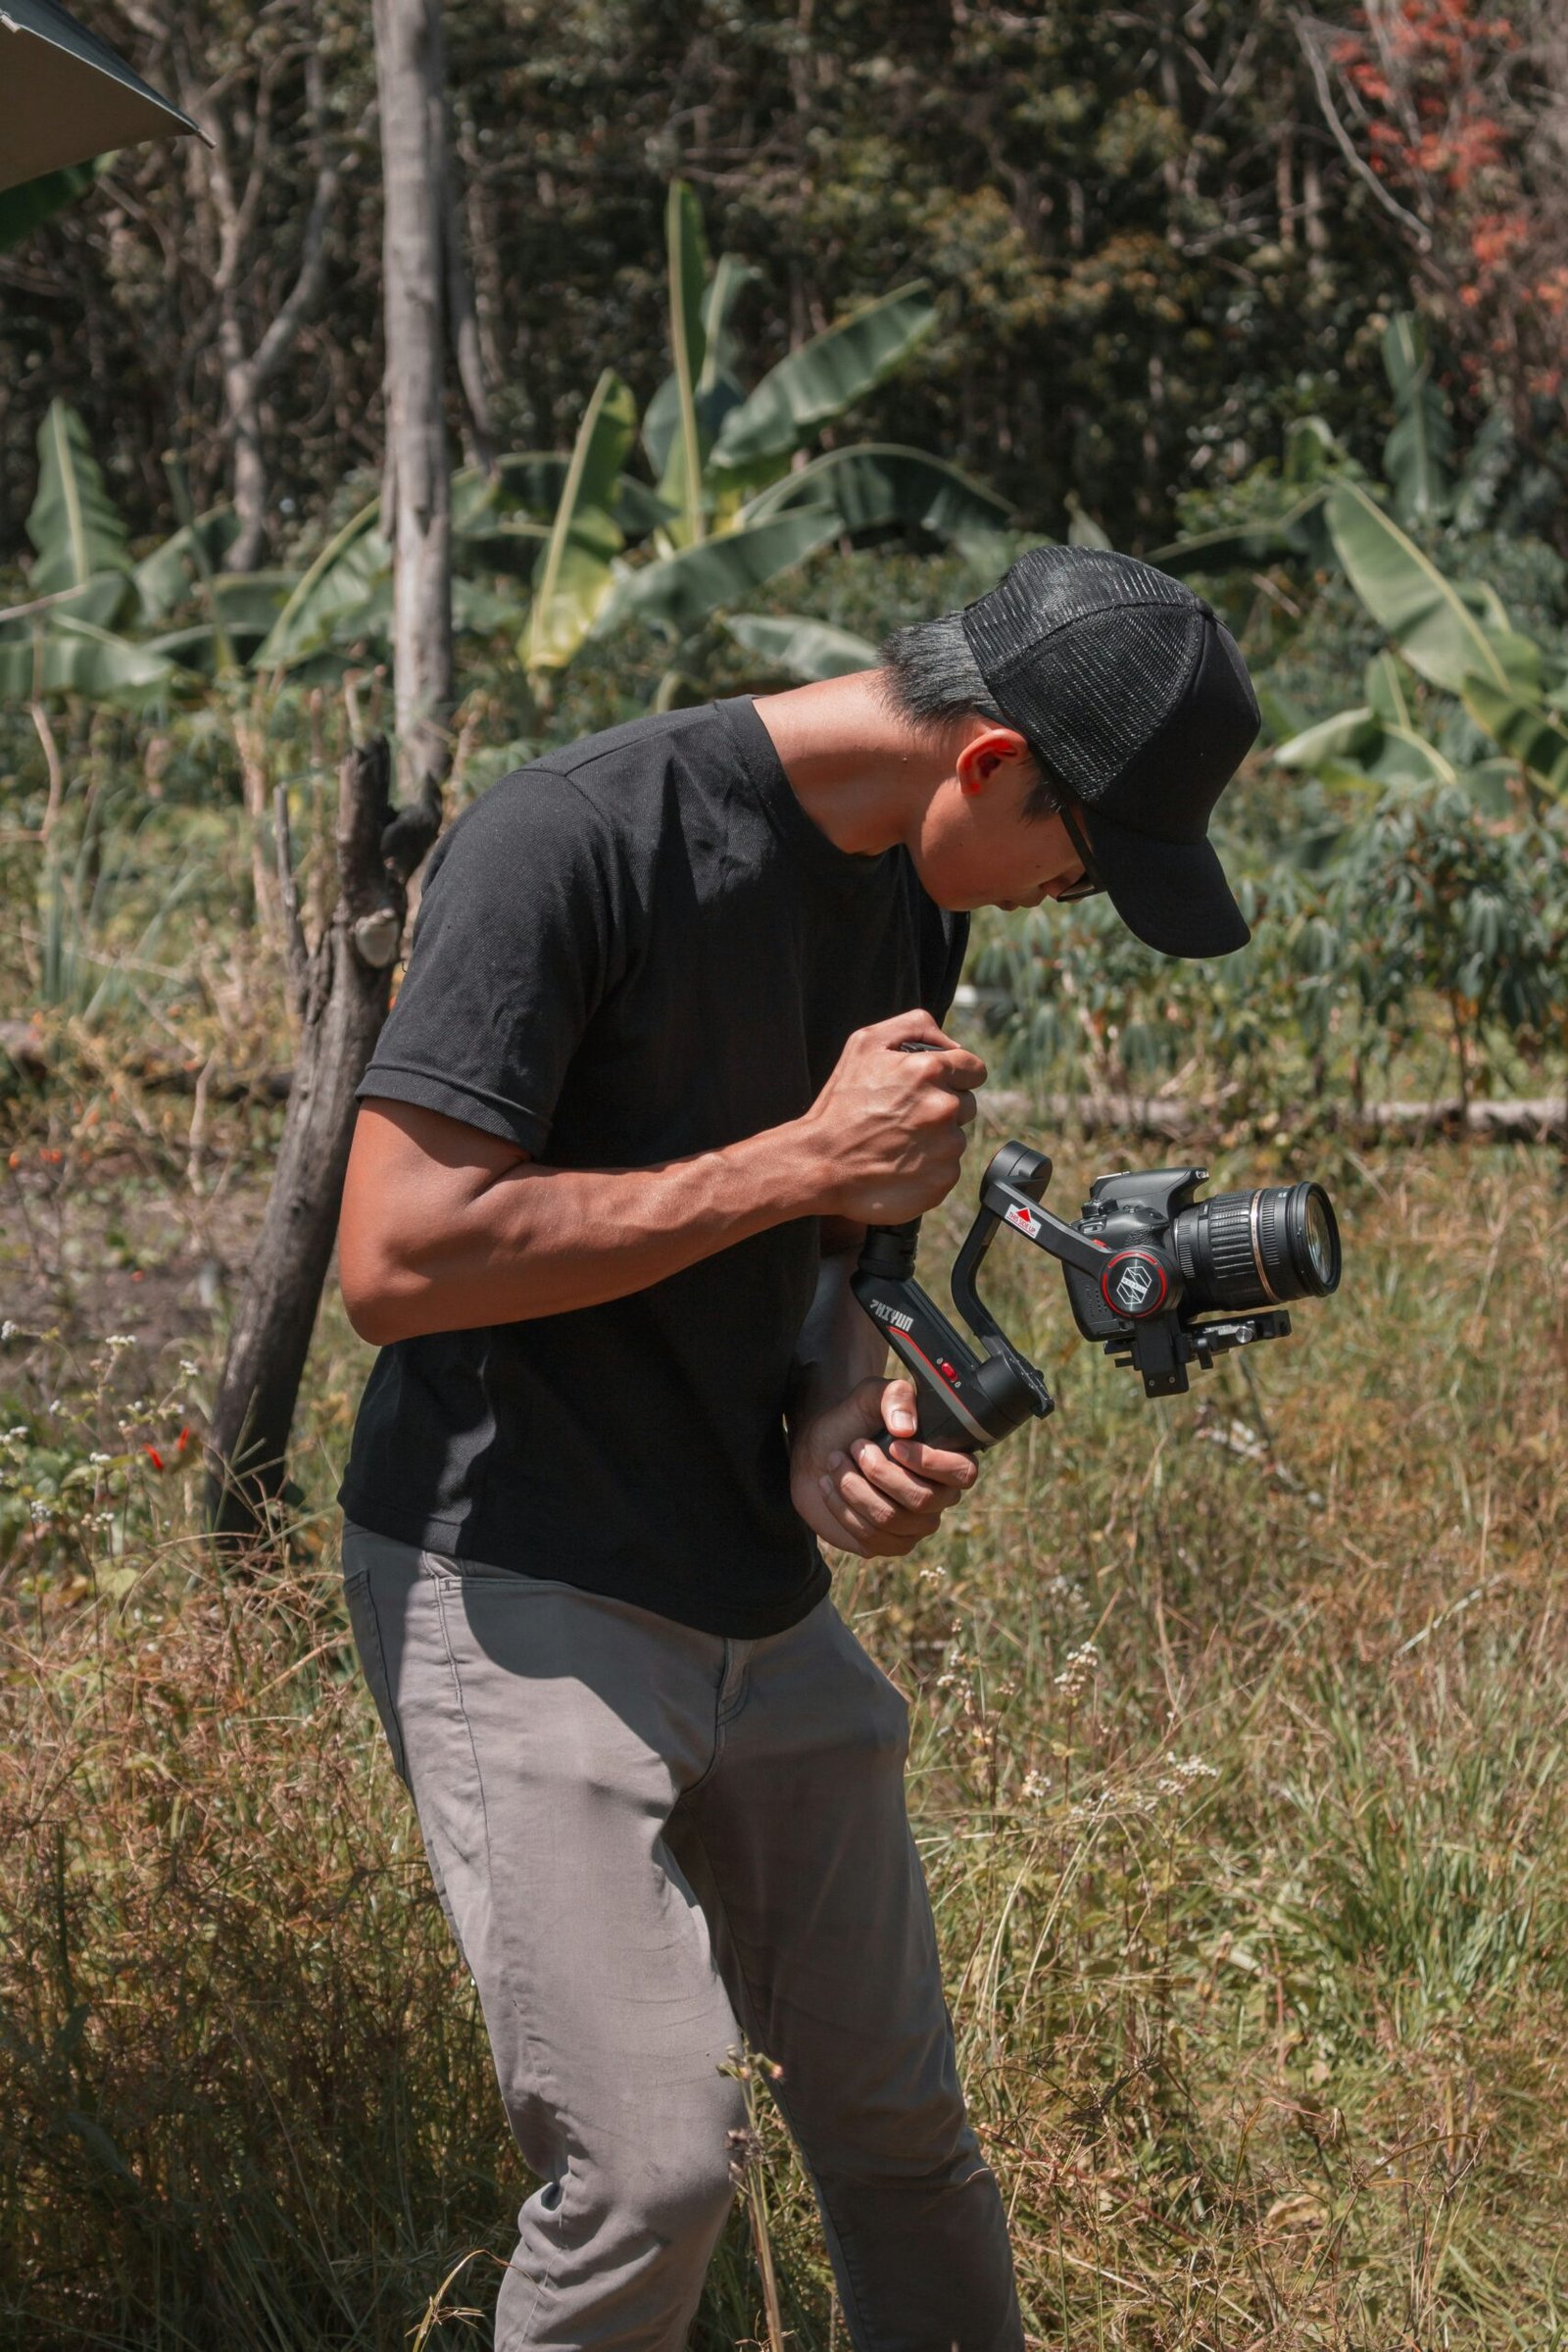
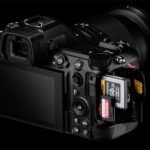
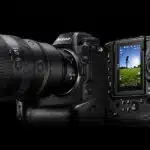
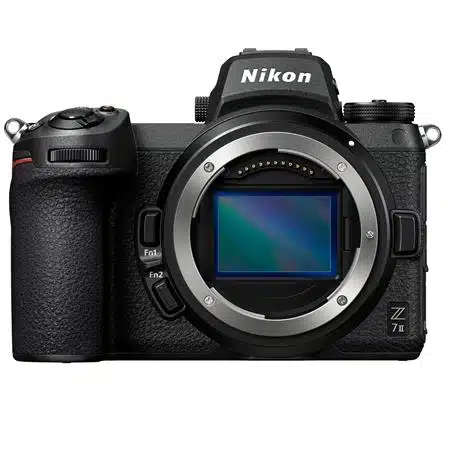
1. Camera
The camera that you use for product photography is dependent on the type of product. If you are shooting small items, such as jewelry or figurines, a compact camera should suffice. However, if you are shooting larger products like cars and home appliances then it’s best to use something with a little more power behind it.
For example, if you have a DSLR camera with at least 24 megapixels and an aperture setting of f/8 or higher (f/2.8 or lower), the quality will be sufficient for most types of products when shot in daylight conditions.
2. Lenses
The right lens can help you get the perfect shot. But what lens should you use? It depends on what you’re shooting and where your business is at in terms of budget. For example, if you’re just starting out and have a limited budget, then a 50mm prime lens might be all that you need for product photography.
If you’re looking for something more versatile that can shoot both close-up shots as well as full-body shots, then an 85 mm prime or 70-200mm zoom would be ideal for product photography.
The most popular lenses among professional product photographers include:

3. Tripod
Tripods are essential for product photography, and it’s important to have a sturdy one that can hold the weight of your camera. The tripod is used to stabilize the camera, ensuring that it doesn’t move once you’ve set up your shot. Since tripods are so useful for low light conditions, they’re also great for shooting in the studio—the high ISO setting on your DSLR will allow you to shoot without using additional lighting (which would be expensive). You can also use a tripod to shoot from different angles; simply adjust its legs so it’s at an angle that works with your subject matter.

4. Lighting
A softbox is a large container filled with white or semi-white fabric. It diffuses the light, creating a softer, more even light source than you’d get from an umbrella or flash head by itself.
A boom arm is used to mount your softbox above your subject (think of it as a stand on steroids). One end attaches to the top of your light stand; the other holds up the softbox itself. Boom arms come in different lengths, depending on how high in space you’d like to place your lighting equipment. If you’re going for maximum distance between yourself and your subject while still maintaining control over how much ambient light comes into play, consider using an extension cord rather than moving everything closer together: a longer cord means less hassle when aiming overhead lights at products!

5. Background
When it comes to backgrounds, there are endless options. You can use a white background with no pattern at all or you can go for something more creative and unique (like an old-fashioned wood table as a backdrop). The choice is yours, but we recommend simple and clean.
- White – A simple white background will give your product the most focus possible. If you want to add texture, try using an ironing board or sheet of cardboard instead of a solid wall or floor space.
- Solid color – This option is best for products that look great against one particular hue—for example, if your product is primarily blue or green and you want to emphasize this fact by using those colors in its display area.
- Patterned – This option works well when photographing small items like jewelry since they won’t compete with any busy patterns behind them; however we’d recommend sticking with solid colors if possible since they’re less distracting than busy patterns such as stripes or polka dots which tend not only distract from what’s being photographed but also from each other!

6. Photo-editing software
If you want to take your product photography to the next level, there’s a good chance that your photos will benefit from some editing. Luckily, there are many free photo-editing applications out there that can help you clean up your photos and make them look their best.
If you want a consistent look for all of your products in every photo (and let’s face it—you do), then this is also something worth taking into account when choosing software. It should be able to easily manipulate colors and contrast so that all of your images match up perfectly.
7. Location
Choosing the right location is important for your product photos as it can help you create visual consistency with your brand, as well as make sure that the background in your photos does not distract from or clash with the product.
For example, if you’re selling handcrafted wooden products and you want to show off their natural beauty, taking them outside in the sun would likely be ideal. However, if that’s not possible due to weather or budget constraints (or if it’s just not a good fit for your brand), then try finding a nice indoor location with natural light streaming through windows.
Choosing locations that are consistent with your brand also helps customers develop trust in what they see online—they’ll know they’re getting what they expect when they place an order at your store!
These product photography tips will help you with the basics of shooting product photos for all kinds of products and for e-commerce sites
- Tip 1:
When shooting your products, try to get as much natural light as possible. This will give your photos a more realistic look and feel and help them pop with color. If you’re using artificial lighting to supplement natural light, make sure that it’s diffused—otherwise, you’ll have harsh shadows which can ruin otherwise great photos. A softbox or other diffuser is helpful here because it softens the light, so any shadows are perfect even across all areas of the product being photographed.
- Tip 2:
Try different backgrounds depending on what type of background works best for your product’s brand image and aesthetic design (the overall look) while still conveying information about what each specific item does/is used for etcetera). For instance, if you’re selling clothing items then maybe consider some nice patterns behind them so people who buy them can see how they’d fit into their wardrobe with ease; but if it’s software then perhaps just plain white would be better since those types tend not to be too flashy anyways!
Conclusion
I hope that these tips have been helpful and that you feel more confident in your product photography skills. Keep an eye on my blog for more product photo tips!