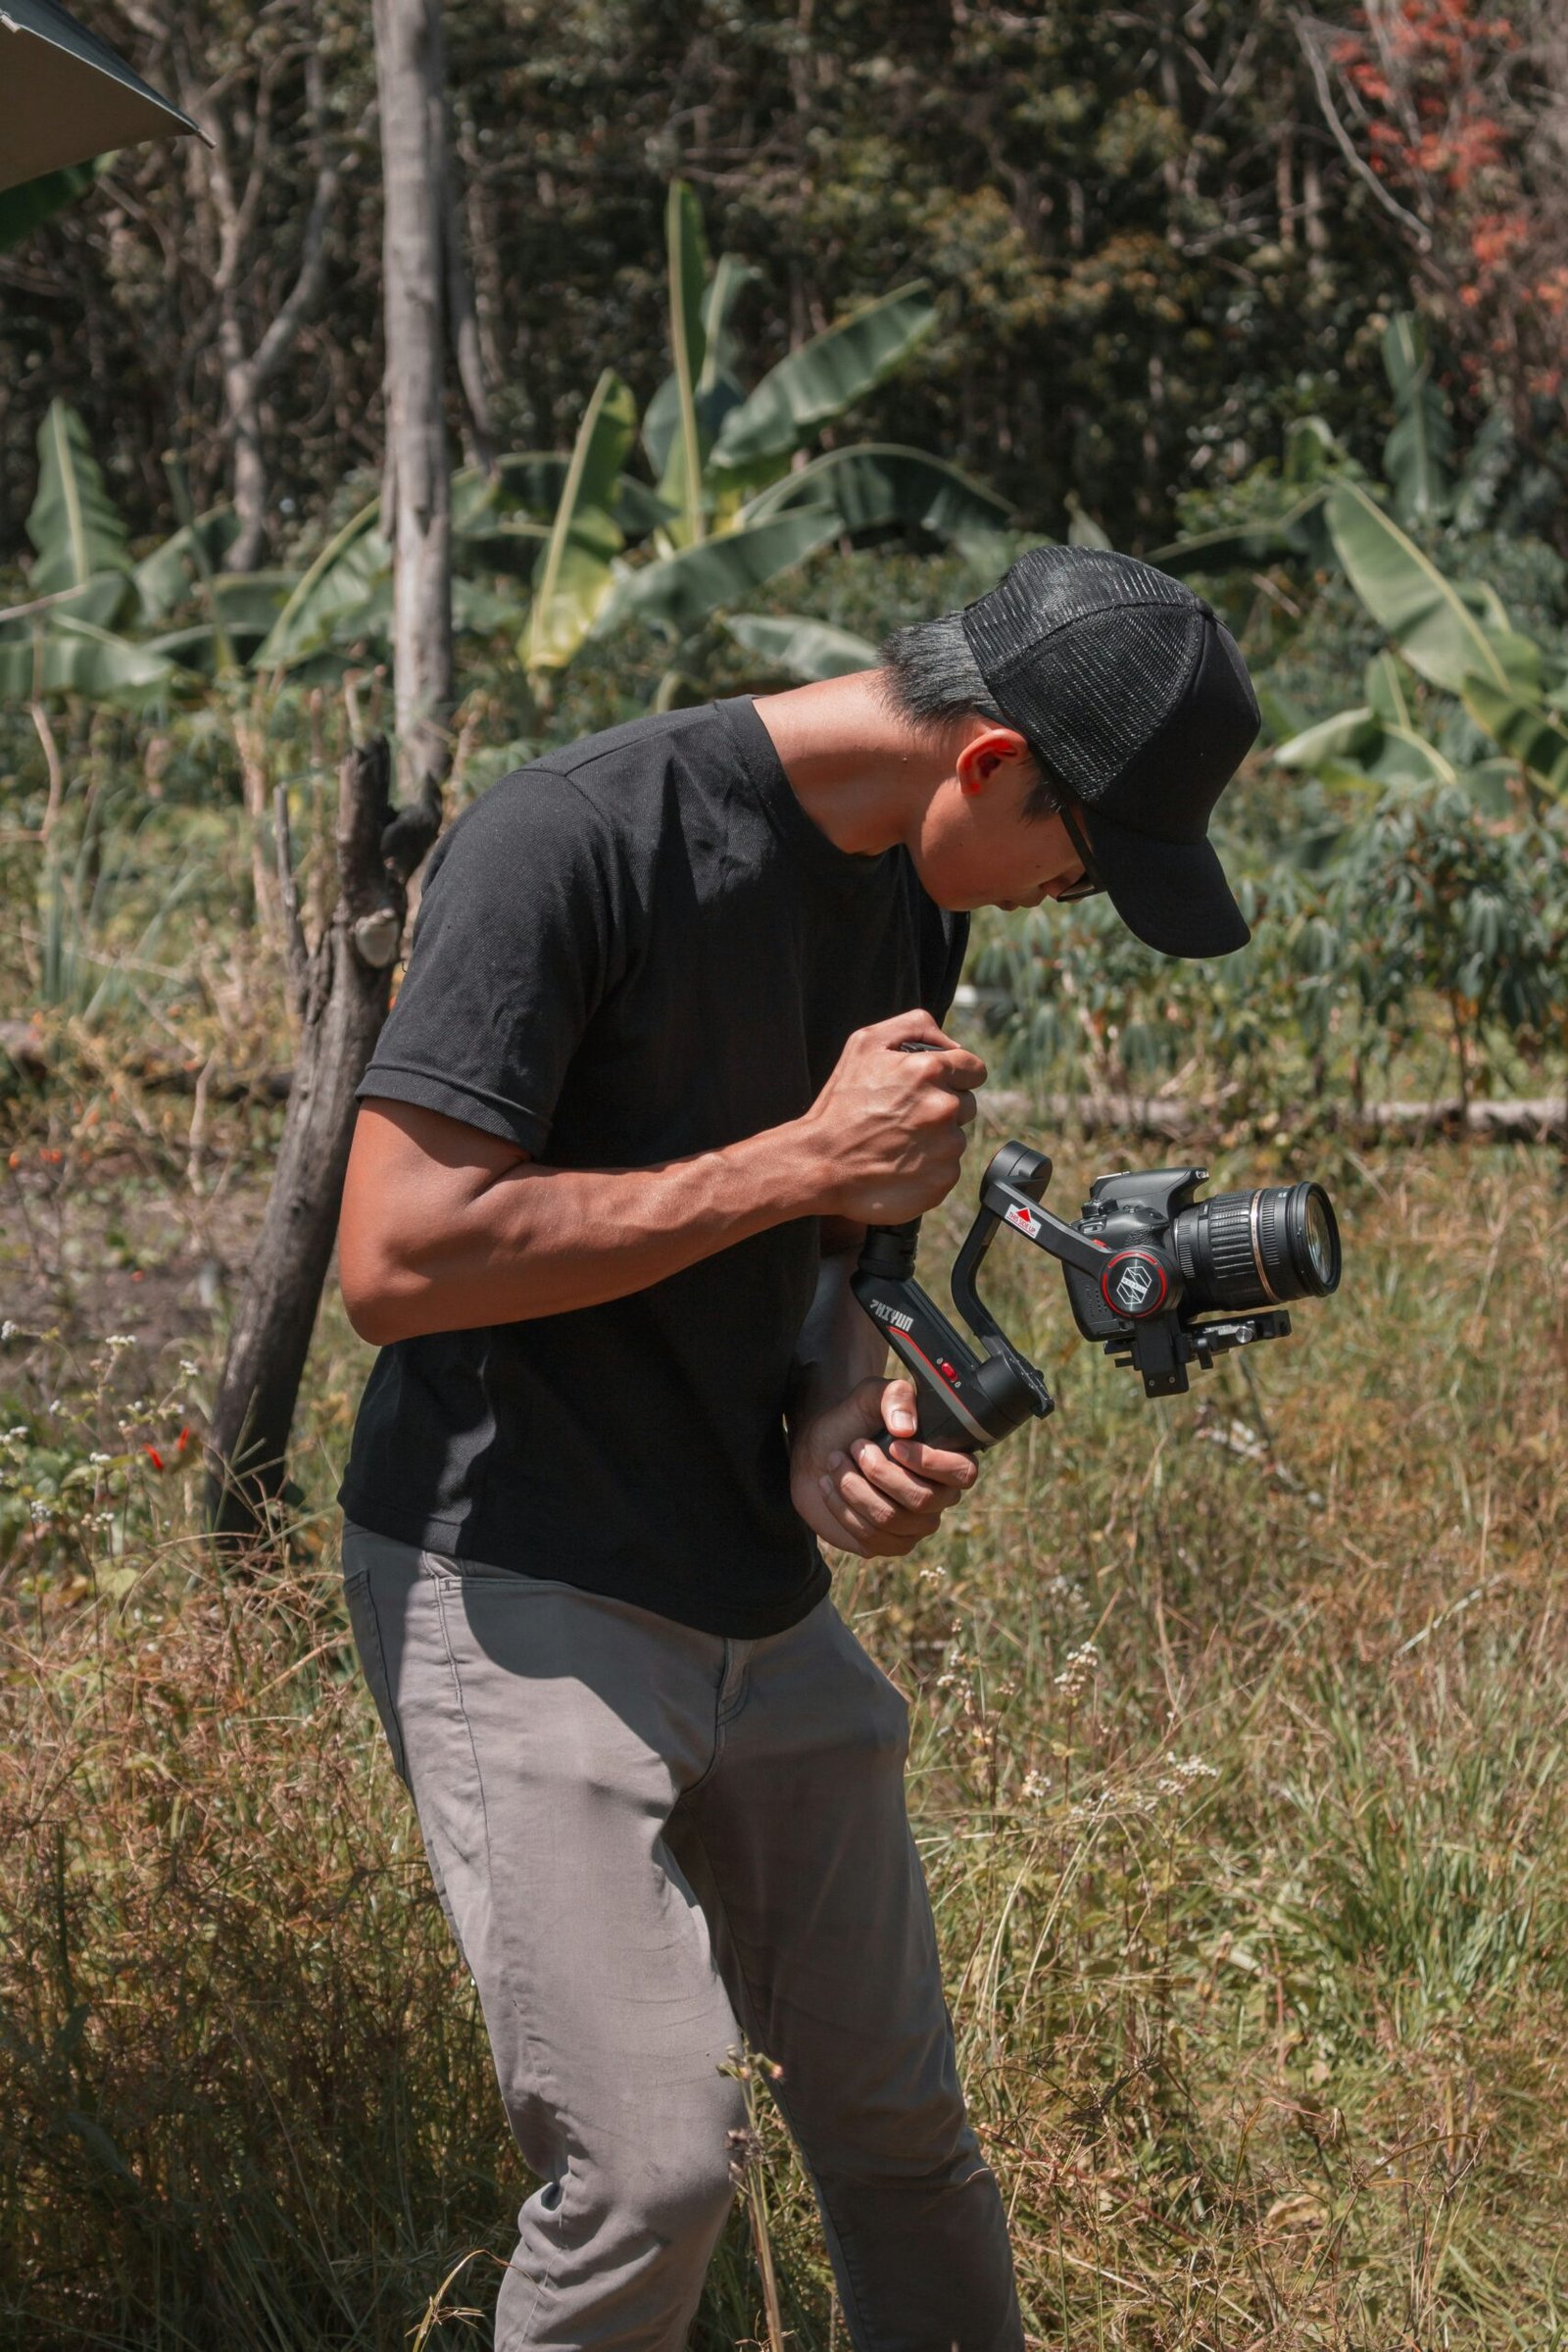
Camera Modes Explained
Easy Ways to Understand 7 Camera Modes
When you first get your camera, it can feel like a confusing mess. It’s not just about pressing the shutter button and hoping for the best—there are plenty of helpful modes to choose from that make using your camera easier. In this article, we’ll explain everything you need to know about camera modes so that when you take your next picture, it turns out exactly how you imagined it would!
Scene Modes
Scene modes are presets designed to work with specific types of scenes. They’re designed to automatically adjust the camera’s settings to capture the best image possible for a given scene.
For example, if you’re photographing something that’s backlit by bright sunlight, your camera will know that it needs to increase its shutter speed and lower its aperture (the F-number) in order to avoid overexposing your photo. With an automatic mode like Landscape Scene Mode enabled, your camera will do this by default whenever you point it at a landscape scene like this one:
Effects Modes
The effects modes are by no means the most useful mode for everyday photography. They’re more effective for special effects and other creative uses, but can be used to create some pretty cool images if you play around with them. For instance, you might want to use one of these modes while shooting your next festival or concert—it’ll give your photos a cool look that isn’t easy to achieve by hand.
Using an effect mode can be done in combination with scene modes—try using a slow shutter speed with a low ISO setting in sunset mode (a scene mode), then add some motion blur using one of the creative effects! Once you get the hang of how they work, it’s really fun to experiment with these modes and see what kind of crazy shots they help produce!
Manual Mode
Manual mode is the most advanced camera setting because you can manually adjust the shutter speed, aperture, and ISO settings. This means that you are responsible for choosing the best combination of these three pieces of information to take a well-exposed picture.
The downside is that this option requires more knowledge about how each one affects your final image. It may take some time to get used to manual mode and know when it’s appropriate for certain situations.
Aperture Priority Mode
Aperture Priority mode is a semi-automatic shooting mode. It allows the photographer to set the aperture and the camera will automatically adjust the shutter speed for correct exposure.
The photographer can also adjust ISO, white balance, and exposure compensation in this mode.
Shutter Speed Priority Mode
Shutter speed priority mode, on the other hand, allows you to set the shutter speed while your camera automatically adjusts the aperture and ISO.
“So what is a shutter speed?” you might be asking. A shutter is an opening and closing mechanism that exposes light through your lens and onto your sensor. There are two types of shutters: mechanical (cable driven) and electronic (electronically controlled). Mechanical shutters open and close after pressing a button or putting in place with a lever; electronic shutters open when you press a button or put them in place by pushing on their levers.
The most common type of electronic shutter system used today is called the “rolling ball.” There are sensors within this system that detect how much light strikes each sensor during each fraction of time it takes for its rolling ball to complete one revolution around its track; by counting these pulses, the camera knows exactly how long its exposure was at any given point in time during an exposure sequence so that it can calculate what settings were correct for proper exposure results–or not! If there was too much light hitting any given sensor during one setting’s time period then that means things may have been overexposed; if less then underexposed!
Full Auto Mode (green mode)
Full Auto Mode is the default mode when you turn on your camera. It’s a great mode for beginners and those who don’t like to tinker with settings. It’s also useful if you just want to take pictures and aren’t worried about anything else, like aperture or shutter speed.
In Full Auto Mode, the camera decides all of the technical details such as focus, exposure, and white balance (see below). You don’t have to worry about any of these things because they’re taken care of by your camera automatically!
Program Mode
Program mode is a semi-automatic mode that allows you to control the aperture and shutter speed settings. It’s a good option for beginners, as it allows you to adjust the settings for a given scene without having to worry about all of the technical details involved with manual modes.
When taking photos in Program mode, your camera will select the best combination of settings for each scene based on its own judgment. This can be frustrating if you’re trying to get something specific out of your photo—for example, if you want more depth of field or faster shutter speeds—but ultimately it’ll be fine if all you care about is capturing an image without worrying too much about what exactly is going into it.
Camera models have a set of modes.
The camera modes are accessed by using the Mode Dial on most cameras. The mode dial is a circular dial that usually has icons or letters to tell you what mode is currently selected. Each icon represents one of several different shooting modes: Auto, Program, Aperture Priority, Shutter Priority, Manual, and Bulb.
Auto Mode: This is the default setting for most digital cameras. The camera takes over all aspects of the picture-taking except for focusing (which it will do automatically). While it’s easy to use and always ready to go, the Auto mode doesn’t give much control over things like exposure time or aperture size which can be important when you want more control over your photography experience. Program Mode: In this mode, you still have some automated features but also retain some level of manual control over white balance (the way light looks in different environments), ISO speed (how sensitive your camera sensor is), and metering options such as center-weighted average or spot metering which uses a small circle in the middle of your viewfinder instead of an entire scene’s worth of data points for determining exposure settings. Aperture Priority: This lets you choose how wide open your lens will be before taking a picture while allowing the camera’s software to set the shutter speed automatically based on ambient light levels detected by its built-in light meter system which measures reflected light values from objects nearby so they appear correctly exposed within each photo taken with this setting enabled.. Shutter Priority: This lets you choose how long each exposure lasts while letting automatic software set aperture size accordingly so everything appears properly exposed within each image taken… Manual Mode: In manual mode, no automation exists at all; therefore users must manually adjust both shutter speed as well as aperture size themselves based on their own artistic needs such as depth-of-field blurriness–but these controls aren’t available unless at least one other option isn’t selected beforehand because there would otherwise be nothing left for them!
Conclusion
There are many different modes to choose from. If you want to take control of your pictures, it’s important to understand what each mode does and how it works! You can even use manual mode with some cameras if you want total control over every aspect of your picture-taking experience.