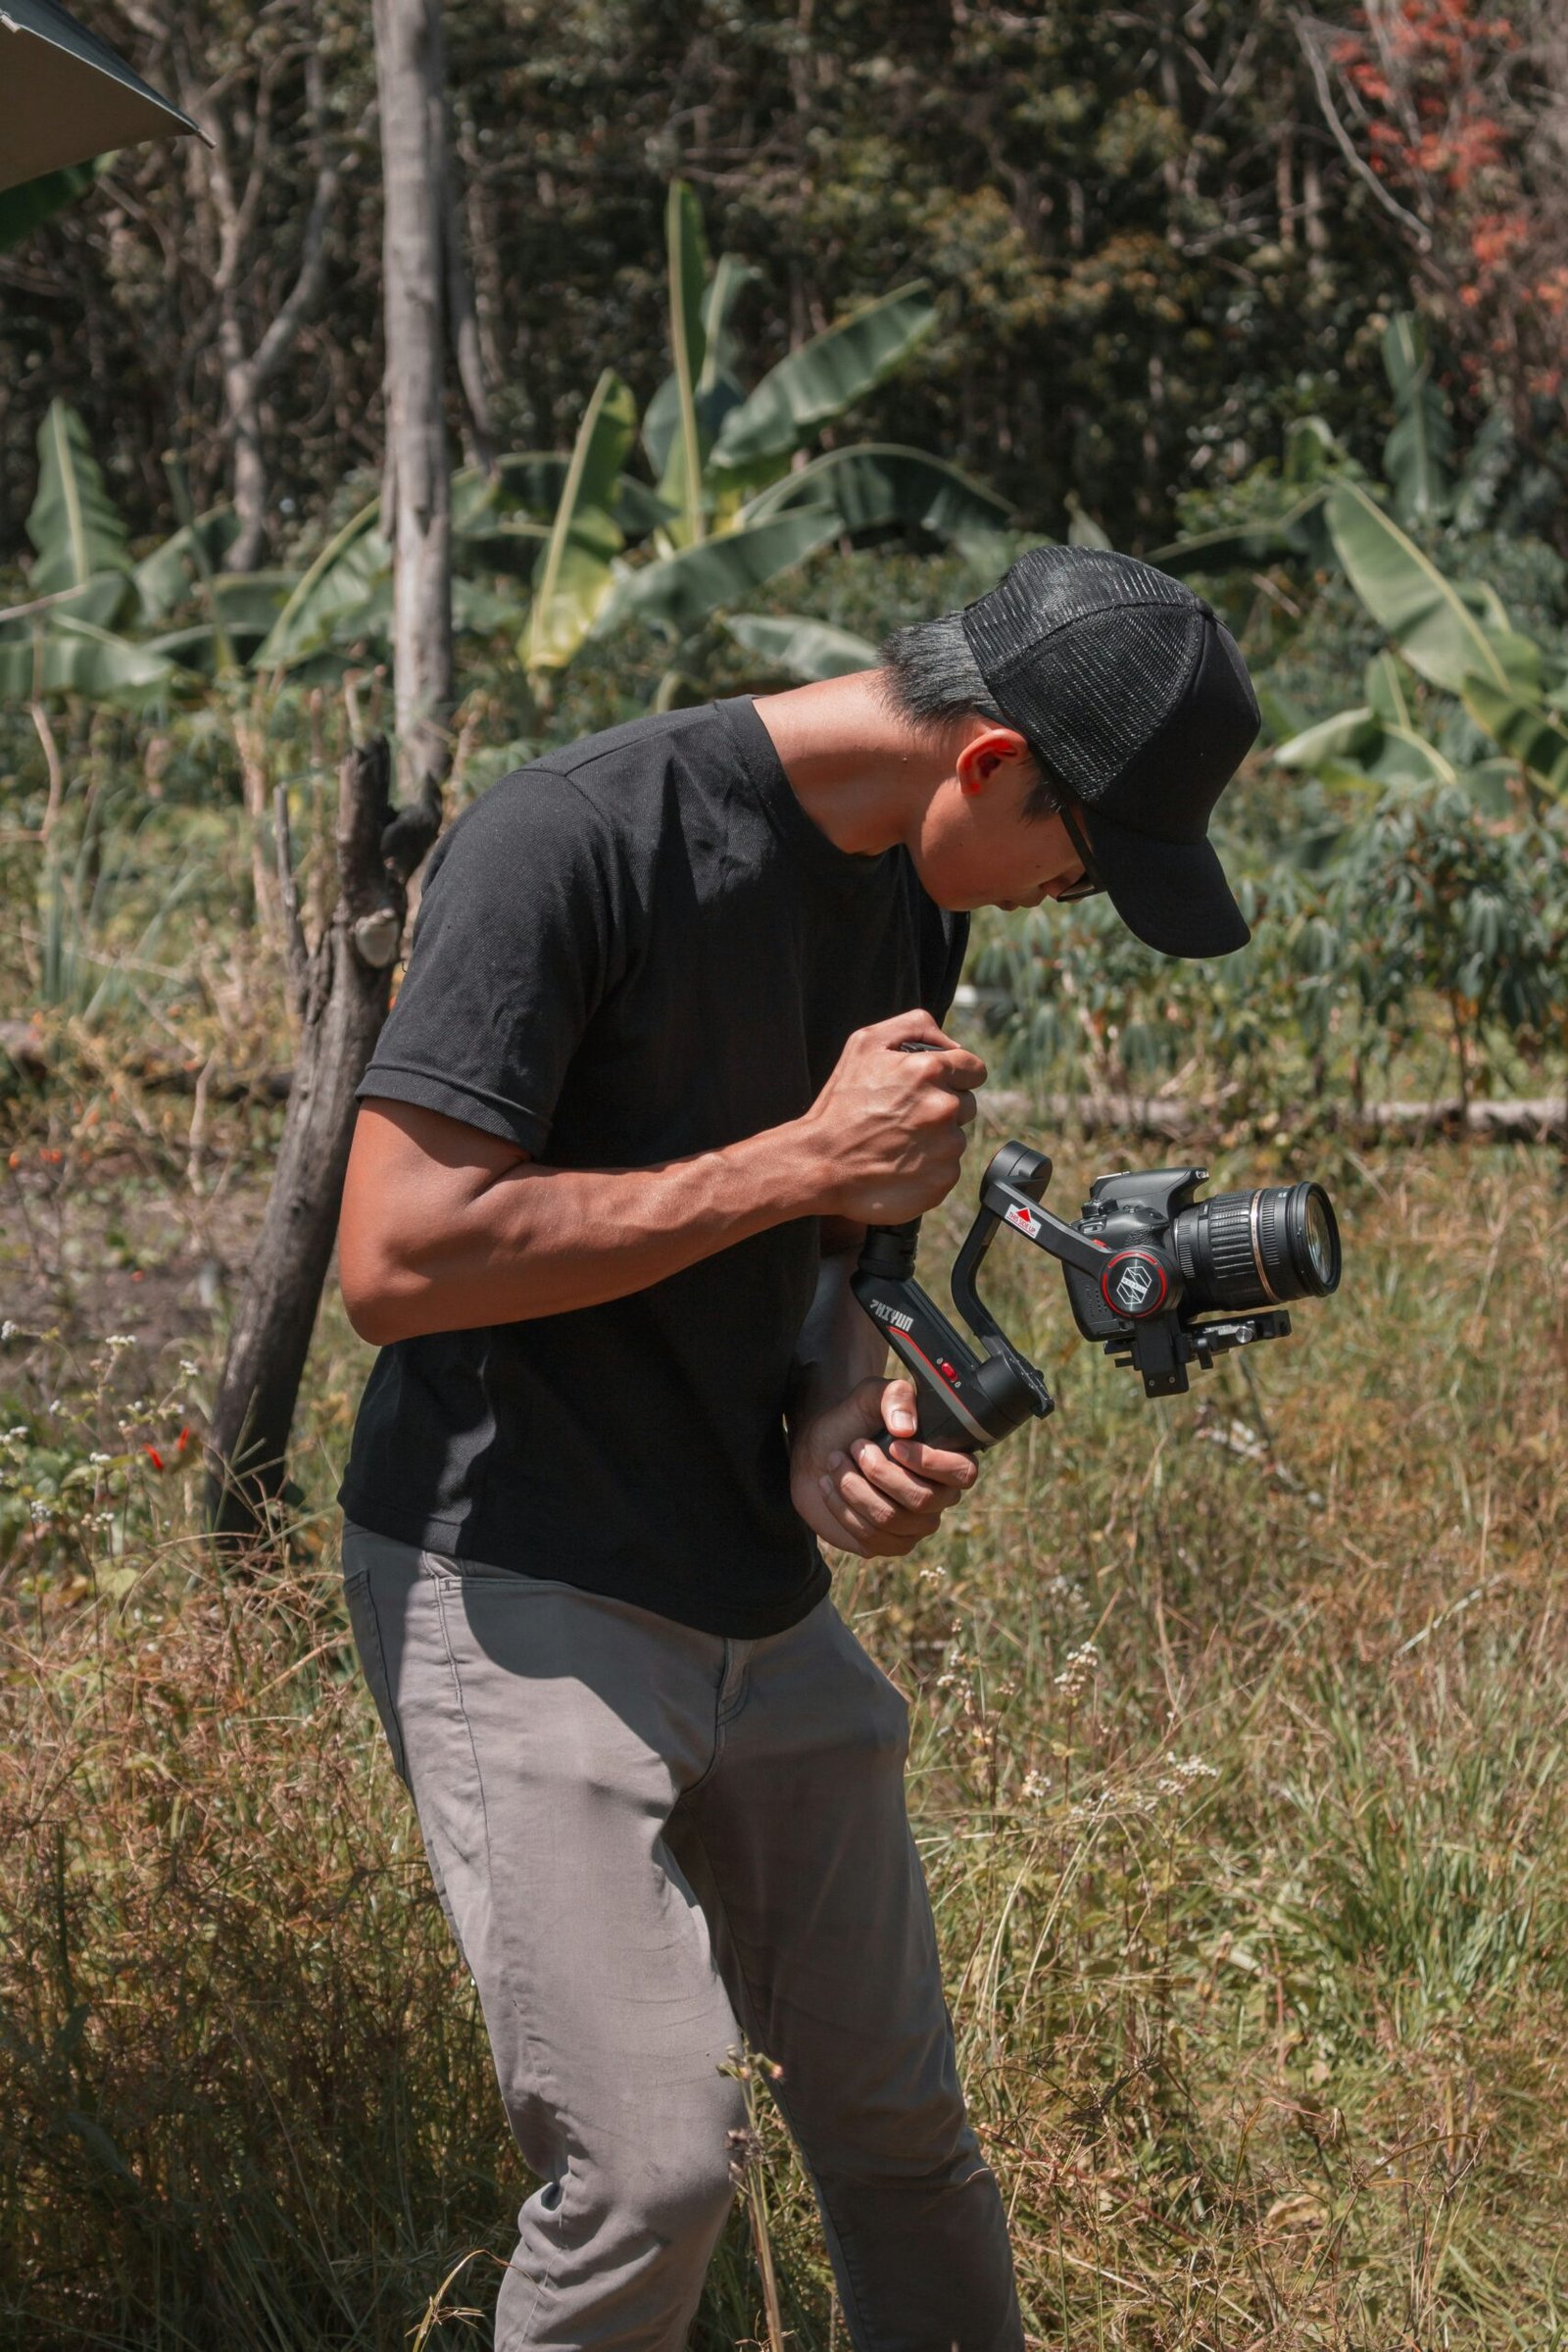
What is exposure compensation?
If you’ve ever taken a photo and thought, “It’s too bright,” or “It’s too dark,” then you’re in luck. Camera settings exist to help you achieve the results you want by adjusting how sensitive your camera is to light. One of the most common ways to do this is with exposure compensation (EC). This article will explain what exposure compensation does, when to use it, and how it works on different types of cameras.
What is exposure compensation?
Exposure compensation is a feature on your camera that lets you adjust the exposure of your photo. It works by changing the size of an aperture and/or shutter speed. In other words, it increases or decreases how long light can hit your sensor by making these factors larger or smaller respectively.
The +/- value on your camera represents how much you want to change these factors. A positive value means that you want to increase the exposure (make it brighter), while a negative value means that you want to decrease the exposure (make it darker). We’ll talk about what those values mean for actual pictures in just a second!
How to use exposure compensation
When you use exposure compensation, you’re telling the camera to make a change in its settings. Exposure compensation is one of many ways to control how light hits your images and what they look like.
When you use exposure compensation, you can tell the camera to adjust its settings to make your photo brighter or darker than it would be without changing anything at all. You can also use this feature to correct mistakes that were made when setting up an image—for example, if your subject was too dark when taking a photo outdoors but still looks washed out after adjusting the white balance manually or using presets like Sunny or Cloudy Weather in post-processing software like Adobe Lightroom or Photoshop.
Once again though: be careful! If there’s too much contrast between light and dark areas within a photograph (also called “high contrast”), it might lead us into trouble since we’ll start noticing things that weren’t visible before.”

When to use exposure compensation
Exposure compensation is a feature in photography that allows you to take control over how much light enters the camera. Here are some situations where you might want to use it:
- When shooting in a bright environment. If you’re outdoors on a sunny day and your subject is too washed out, try increasing your exposure by one stop or two stops. This should increase the contrast between your subject and their background and make them more visible.
- Shooting in a dark environment (such as indoors). If you’re indoors with no windows or lights on, decrease your exposure by one stop or two stops so that your pictures aren’t too dark
Benefits of using exposure compensation
Exposure compensation allows you to get the most out of your camera, lens and lighting. You can make subtle tweaks to your photos by adjusting exposure compensation in order to improve them. For example, if you are shooting flowers with a wide aperture on an overcast day then it is likely that they will be too dark because not enough light is getting through the lens. In this case, increasing exposure compensation could help brighten up those flower shots without making them look overexposed.
Disadvantages of using exposure compensation
While exposure compensation is a great tool for achieving the desired results in certain situations, it does come with some disadvantages. While you can use exposure compensation to capture bright or dark photos, it’s worth noting that there are several things that you can’t control when using this feature:
- Lighting – Depending on where you’re shooting and when, lighting conditions can change quite drastically. If your subject is in direct sunlight and you want them to appear shaded by a tree or umbrella, then adjusting their exposure won’t work because they’ll still be highlighted by the sun.
- Weather – The weather also affects how your photograph will look. If it’s raining outside and you’d like to take a shot of an umbrella-covered subject holding an umbrella while walking through puddles, then increasing their exposure won’t result in these elements being exposed correctly at all! This goes back to the fact that the camera cannot adjust based on its surroundings; therefore, if those conditions aren’t ideal for lighting up what needs to be illuminated (or darkened), then increasing their brightness may not do much good either since they’ll still look out-of-place
Advantages of using exposure compensation
The ability to adjust your camera’s exposure compensation is helpful because it can help you get the perfect shot. For example, if there was a scene that was too dark or too bright and you couldn’t change the lighting in any way, then using exposure compensation can help you capture that scene.
In addition to helping with getting more accurate exposures for subjects and scenes, exposure compensation can also be used to fine-tune your camera settings as well. For example: If your subject is moving about quickly then using faster shutter speeds will freeze the action; however by increasing exposure compensation slightly (or decreasing it) this will allow more light into the camera allowing slower shutter speeds which may blur motion a bit like in sports photography or when photographing animals while they’re running around chasing each other around quickly in their habitat (which often happens).
Exposure compensation can help you get the perfect shot!
Exposing your photos correctly is one of the most important things you can do to make sure they look their best. Exposure compensation is a great way to take control of how much light hits your camera when you take a picture, helping you make sure that you get the perfect shot every time.
So, what exactly is exposure compensation? Exposure compensation allows you to adjust how bright or dark an image will appear in camera before it’s taken. This means that if there’s too much light coming into your camera while taking a photo, it may be overexposed and appear washed out because there isn’t enough contrast between dark areas and bright lights (think: white snow). Or if there isn’t enough light for whatever reason—maybe at night time or inside under low lighting conditions—then images could end up underexposed with no details visible in them whatsoever (such as faces turning into blobs!). Luckily this isn’t an issue when using exposure compensation!
You might wonder why someone would want their pictures darker than normal, but think about it this way: sometimes scenes look better under certain lighting conditions than others do. For example: If I’m taking pictures outside during sunset hours where everything glows orange-red from the setting sun’s rays hitting my subject matter directly overhead then yeah those pictures would probably look pretty cool! But what happens if I wanted something else? Maybe some clouds passing over head would distract from all those gorgeous colors so instead, maybe I’d use my camera’s settings on purpose instead just so they don’t show up as strongly as they normally would
Conclusion
Exposure compensation is a great tool to have in your camera bag, and it’s not just for landscape photography. Even if you don’t know what EV means or how to use it, you can still benefit from exposure compensation by taking pictures with your camera’s manual mode. This will allow you to adjust your settings so that they are perfect for every shot!