Autofocus Modes Explained
The autofocus modes in your camera can be confusing, but they’ll help you quickly get the shot you want. In this article, we’ll explain what autofocus modes are and how to use them.
Manual focus
The manual focus mode is the best way to get your shot in focus, if you have time. It’s not always the fastest way to focus, however; if you’re shooting sports or wildlife and need a quick response, try switching back and forth between autofocus modes until you find one that works well for your subject.
When manual focus is best:
- You have a static subject—such as a flower or other small object—that doesn’t move while you’re shooting it (or moves very slowly).
- Your subject is far away from you. This is particularly true when using telephoto lenses on cameras with smaller sensors (such as APS-C models) because they magnify distance.
In these situations, using manual focus will give your camera more time to do what it does best: accurately measure distance via contrast detection!
Autofocus
Autofocus is the camera’s ability to automatically focus on a subject. The autofocus modes control how the camera determines what it should be focusing on, and each mode is different depending on your camera. The best autofocus mode depends on the situation—for example, if you’re shooting a landscape or portrait photo—and knowing which one to choose can make all the difference between an out-of-focus image and one that’s sharp as a tack.
It’s important for photographers of all skill levels to understand what these modes are, when they should be used, and why certain cameras might have more than one of them available for use at any given time.
Live view
Live View mode is ideal for taking photos of people, landscapes, and still objects. It’s not as effective at capturing moving objects.
You can set the camera to either autofocus or manual focus in Live View mode. In autofocus mode, your camera will automatically adjust its focus based on what it thinks is most important in the scene you’re shooting—for instance if there’s a person in your shot it will focus on them instead of a building behind them or something else that’s stationary in the background. This works well if there aren’t any moving objects but can sometimes cause problems when taking pictures of people who are moving around throughout their poses (think jumping or running).
Manual focus lets you manually adjust how far away from an object your lens should be focused on before snapping a photo by tapping on areas of interest within each shot so that they’re crisp and clear instead of fuzzy around the edges like they would if left alone at its default setting which could potentially lead to blurred shots due to unintentional movement during exposure time (usually between 1/60th – 1/1000th second).
Digital zoom or optical zoom
Digital zoom is a software trick to make the picture appear larger. When you use digital zoom, your camera crops the picture and enlarges it using interpolation. You can also crop and enlarge an image after taking it with your smartphone or computer, but this creates a lower-quality image than what you get from optical or digital zoom.
Optical zoom is a lens feature that allows you to magnify an object in your shot by physically moving parts of the lens assembly closer together (or farther apart). This creates better-quality images because there’s no loss of resolution when viewing from farther away like there is with digital zooming. Some cameras use both optical and digital techniques in tandem for improved quality; however, the optical zoom will always produce better results than either technique alone!
Continuous Servo autofocus (C Servo)
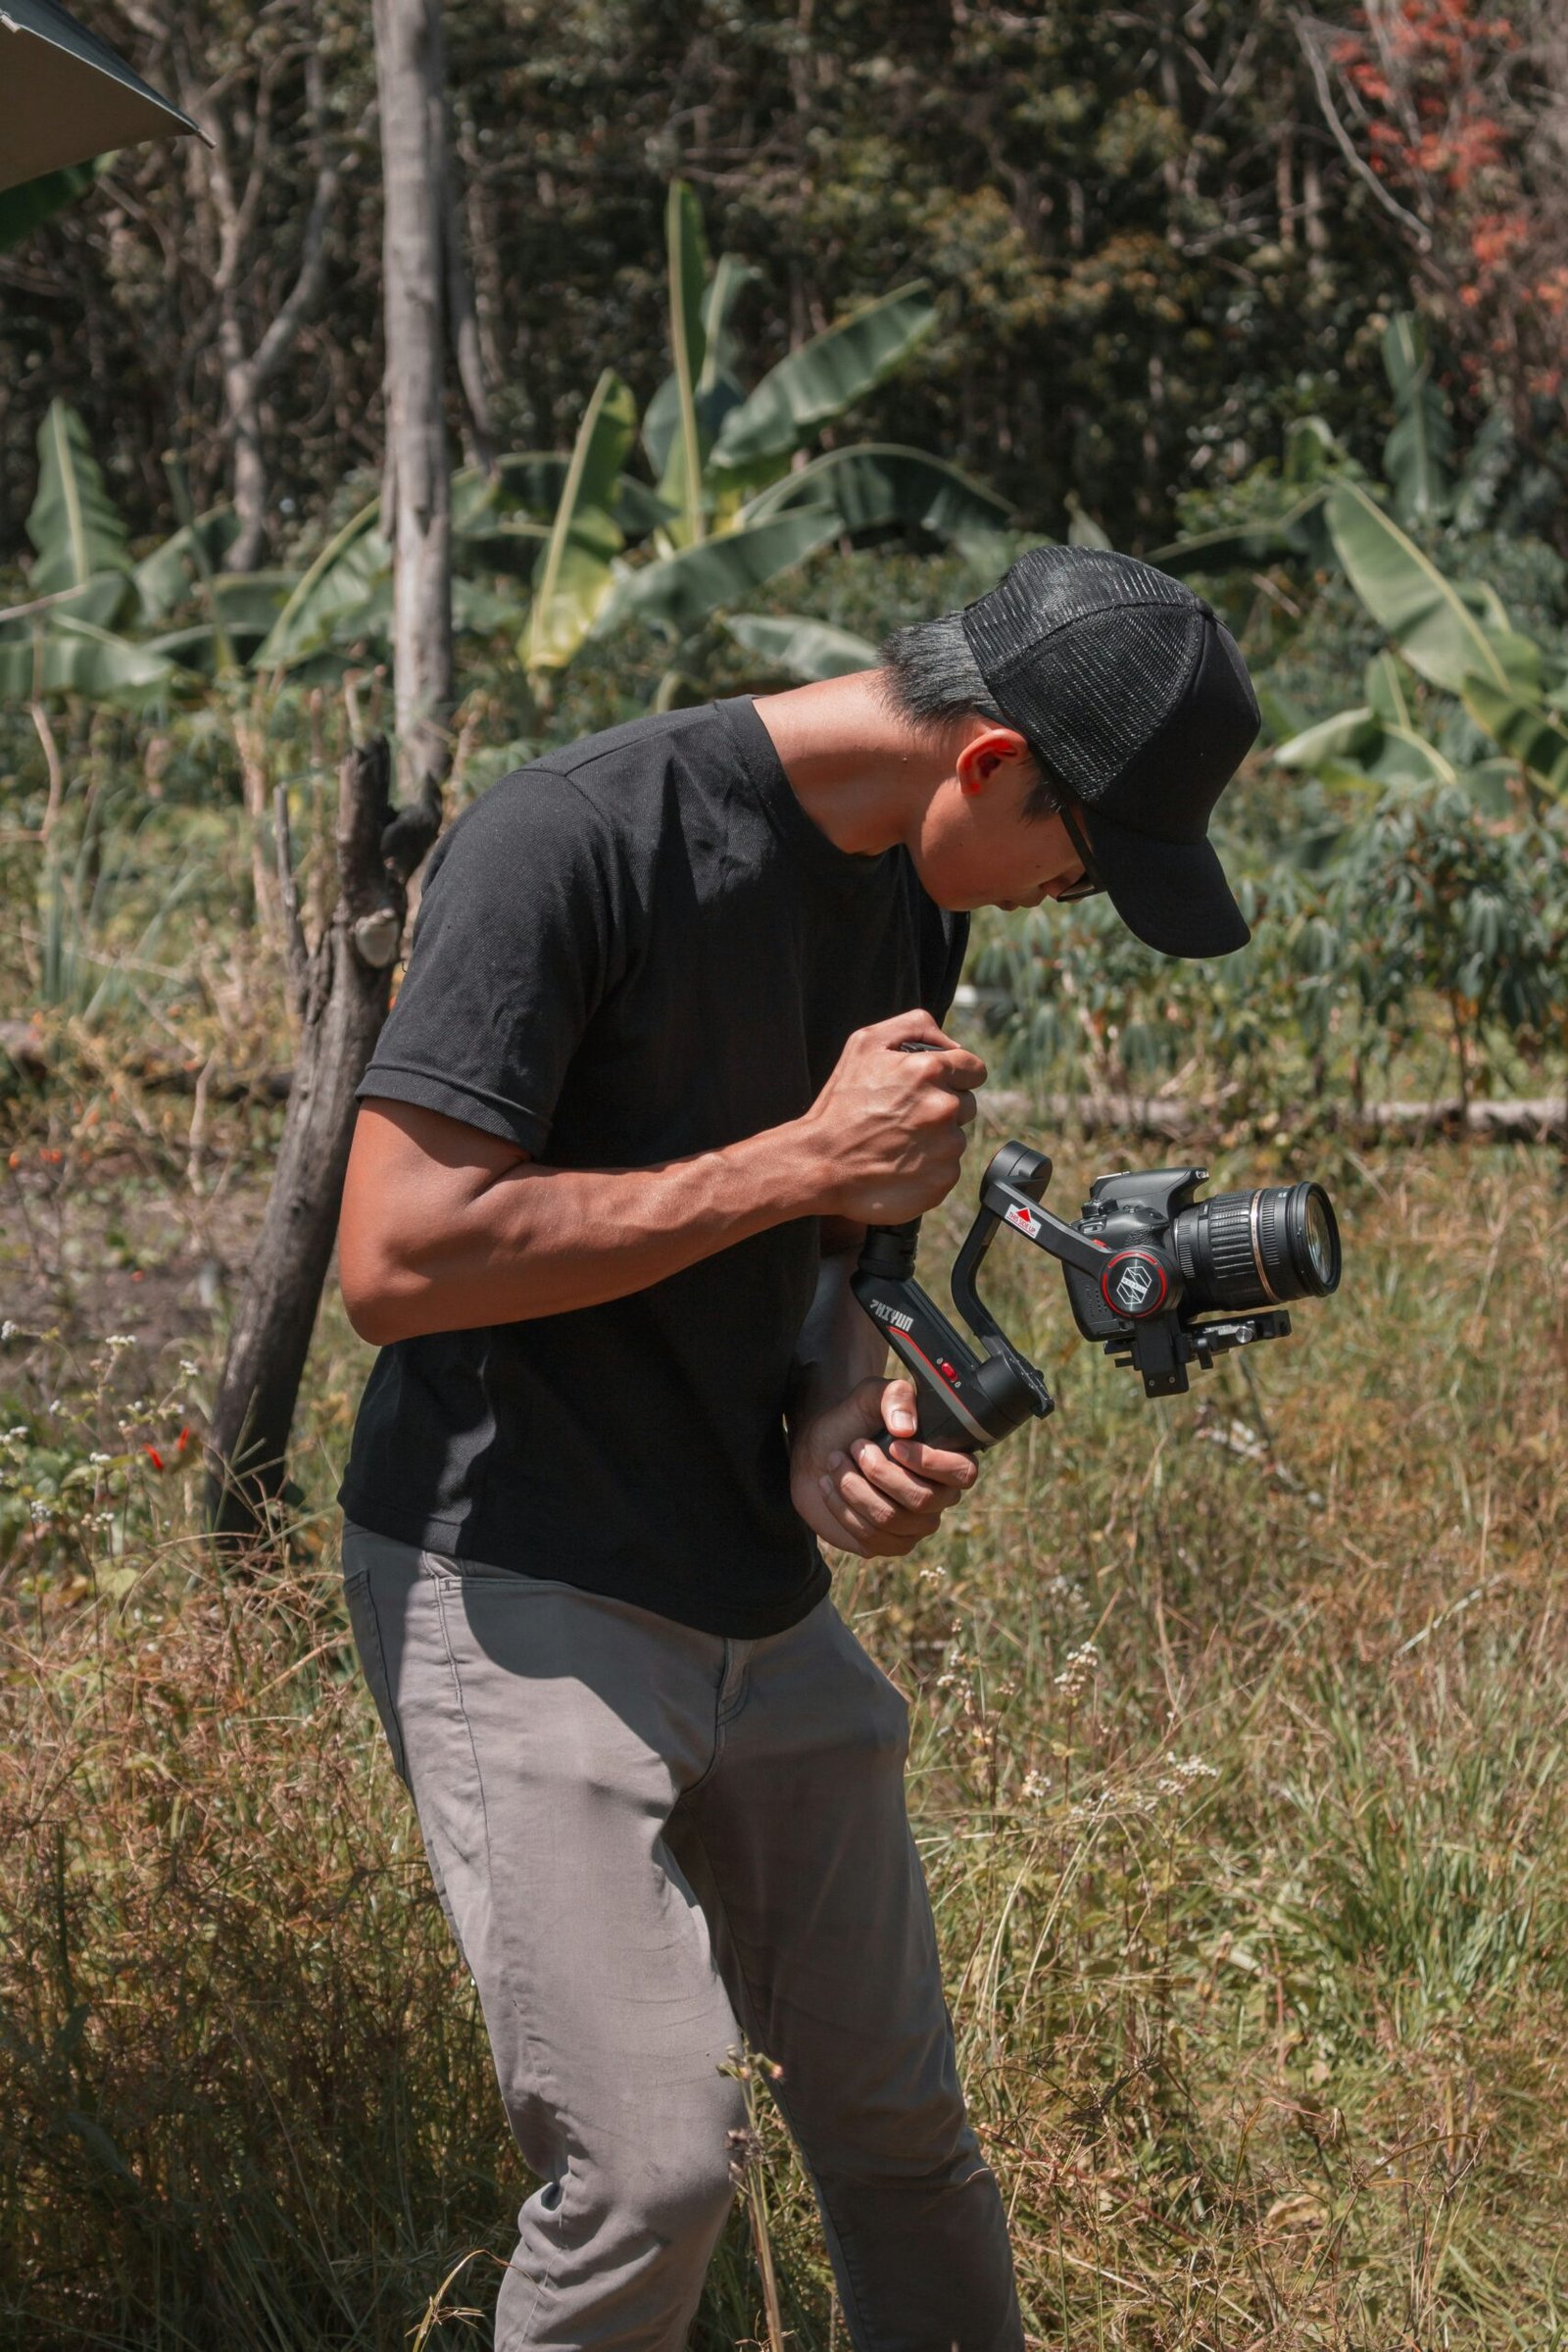
Continuous Servo autofocus (C-AF) is an AF mode that works well for moving objects, still objects, and tracking a moving object. It’s also good for tracking a still object if you’re moving at least one of your subjects.
If you’re taking pictures of a fast-moving subject like sports or wildlife and want to keep them in focus, Continuous Servo autofocus mode may be right for you.
For example, when using this mode with the Nikon Z6 camera body I used while testing out the lenses in this guide, my camera was able to track my dog running across our front yard from several hundred yards away without difficulty—even though she was wearing dark clothing against a dark background.
Auto servo
- When to use it: Auto servo is best used with a subject that’s moving through space at a constant speed, like a person walking or running. It can also be used with subjects that are moving straight toward you or directly away from you at relatively quick speeds since these subjects will remain in focus as they move closer to or further from the camera.
- How to use it: There are two ways you can set your camera up for auto servo AF mode. The first is by setting it up on your camera’s menu system via Custom Settings > Autofocus Area Selection Mode > [AF-A]. The second way is by using one of the following buttons on your DSLR camera:
- What it does: In this mode, the mirror inside your DSLR’s reflex chamber moves out of the way so light can pass through onto your sensor when taking photos (or video). As soon as this happens, autofocus begins working its magic on whatever object has been selected. If there aren’t any objects within range when trying to take photos (or record video), though—like if someone quickly walks behind something—then autofocus won’t work properly because there won’t be anything for it to focus on! This means images may come out blurry if not all pieces were perfectly in place before pressing down on the shutter button.”
Continuous tracking autofocus (CTAF)
Continuous tracking autofocus (CTAF) is the most advanced autofocus mode. It works best for moving subjects and should be used when you want to track a person or animal as they move around the frame. CTAF is not available on all cameras, but when it is, it can be very effective at keeping your subject in focus no matter what direction he or she moves in.
Unfortunately, CTAF’s effectiveness depends greatly upon lighting conditions. When shooting outdoors under bright sunlight or even cloudy skies, it can easily track a subject across the frame without any problems. But when shooting indoors under low light conditions such as indoor parties with dimmed lights or outdoor nighttime sports shots with no moonlight present (or any other situation where there aren’t many natural sources of ambient light), CTAF may struggle quite a lot—and sometimes with great difficulty!
Autofocus modes in order of best to worst for manual focusing
- Manual Focus
- Live View (with electronic zoom)
- Digital Zoom/Optical Zoom (if you have one)
- Continuous Servo Autofocus (C Servo AF for short)
- Auto Servo AF
Conclusion
There are many different autofocus modes, and they all have their own uses. In this article, we looked at the most common modes, as well as how to use them effectively. The best part about these types of modes is that you can use them in combination with each other so that you always have the right tool for the job! We hope this post was helpful for anyone looking for more information on how to get started using their camera’s autofocus system.