Sharp Photos
Taking a great photo is about more than just pointing and shooting. It takes patience, practice, and know-how. In this guide, we’ll provide some basic tips for taking better photos, from choosing your subject matter to adjusting the camera settings.
Select a fast shutter speed
When taking a photo, the camera automatically chooses a shutter speed based on the lighting conditions. If it’s bright outside and you’re taking a photo of your child playing in their backyard, for example, the camera will select a fast shutter speed to let more light into the sensor so you can get a sharp image. If it’s dark out or you’re shooting indoors with the little light present, however, then your camera may choose slower shutter speeds so that it can gather enough light to create an image.
Depending on how much movement there is in your scene and how long each person stays still before moving again affects how much blur will appear in their images (as well as others around them).
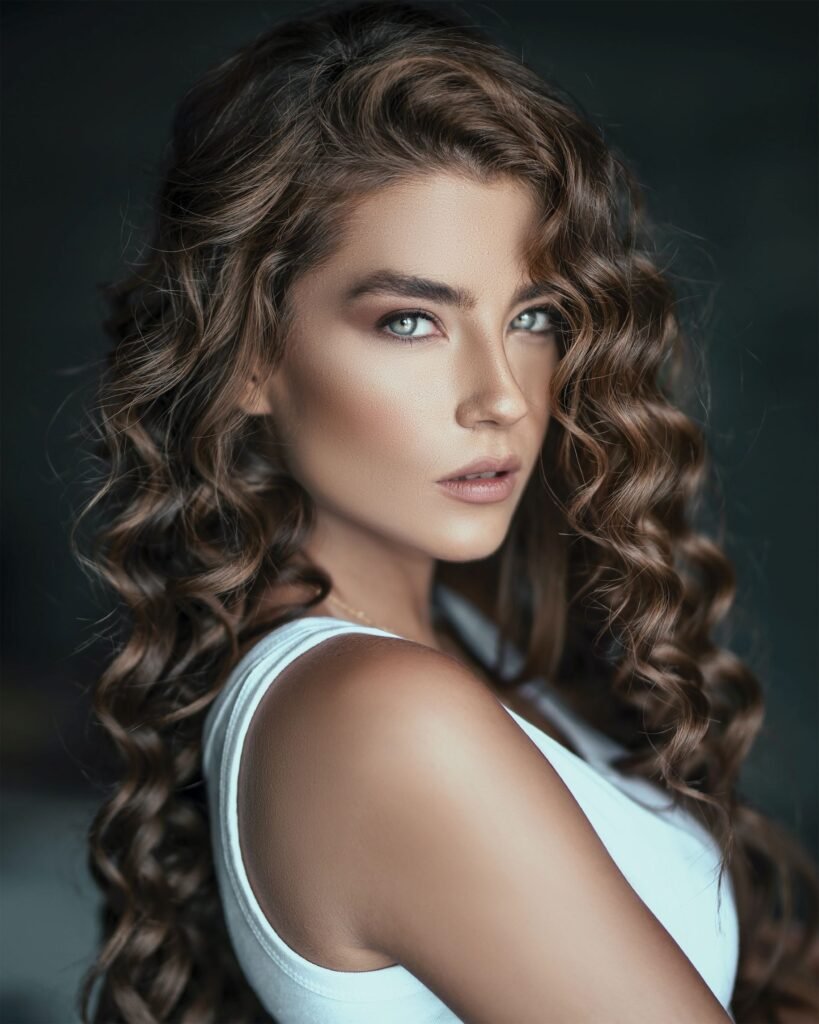
Focus on the eyes
There are many things that can draw the viewer’s attention in a photo, but none are as important as the eyes. The eyes are the windows to the soul and they can tell us everything we need to know about a person or an animal. That being said, it’s important to focus on them when taking photos!
When you’re taking a portrait of someone or something, you want their eyes to be sharpest in the center of your image. As you move outward from this point, they will become softer until eventually there is no detail at all (this is called diffraction).
It’s also worth noting that cameras have trouble focusing directly on bright objects such as lights and reflections in glasses. If you’re having trouble focusing on a subject’s eyes using auto-focus mode in camera apps like Instagram or Snapchat then try switching over to manual mode so you can manually adjust where exactly their face gets focused before snapping away!
Use the right camera settings
If you want to take sharp photos, the first thing you need to do is make sure your camera settings are right. There are several ways to do this, but they all involve making sure that the camera doesn’t move during the exposure (also called “shutter lag”).
The best way to avoid this is by using tripods and remote shutter releases. If you don’t have access to either of these things, then try using cable releases or mirror lock-up instead.
If you’re having trouble focusing your lens on an object in front of it, consider changing its focal length from wide-angle (which makes objects appear smaller) to telephoto (which makes objects appear larger).
Shoot manually
- Set your camera to manual mode and choose the aperture, shutter speed, and ISO settings you want to use.
- Adjust your shutter speed until you get a photo that’s as bright as possible without overexposing it (or making it look too white). If your picture is still too dark, try increasing your ISO setting instead of lengthening the shutter speed further—you’ll want to avoid getting grainy images if possible!
- Shoot away!
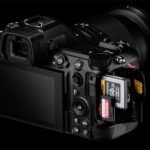
Shoot in RAW
If you’re serious about photography, shooting in RAW is the only way to go.
RAW images contain more data than JPEGs and can be edited with greater precision. They also enable better recovery of details from shadows and highlight areas, which is particularly helpful when editing portraits. This means that by choosing to shoot in RAW, your photos will look better even if they weren’t taken under ideal conditions or you weren’t using the right camera settings at the time.

Regular practice and basic knowledge of your camera will go a long way
As with any skill, the more you practice, the better you’ll get. The same is true for photography. Get in the habit of taking pictures every day and learning about your camera so that when an opportunity to capture a great photo comes along, you’re ready!
Even if it’s just a quick snapshot at first, don’t be afraid to try different settings or try shooting from different angles. You might decide that one angle works better than another—and if not, then at least now you know what doesn’t work!
Conclusion
If you’re looking for a way to improve your photos, sharpness is an easy place to start. By taking control of the settings on your camera, you can make sure that every shot has the best possible chance of being clear and crisp.