How to Create Breathtaking Images with Focus Stacking
Have you ever marveled at an image with incredible depth of field and wondered how the photographer achieved it? One technique that can take your photography to the next level is focus stacking. By combining multiple images taken at different focal points, you can create stunningly sharp and detailed photos that capture every intricate detail.
But how exactly does focus stacking work, and how can you master this art to create breathtaking images? In this blog post, we’ll explore the ins and outs of focus stacking, from the basics to advanced techniques, so that you can take your photography skills to new heights. Get ready to unlock the secrets of focus stacking and elevate your images from ordinary to extraordinary.
What is Focus Stacking and Why Should You Use It in Your Photography?
Focus stacking is a technique used in photography to increase the depth of field and achieve perfect sharpness throughout the image. It involves taking multiple photos of the subject at different focus points, and then blending them together in post-processing software to create one fully focused image. Why should you use focus stacking? Simply put, it allows you to capture more detail and produce images that are visually stunning.
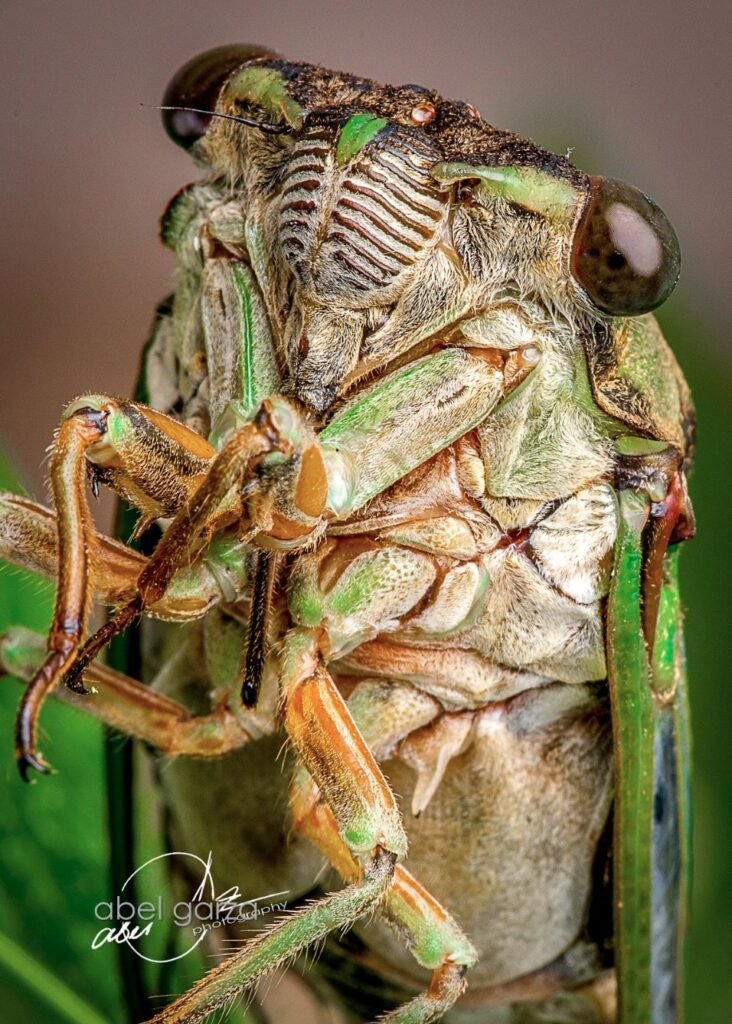
By using focus stacking, you can bring out intricate details that would otherwise be lost due to the limited depth of field in traditional photography methods. This technique is especially useful for macro photography where subjects require a very shallow depth of field but still need sharpness across the entire frame. In short, mastering how to focus stack images will elevate your photography to new heights and allow you to create breathtaking images that truly stand out from the crowd.
The Benefits of Focus Stacking: How to Create Breathtaking Images
Focus stacking is the process of taking multiple images and blending them together to create a final image with greater depth of field. This technique is particularly useful in macro photography, where it can be difficult to achieve full sharpness throughout an entire subject. By combining multiple images taken at different focus points, you can create one image that is tack-sharp from front to back.
One of the biggest benefits of focus stacking is increased creative control. You no longer have to compromise by choosing which parts of your subject will be in focus and which will not. Instead, you can capture all aspects of your subject and blend them into one stunning image that showcases every detail.
Another benefit is the ability to work with challenging lighting conditions. When shooting wide open apertures for shallow depth-of-field, certain areas may become overexposed or underexposed due to tricky lighting situations such as contrasty sunlight on a bright day or low light conditions in shadowed areas; however, by using focus stacking, these issues can be avoided altogether resulting in well-balanced subjects and backgrounds even when shooting under less than optimal circumstances.

Step-by-Step Guide: How to Focus Stack Images for Perfect Sharpness
To focus stack images, you will need to take multiple shots of the same subject at different focus points. The number of shots you need will depend on the depth of field and the distance between your camera and the subject. Once you have taken your shots, you will need to combine them using software such as Adobe Photoshop or Helicon Focus.
Here’s a step-by-step guide on how to focus stack images:
- Set up your camera on a tripod and frame your shot.
- Choose your aperture and focus point for the first shot.
- Take a series of shots, adjusting the focus point slightly each time until you have covered the entire depth of field.
- Import your images into your chosen software.
- Align your images if necessary.
- Combine your images using the focus stacking tool.
- Adjust any settings as needed, such as sharpness or contrast.
- Export your final image.
Remember to shoot in RAW format for maximum flexibility during post-processing, and to use manual focus for more precise control over your shots. With practice, you’ll be able to create stunning images with perfect sharpness from front to back!
The Equipment You Need for Focus Stacking: A Comprehensive List
Equipment You Need for Focus Stacking: A Comprehensive List
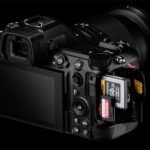
To successfully focus stack images, you’ll need some essential equipment. First and foremost, you’ll need a camera with manual focus capabilities. This will allow you to adjust the focus point for each shot in your stack.
Next, you’ll need a sturdy tripod to keep your camera steady throughout the process. A remote shutter release or timer can also be helpful to prevent any camera shake when taking multiple shots.
In terms of lenses, a macro lens is ideal for focus stacking as it allows for close-up shots with great detail. A wide-angle lens can also be used for landscape photography.
When it comes to software, there are several options available for focus stacking. Adobe Photoshop and Helicon Focus are popular choices among photographers.
Lastly, proper lighting is crucial for achieving sharp and detailed images. A ring light or diffused light source can help evenly illuminate your subject and reduce harsh shadows.
Investing in the right equipment will make the process of focus stacking much easier and produce better results.
Tips and Tricks for Successful Focus Stacking: From Lighting to Composition
Lighting and composition play a crucial role in successful focus stacking. When shooting outdoors, look for diffuse lighting conditions to reduce harsh shadows and minimize glare. In studio settings, use a softbox or diffused light sources to create even illumination across your subject. Be aware of depth of field, as it can affect the number of images you’ll need to capture for focus stacking.
Use smaller apertures (higher f-stop values) for greater depth of field, but be mindful that this can lead to slower shutter speeds and increased risk of blur from camera shake or subject movement. Composition-wise, consider using leading lines or geometric shapes in your scene as they help guide the eye through the image and create visual interest. Experiment with different angles and perspectives until you find what works best!

Common Mistakes to Avoid When Focus Stacking Images
When focus stacking images, there are some common mistakes that you should avoid. One of the most common mistakes is not taking enough photos. It’s important to take enough photos to cover the entire depth of field, otherwise, you may end up with gaps in your final image. Another mistake is not using a tripod or other stabilizing equipment. Any movement between shots can ruin the final image.
Additionally, not paying attention to lighting can also cause issues when focus stacking. Make sure that your lighting is consistent throughout all of your shots. Finally, be careful not to overdo the editing process. While it’s tempting to make every detail as sharp as possible, too much editing can make your image look unnatural and over-processed.
Advanced Techniques for Professional-Level Focus Stacking
For photographers looking to take their focus stacking skills to the next level, there are a few advanced techniques worth exploring. One such technique is using a tilt-shift lens, which allows you to control the plane of focus and create a seamless blend of images. Another technique is using specialized software that can automatically align and blend images for you, saving time and ensuring accuracy.
Another advanced technique is using focus bracketing, which involves taking multiple shots at different focus points and then blending them together in post-processing. This technique requires careful planning and execution but can result in incredibly sharp and detailed images.
It’s also important to consider the depth of field when shooting for focus stacking. Shooting at a smaller aperture will increase the depth of field, but may also result in diffraction and loss of sharpness. Experimenting with different apertures and focal lengths can help you find the sweet spot for your particular setup.
By mastering these advanced techniques, you can take your focus stacking skills to new heights and create truly stunning images.

Putting it All Together: Examples of Stunning Images Created with Focus Stacking
Focus stacking is an essential technique for achieving perfect sharpness and depth of field in your images. By blending multiple photos taken at different focus distances, you can create a final image that is completely in focus from foreground to background.
The possibilities for using focus stacking are endless, whether you’re shooting landscapes, macro photography or portraits. You can capture details that would be impossible with a single shot and create stunning compositions.
Check out these examples of incredible images created with focus stacking:
- A close-up of a flower where every petal is perfectly in focus
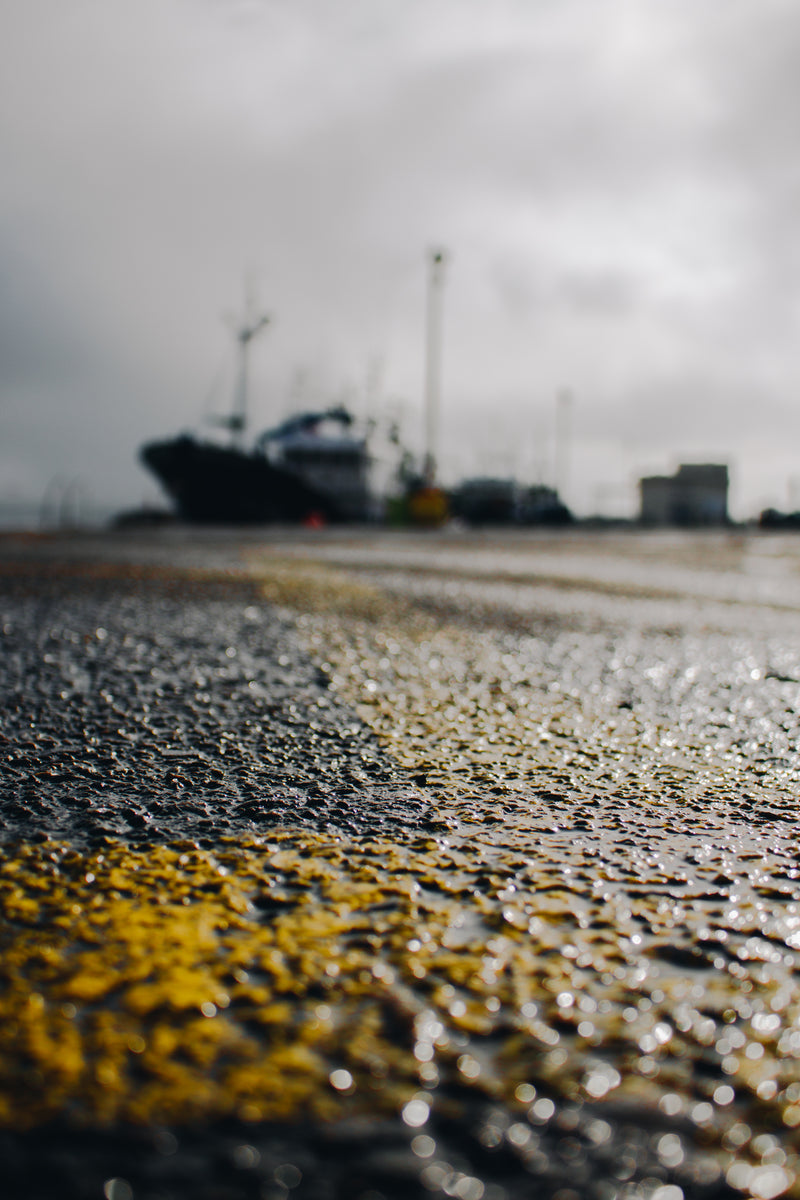
- An intricate landscape scene with sharp detail throughout the entire frame
- A portrait where both the subject’s face and hair are completely sharp despite being at different distances from the camera
By mastering the art of focus stacking, you can take your photography to new heights!
In conclusion, mastering the art of focus stacking is a game-changer for any photographer looking to create breathtaking images with perfect sharpness. By following our step-by-step guide and using the right equipment, you’ll be able to conquer this technique and take your photography skills to the next level. With some practice and patience, you can achieve stunning results that will impress both yourself and your audience.
Remember to experiment with different lighting, compositions, and advanced techniques to truly make your focused stacked images stand out. So go ahead and start clicking away – we can’t wait to see what amazing creations you come up with!