Wildlife 11 Proven Photography Tips
The beauty of nature is captivating, and what better way to capture its essence than through wildlife photography? But let’s be real, mastering the art of capturing wildlife can be a daunting task, especially for beginners. From choosing the right camera equipment to understanding animal behavior, there’s a lot to consider. However, fear not! We’ve compiled 11 proven photography tips that will have you on your way to becoming a wildlife photography pro in no time. So get ready to unleash your inner photographer and take your wildlife shots to the next level!

Introduction: Why Wildlife Photography is Worth Mastering
Wildlife photography is an exciting and rewarding genre that allows photographers to capture the beauty of nature and wildlife. It requires a unique skill set as well as patience, perseverance, and passion to master. With 11 proven tips for beginners, you can take your wildlife photography to the next level.
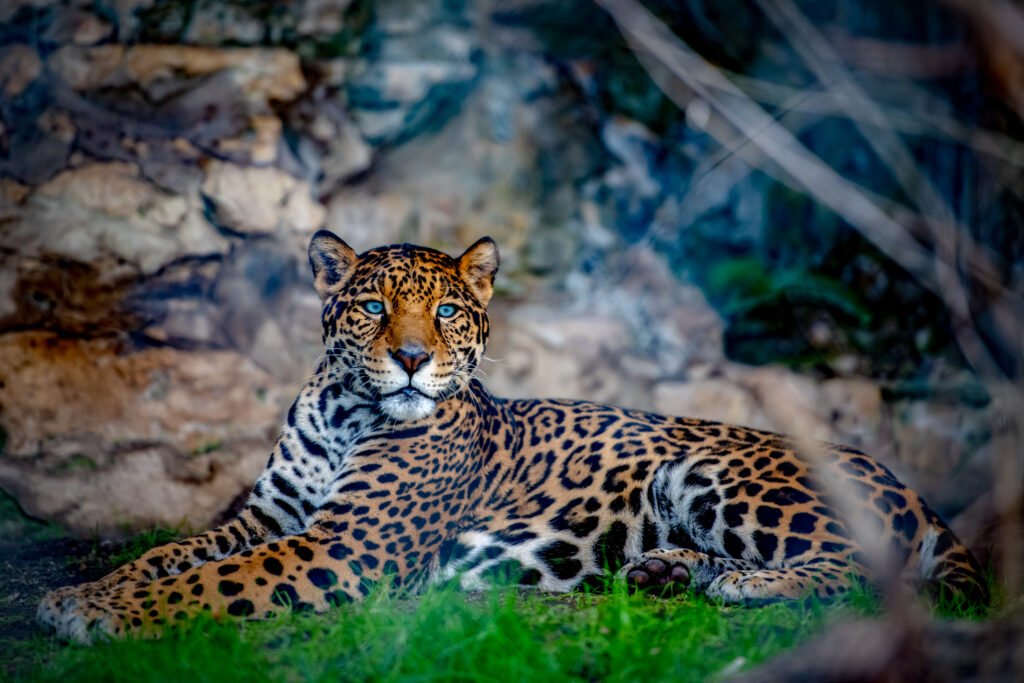
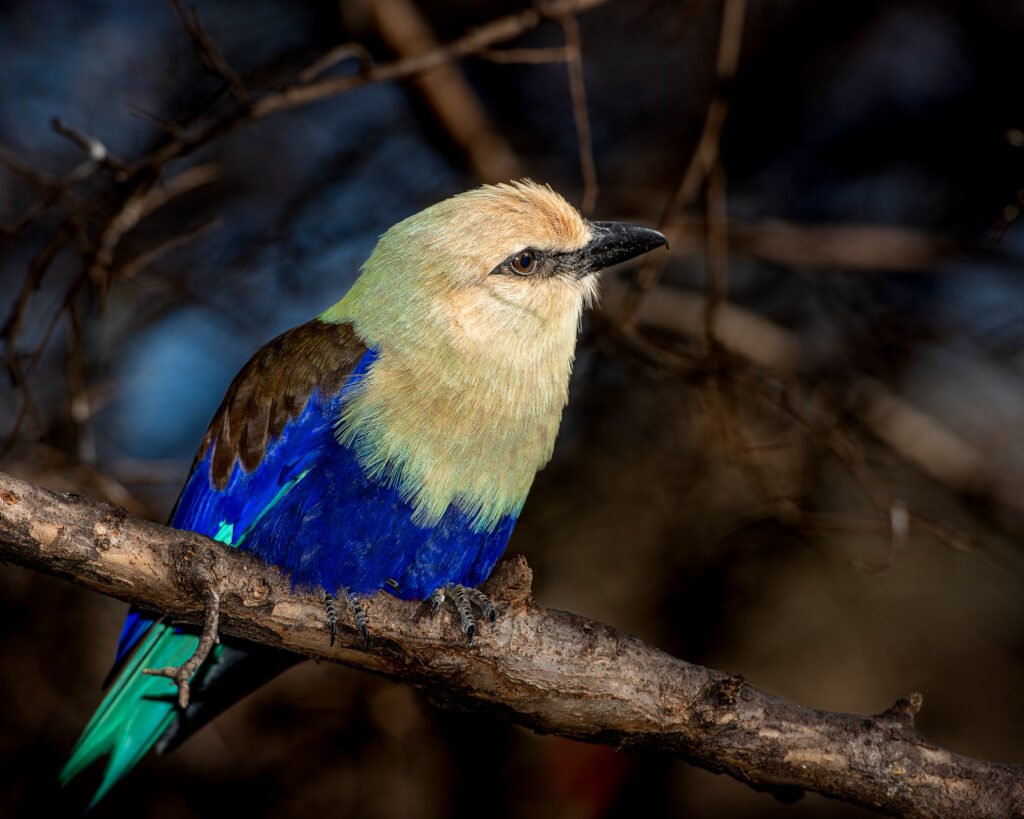
Through wildlife photography, we are given a glimpse into the lives of animals in their natural habitat. The joy of capturing breathtaking shots that display their behavior or emotions is unparalleled. Wildlife photography also helps raise awareness about conservation efforts, making it more than just taking pretty pictures.
However, mastering this kind of photography takes time and effort. You need to have specialized equipment and understand animal behavior patterns for positioning yourself correctly around the subjects while ensuring safety precautions are followed at all times.
In this article, we will cover everything you need to know in order to improve your skills as a beginner wildlife photographer – from choosing appropriate gear and scouting ideal locations to optimizing your images with post-processing techniques once they’ve been taken!
Choosing the Right Gear: Essential Equipment for Wildlife Photography
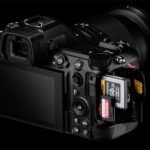
When it comes to wildlife photography, having the right gear is crucial. Investing in a quality camera and lens will make a significant difference in the quality of your photos. A camera with a fast autofocus system and high frames per second (FPS) will help you capture sharp images of moving animals. As for lenses, a telephoto lens with a long focal length is ideal for capturing distant wildlife. A tripod or monopod can also be helpful in stabilizing your shots, especially when using a heavy lens.
In addition to your camera and lens, consider other essential accessories such as memory cards with high storage capacity, extra batteries, and lens filters to reduce glare and enhance colors. A camera bag or backpack is also necessary to protect your gear while traveling to different locations. Don’t forget to pack cleaning supplies such as a microfiber cloth and lens cleaning solution to keep your equipment in top condition.
Investing in the right gear may seem expensive at first, but it’s worth it in the long run if you’re serious about mastering wildlife photography.

Location, Location, Location: Finding the Best Spots for Wildlife Photography
Finding the Best Spots for Wildlife Photography is crucial to getting great shots. Researching your desired animal’s preferred habitat and behavior can help you narrow down the best locations to seek them out. National parks, wildlife reserves, and protected areas are good places to start looking.
Once you have identified potential spots, scout the location beforehand to get familiar with the terrain and plan logistics like parking or camping. Pay attention to factors like seasonality, time of day, and weather patterns as they can influence an animal’s behavior.
Another strategy is seeking advice from local guides or photographers who know the area well. They may be able to provide insight on hidden gems that are less known but equally rewarding.
Remember that patience is key when it comes to wildlife photography. Spend time observing how animals move and interact within their environments before attempting a shot. With practice, experience, and some luck in being at the right place at the right time, your wildlife photos will become more impressive than ever before!
Lighting and Composition: Tips for Capturing Stunning Wildlife Photos
Lighting and composition are crucial elements in wildlife photography. When it comes to lighting, the best times to shoot are during the golden hours, which are the first hour after sunrise and the last hour before sunset. During these times, the light is softer and warmer, creating a more pleasing effect on your subject.
Composition is equally important in wildlife photography. A good composition can make a huge difference in the impact of your photo. The rule of thirds is a popular composition technique where you divide your frame into thirds both horizontally and vertically, placing your subject at one of the intersecting points. This creates a more balanced and visually appealing image.
Another important aspect of composition is the use of negative space. Negative space refers to the empty areas around your subject. By incorporating negative space into your composition, you can create a sense of depth and emphasize your subject even more.
Remember to experiment with different angles and perspectives to add interest to your photos. Don’t be afraid to get down low or shoot from above for a unique perspective on your subject.
Patience is Key: Techniques for Waiting and Observing Wildlife in Their Natural Habitat
Patience is key when it comes to wildlife photography. Animals can be unpredictable and may not always appear when you want them to. One technique for waiting and observing wildlife in their natural habitat is to find a good vantage point and simply wait. This could mean sitting in a blind or hiding behind some bushes. Another technique is to move slowly and quietly, so as not to startle the animals.
Observation is also important – take note of the animal’s behavior and movements, as this can give you clues as to when they might be more active or when they might be getting ready to move on. Remember, the goal is not just to capture a photo of an animal, but to capture a moment that tells a story about that animal’s life in the wild. So take your time, be patient, and observe closely – it will pay off in the end with stunning wildlife photos.

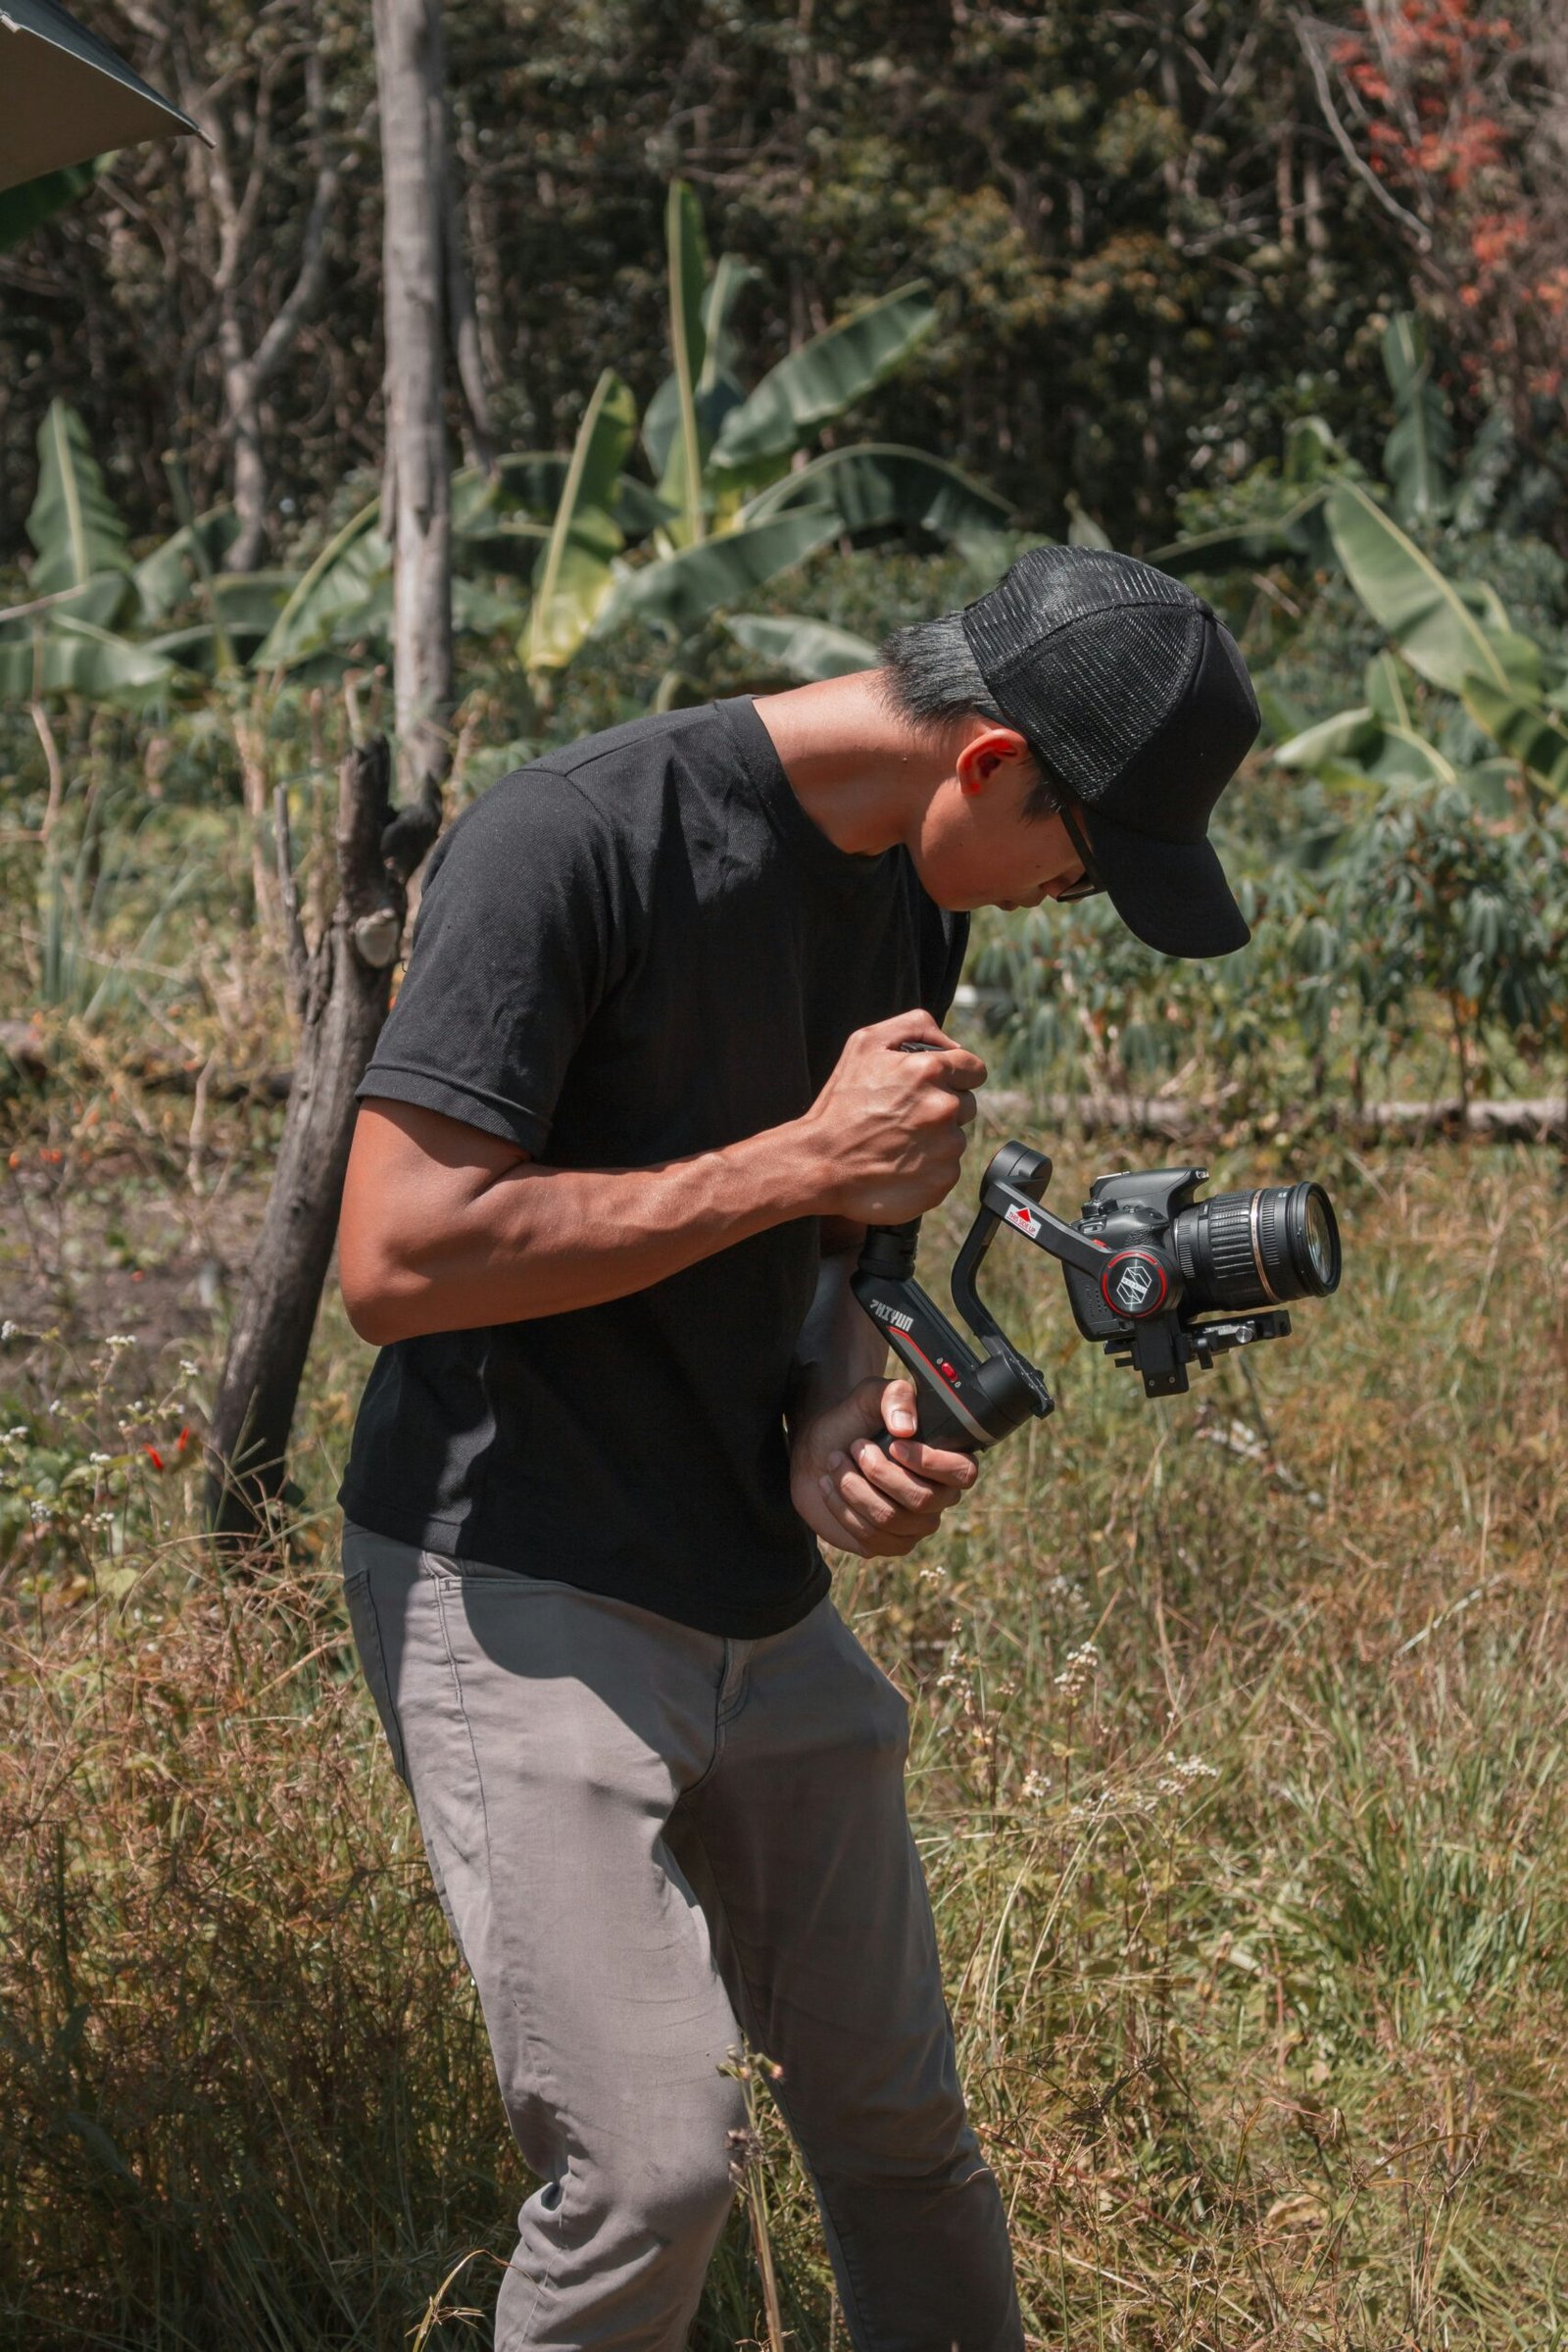
Getting Up Close and Personal: Approaching Wildlife Safely and Respectfully
Approaching wildlife for photography can be a tricky and potentially dangerous task if not done correctly. Safety should always be the top priority when trying to get up close to animals in their natural habitat. It is important to research about the animal’s behavior, habits, and territorial tendencies before attempting to approach them. Additionally, it is recommended to keep a safe distance using telephoto lenses or zoom features on your camera.
Respectful behavior towards wild animals is also essential. Avoid interfering with their natural movements or activities and never try to bait or feed them just for the sake of getting a better shot. Instead, allow them to roam around freely while you carefully observe from afar.
Remember that wild animals are unpredictable and may pose potential threats even if they appear friendly at first glance. Always bring someone along on your photo shoots so that one person can focus solely on observing the surrounding area while you take photos safely from a distance. By following these safety precautions and respecting wildlife’s space, you can capture beautiful shots without compromising anyone’s safety – including yours!
Editing and Post-Processing: Enhancing Your Wildlife Photos in Post-Production
Understanding the Basics of Post-Processing for Wildlife Photography
Post-processing is an essential aspect of wildlife photography that can make all the difference between a good photo and an exceptional one. The key to successful post-processing is to keep it subtle while emphasizing the natural beauty of your subjects. Two important techniques to keep in mind are adjusting exposure and enhancing texture. Adjusting exposure helps bring out details in both bright and dark areas, making your photos more vibrant, while enhancing texture emphasizes fine details such as fur or feathers, creating a sense of depth and dimensionality. With these key techniques in mind, you can elevate your wildlife photos from good to great with just a little touch-up work during post-processing.

Tips and Techniques for Enhancing Colors and Tones in Your Wildlife Photos
When it comes to enhancing your wildlife photos in post-production, one of the most important aspects is adjusting the colors and tones. Color correction can make a huge difference in the final result of your photo, especially if the lighting conditions were less than ideal. Adjusting the exposure can also help bring out details in both bright and dark areas of your photo. Don’t be afraid to play around with saturation and contrast as well, but be careful not to overdo it and make your photo look unnatural. Remember, post-processing should enhance your photo, not completely change it.
Exploring Advanced Editing Techniques to Improve your Wildlife Images
In addition to basic editing techniques, there are some advanced post-processing methods that can take your wildlife photos to the next level. One important technique is selective adjustments, where you can adjust specific areas of the photo without affecting the rest. This allows you to bring out details in shadows or highlights and make your subject stand out.
Another key technique is sharpening, which can enhance fine details and textures in fur, feathers, or scales. However, be careful not to overdo it as this can result in a noisy and unnatural-looking image. Lastly, using vignettes or graduated filters can help draw attention to your subject by darkening or lightening certain parts of the photo. By mastering these advanced editing techniques along with basic ones such as exposure and color adjustments, you’ll be able to create stunning wildlife images that truly capture their beauty in its entirety.
Avoiding Common Mistakes When Editing Your Wildlife Photographs
When editing your wildlife photographs, it’s important to avoid over-editing and maintain the natural look of the image. Preserving the authenticity of the moment is crucial in wildlife photography. Avoid using filters or making drastic changes to the color balance or saturation. Instead, focus on enhancing the details and sharpness of the image while keeping it as close to its original state as possible. Another common mistake is not properly organizing your edited photos. Creating a system for file management can save you time and prevent confusion when looking for specific images later on. Keep these tips in mind when editing your wildlife photos to ensure they remain stunning and true to their natural beauty.
Practice Makes Perfect: Putting These 11 Proven Tips into Action
Putting These 11 Proven Tips into Action
Now that you have learned the essential tips for wildlife photography, it’s time to put them into practice. Remember, practice makes perfect. The more you practice, the better you will become at capturing stunning wildlife photos.
Start by choosing a location where you can find a variety of wildlife. This will give you the opportunity to practice different techniques and experiment with your gear. Be patient and observe the animals in their natural habitat. Try different angles and compositions to capture unique shots.
When editing your photos, keep in mind that less is often more. Don’t overdo it with filters or effects. Instead, focus on enhancing the natural beauty of the photo.
Lastly, don’t be afraid to make mistakes. Every photographer has had their fair share of blurry or poorly composed shots. Learn from your mistakes and keep practicing. With time and dedication, you’ll be able to capture breathtaking wildlife photos that you can be proud of.
In conclusion, mastering wildlife photography requires patience, skill, and the right tools. The tips outlined in this article will help you develop your skills in capturing stunning images of wild animals and their natural habitats. Remember to choose the right gear for your needs, scout out locations with potential for great shots, experiment with lighting and composition techniques, respect wildlife by approaching them safely, and edit your photos to enhance their beauty. With practice and dedication, you can become a pro at capturing breathtaking images of nature’s most fascinating creatures. So pick up your camera and start exploring!
FAQ
Q.Who can benefit from these 11 wildlife photography tips for beginners?
A. Anyone who wants to improve their skills in wildlife photography can benefit from these tips.
Q. What are some basic wildlife photography tips for beginners?
A. Use a telephoto lens, learn animal behavior, and be patient to capture wildlife photos.
Q.How can I improve my composition in wildlife photography?
A. Use the rule of thirds, create depth, and consider the background for better composition.
Q.What if I can’t afford expensive gear for wildlife photography?
Start with a basic DSLR and a telephoto lens, and focus on improving your skills before investing in expensive gear.
Q.How can I capture sharp wildlife photos?
A. Use a fast shutter speed, stabilize your camera, and focus on the animal’s eyes for sharp photos.
Q.What if I’m not able to travel to exotic locations for wildlife photography?
A. Look for wildlife in your local area, visit nearby national parks, and join local photography clubs for opportunities to capture wildlife photos.