Master Macro Photography: 9 Tips for Beginner Success
Have you ever marveled at the intricate details of a tiny object and wished you could capture it in all its glory? Macro photography allows you to do just that. This specialized form of photography can be both challenging and rewarding, especially for beginners. But fear not, with the right techniques and equipment, anyone can master macro photography. In this post, we’ll share 9 tips to help you achieve stunning macro shots that will impress even the most discerning eye. So grab your camera and let’s get started!
Understanding Macro Photography: A Beginner’s Guide
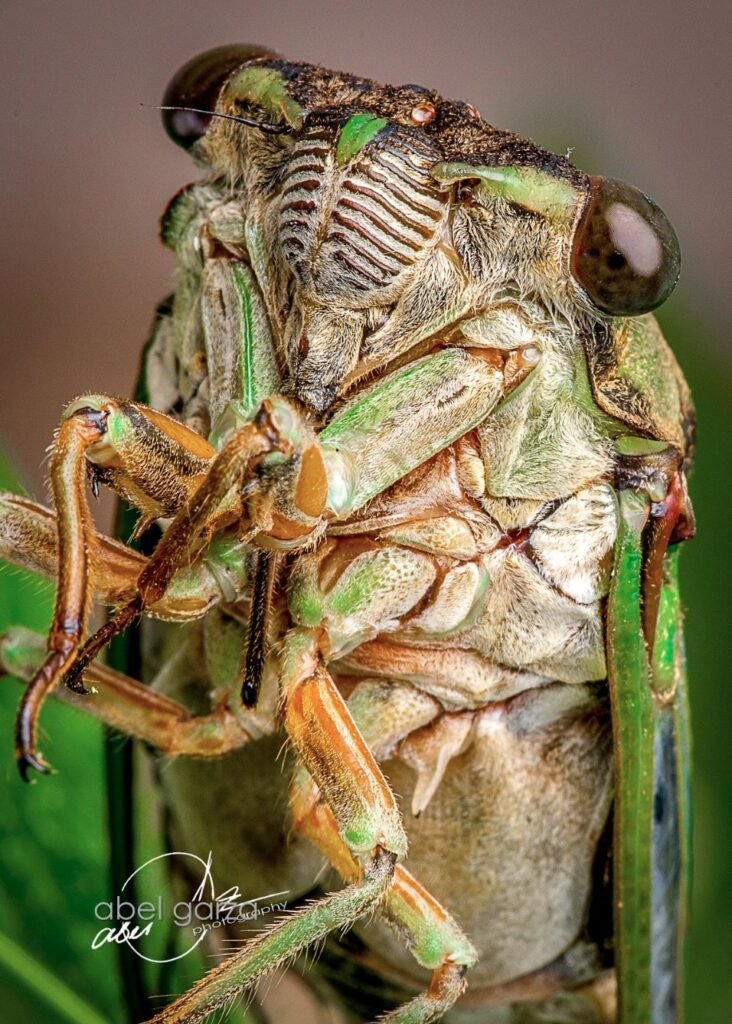
Macro photography is a fascinating genre that allows you to capture the intricate details of small subjects that are often overlooked by the naked eye. To succeed in macro photography, it’s important to understand the basics of this specialized field. Macro photography involves capturing images of subjects at a magnification ratio of 1:1 or greater, meaning that the subject appears life-size or larger on the camera’s sensor.
This requires specialized gear such as a macro lens or extension tubes to achieve this level of magnification. Lighting and composition are also crucial elements in macro photography, as they can make or break your shot. As a beginner, it’s important to experiment with different techniques and settings to find what works best for you. With practice and patience, you can master the art of macro photography and capture stunning images of the world up close.

Choosing the Right Gear for Your Macro Photography Adventures
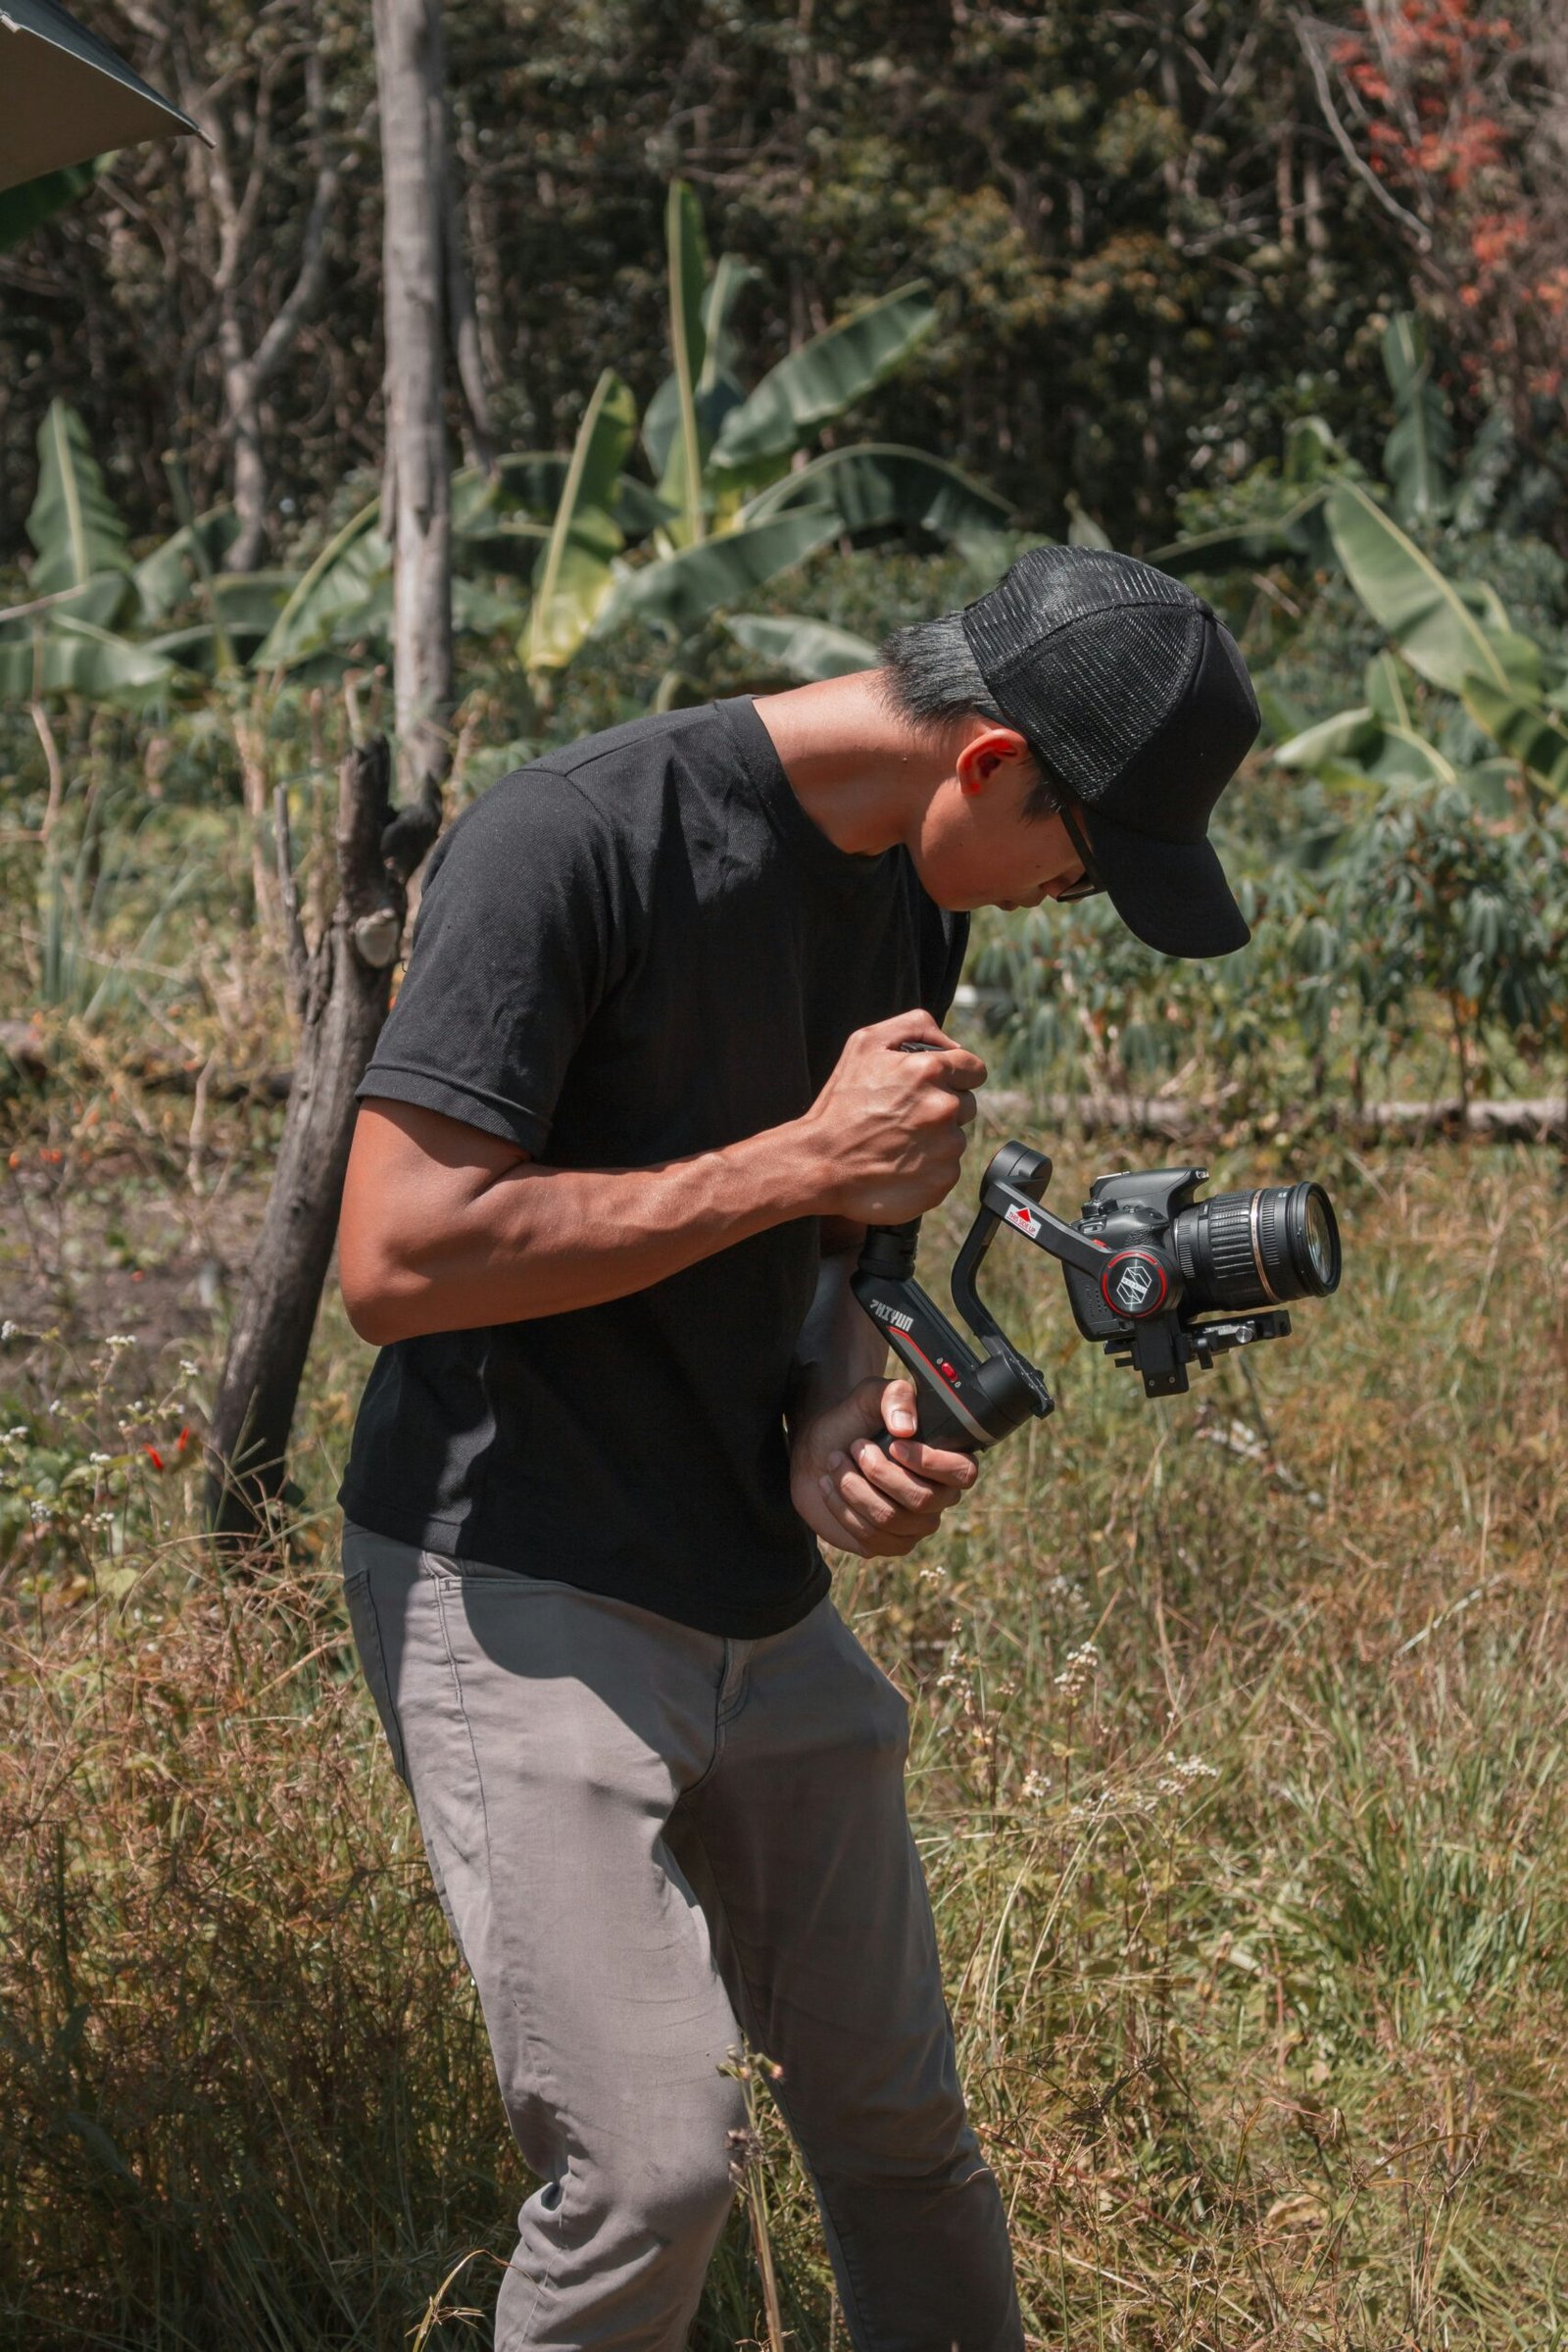
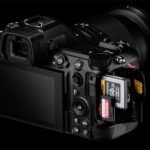
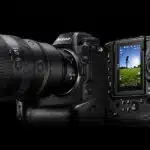
When it comes to macro photography, having the right gear is essential. First and foremost, you’ll need a camera with manual controls and a lens capable of focusing at close distances. A macro lens is ideal, but extension tubes or close-up filters can also work well. Additionally, a sturdy tripod will help keep your shots steady and prevent camera shake.
Another important piece of gear is a remote shutter release. This allows you to trigger the shutter without physically touching the camera, reducing the risk of blur from camera movement. If you’re shooting outdoors, consider investing in a diffuser or reflector to control harsh lighting conditions.
Lastly, don’t forget about storage and backup solutions for your images. Macro photography often involves shooting many frames to capture that perfect shot, so having ample memory cards and an external hard drive for backup is crucial. With the right gear in hand, you’ll be well on your way to capturing stunning macro shots.
Mastering Lighting and Composition in Macro Photography
Macro photography presents unique challenges in terms of lighting and composition. One important consideration is the size of your subject, as you’ll need to use a small light source or carefully position artificial lights to avoid casting shadows on your subject.
In addition, pay attention to the angle of light hitting your subject. Front lighting can create a flat effect, while backlighting can give an ethereal glow. Experiment with different angles until you find what works best for each shot.
Compositionally, macro photography allows for stunning close-up views of intricate details that may be overlooked at larger scales. Use this opportunity to play with leading lines, natural patterns, and negative space within your frame.
Remember that less is often more when it comes to macro compositions – cluttered backgrounds can distract from the main focal point of your image. Take time to adjust your camera angle or physically move objects within the frame if necessary.
With practice and experimentation, you’ll become adept at using light and composition techniques specific to macro photography that will elevate the impact of every shot.

Overcoming Common Challenges in Macro Photography for Beginners
Understanding Depth of Field in Macro Photography
Depth of field is a common challenge that beginners face in macro photography. Understanding how to control it can make or break your shot. Macro lenses have shallow depth of field, meaning only a small portion of the image will be in focus while the rest remains blurry or out-of-focus. To overcome this, try shooting with smaller apertures (larger f-numbers) to increase your depth of field and get more of your subject in focus. You can also experiment with focus stacking techniques where multiple images are taken at different focal points and then blended together in post-processing for optimal sharpness throughout the entire image.
Overcoming Lighting Challenges in Macro Photography
One of the biggest challenges in macro photography is overcoming lighting issues. When shooting at such a close range, even slight changes in lighting can dramatically affect your shots. To overcome this challenge, it is important to use diffused light and avoid harsh shadows. Additionally, you may want to consider using a reflector or softbox to further control the lighting conditions.
Another issue that beginners often face when dealing with lighting in macro photography is getting proper exposure. To solve this problem, experiment with different aperture and shutter speed settings until you find what works best for your specific situation.
Getting Up Close and Personal: Tricks to Achieving Sharp Focus in Your Shots
Understanding Depth of Field: How to Control Focus in Macro Photography
Depth of field is one of the most essential aspects when trying to achieve sharp focus in macro photography. In this genre, depth of field is a function that can greatly affect how much of your subject appears sharp and in focus. To create stunning close-up shots, you must master controlling the aperture and distance between your camera and the subject.
Using a smaller aperture such as f/11 or higher helps increase the depth of field, resulting in more elements being sharply focused. However, it also reduces the amount of light entering your camera which may require longer exposure times or extra lighting equipment.
To get closer to your object while maintaining focus, consider using extension tubes or other specialized equipment for macro photography. And always remember that even small changes in angle or distance from your subject can make a big difference in achieving razor-sharp images with satisfying bokeh effects!
Choosing the Right Aperture: Finding the Sweet Spot for Sharpness
When shooting macro photography, choosing the right aperture is crucial to achieving sharp focus in your shots. A wider aperture (lower f-stop number) will create a shallower depth of field, which can be useful for isolating specific parts of your subject and creating a dreamy effect. However, if you want more of your subject to be in focus, opt for a narrower aperture (higher f-stop number).
Finding the sweet spot for sharpness often involves testing different apertures with your specific gear and subject matter. Keep in mind that using a narrow aperture may require longer exposure times or additional lighting to compensate for less light entering the lens.
Stabilizing Your Camera: Techniques for Reducing Camera Shake in Macro Shots
Achieving sharp focus is crucial in macro photography, and camera shake can be a major obstacle to this. To minimize the risk of blurry shots, consider using a tripod or monopod. This will help stabilize your camera and reduce any movement caused by hand-holding.
If you do not have access to these tools, try bracing yourself against a stable surface such as a tree trunk or wall. You can also position your body in a way that creates additional stability – for example, tucking your elbows into your sides or kneeling down with both knees on the ground.
Finally, use a remote-release shutter button or timer delay to avoid even the slightest physical contact between you and the camera during exposure. These simple techniques can make all the difference when it comes to capturing razor-sharp details in macro shots.
Using Manual Focus: When and How to Override Autofocus for Better Results
Using manual focus can be a game-changer when it comes to capturing sharp and detailed macro shots. While autofocus is a convenient feature, it may not always be accurate, especially when dealing with tiny subjects. In such cases, switching to manual focus can help you achieve better results.
When using manual focus, make sure to use a tripod or stabilize your camera to avoid any camera shake. Also, consider using focus stacking techniques to ensure that your entire subject is in sharp focus. With practice and patience, mastering manual focus can help you take your macro photography skills to the next level.
Exploring Unique Angles and Perspectives in Macro Photography
One of the most exciting aspects of macro photography is experimenting with unique angles and perspectives. Breaking away from the traditional, eyes-level approach can result in some truly stunning shots. Try shooting from ground level to capture tiny subjects like insects or flowers at eye level. Alternatively, experiment with a bird’s-eye view perspective by shooting downwards on your subject.
Another technique for achieving interesting perspectives is to play around with depth of field. A shallow depth-of-field can blur out parts of an image while keeping certain elements in focus, adding a dreamy effect that draws attention to what you want viewers to see.
Finally, consider incorporating different textures into your images through the creative use of props or settings. For example, placing delicate flowers on rough bark creates an interesting contrast and adds depth to your shot. With these techniques under your belt, you’ll be well on your way toward standing out as a master in the world of macro photography!
Using Natural Light to Elevate Your Macro Shots
Using natural light to elevate your macro shots is a cost-effective way to create stunning images. Start by scouting out locations with soft or diffused lighting, such as under a tree canopy or on an overcast day. Direct sunlight can be harsh and cast unwanted shadows, so aim for areas where the light is more even. You can also use reflectors or whiteboards to bounce light onto your subject and fill in any shadows.
Consider the time of day when shooting outdoors: early morning and late afternoon are ideal times as the sun’s rays are softer during these hours. Play around with different angles and positions relative to your subject; side-lighting will bring out texture, while backlighting can create a beautiful halo effect.
Don’t forget about indoor natural lighting sources too! Large windows that let in ample daylight make great backdrops for capturing the intricate details of plants, flowers, and insects without having to manipulate artificial lights.
Remember that each location provides its unique lighting challenges – don’t be afraid to experiment until you find what works best for you!
Post-Processing Tips to Enhance Your Macro Photographs
Post-processing tips can help take your macro photography to the next level. One important step is to crop your images to focus on the most interesting part of the subject. This can also help with composition and eliminate distracting elements. Adjusting the contrast and saturation can also enhance the colors and details in your shot. Be careful not to overdo it, as this can result in an unnatural look.
Another useful tool is sharpening, which can bring out the fine details in your image. However, be careful not to oversharpen as this can create a grainy or noisy effect. Finally, consider using presets or filters to add a unique touch to your photos. Just remember that post-processing should enhance your image, not completely change it.
Finding Inspiration from Other Artists: Top Examples of Stunning Microphotography
When it comes to finding inspiration in macro photography, there is no shortage of incredible artists to turn to. One great source for stunning microphotography examples is the annual Nikon Small World competition, which celebrates the beauty and complexity of microscopic subjects. Another excellent resource is social media platforms like Instagram or Flickr, where you can find talented photographers sharing their work and techniques.
It’s important not only to appreciate these works but also to learn from them. Study how other photographers use lighting, composition, and color in their images. Pay attention to the different angles and perspectives that they use when shooting insects or flowers.
Don’t be afraid to experiment with new techniques or push your boundaries creatively as you develop your own style. Remember that macro photography is all about discovery and revealing worlds that are often hidden from view – so embrace the challenge!
In conclusion, macro photography can be a challenging but rewarding field to explore. By following these 9 tips for beginners, you’ll be on your way to capturing stunning shots of the tiny worlds around us. Remember to choose the right gear, master lighting, and composition techniques, overcome common challenges, experiment with angles and perspectives, and use natural light to your advantage. And don’t forget about post-processing tips and finding inspiration from other artists! With practice and dedication, you’ll soon become a master at capturing the intricate beauty of macro photography.