Master 8 Zoo Photography Tips: Simple and Effective for Beginners. As a photographer, capturing the essence of wildlife in its natural habitat can be a challenging yet rewarding experience. However, taking stunning photos at the zoo presents its own set of unique challenges. Whether you’re a beginner or an experienced photographer, these 8 simple tips will help you take your zoo photography to the next level. Get ready to capture mesmerizing shots that will leave your audience in awe!
Understand the Lighting Conditions: Making the Best of Natural Light for Zoo Photography
Lighting conditions play a crucial role in zoo photography. It is important to understand the natural light available in the zoo and how it affects your shots. Golden hours are the best times to shoot as the light is soft and warm, creating a beautiful atmosphere. However, if you’re shooting during the day, avoid harsh sunlight as it can create unwanted shadows and highlights. Cloudy days can be great for shooting as they provide even lighting and help to avoid harsh shadows.
If you’re shooting indoors, use a fast lens with a wide aperture to let in more light. Additionally, consider using a tripod or monopod to stabilize your camera and prevent camera shake. By understanding lighting conditions, you can create stunning images that capture the essence of the animals in their natural habitat.

Choosing the Right Gear and Settings: Essential Tips for Shooting in a Zoo Environment
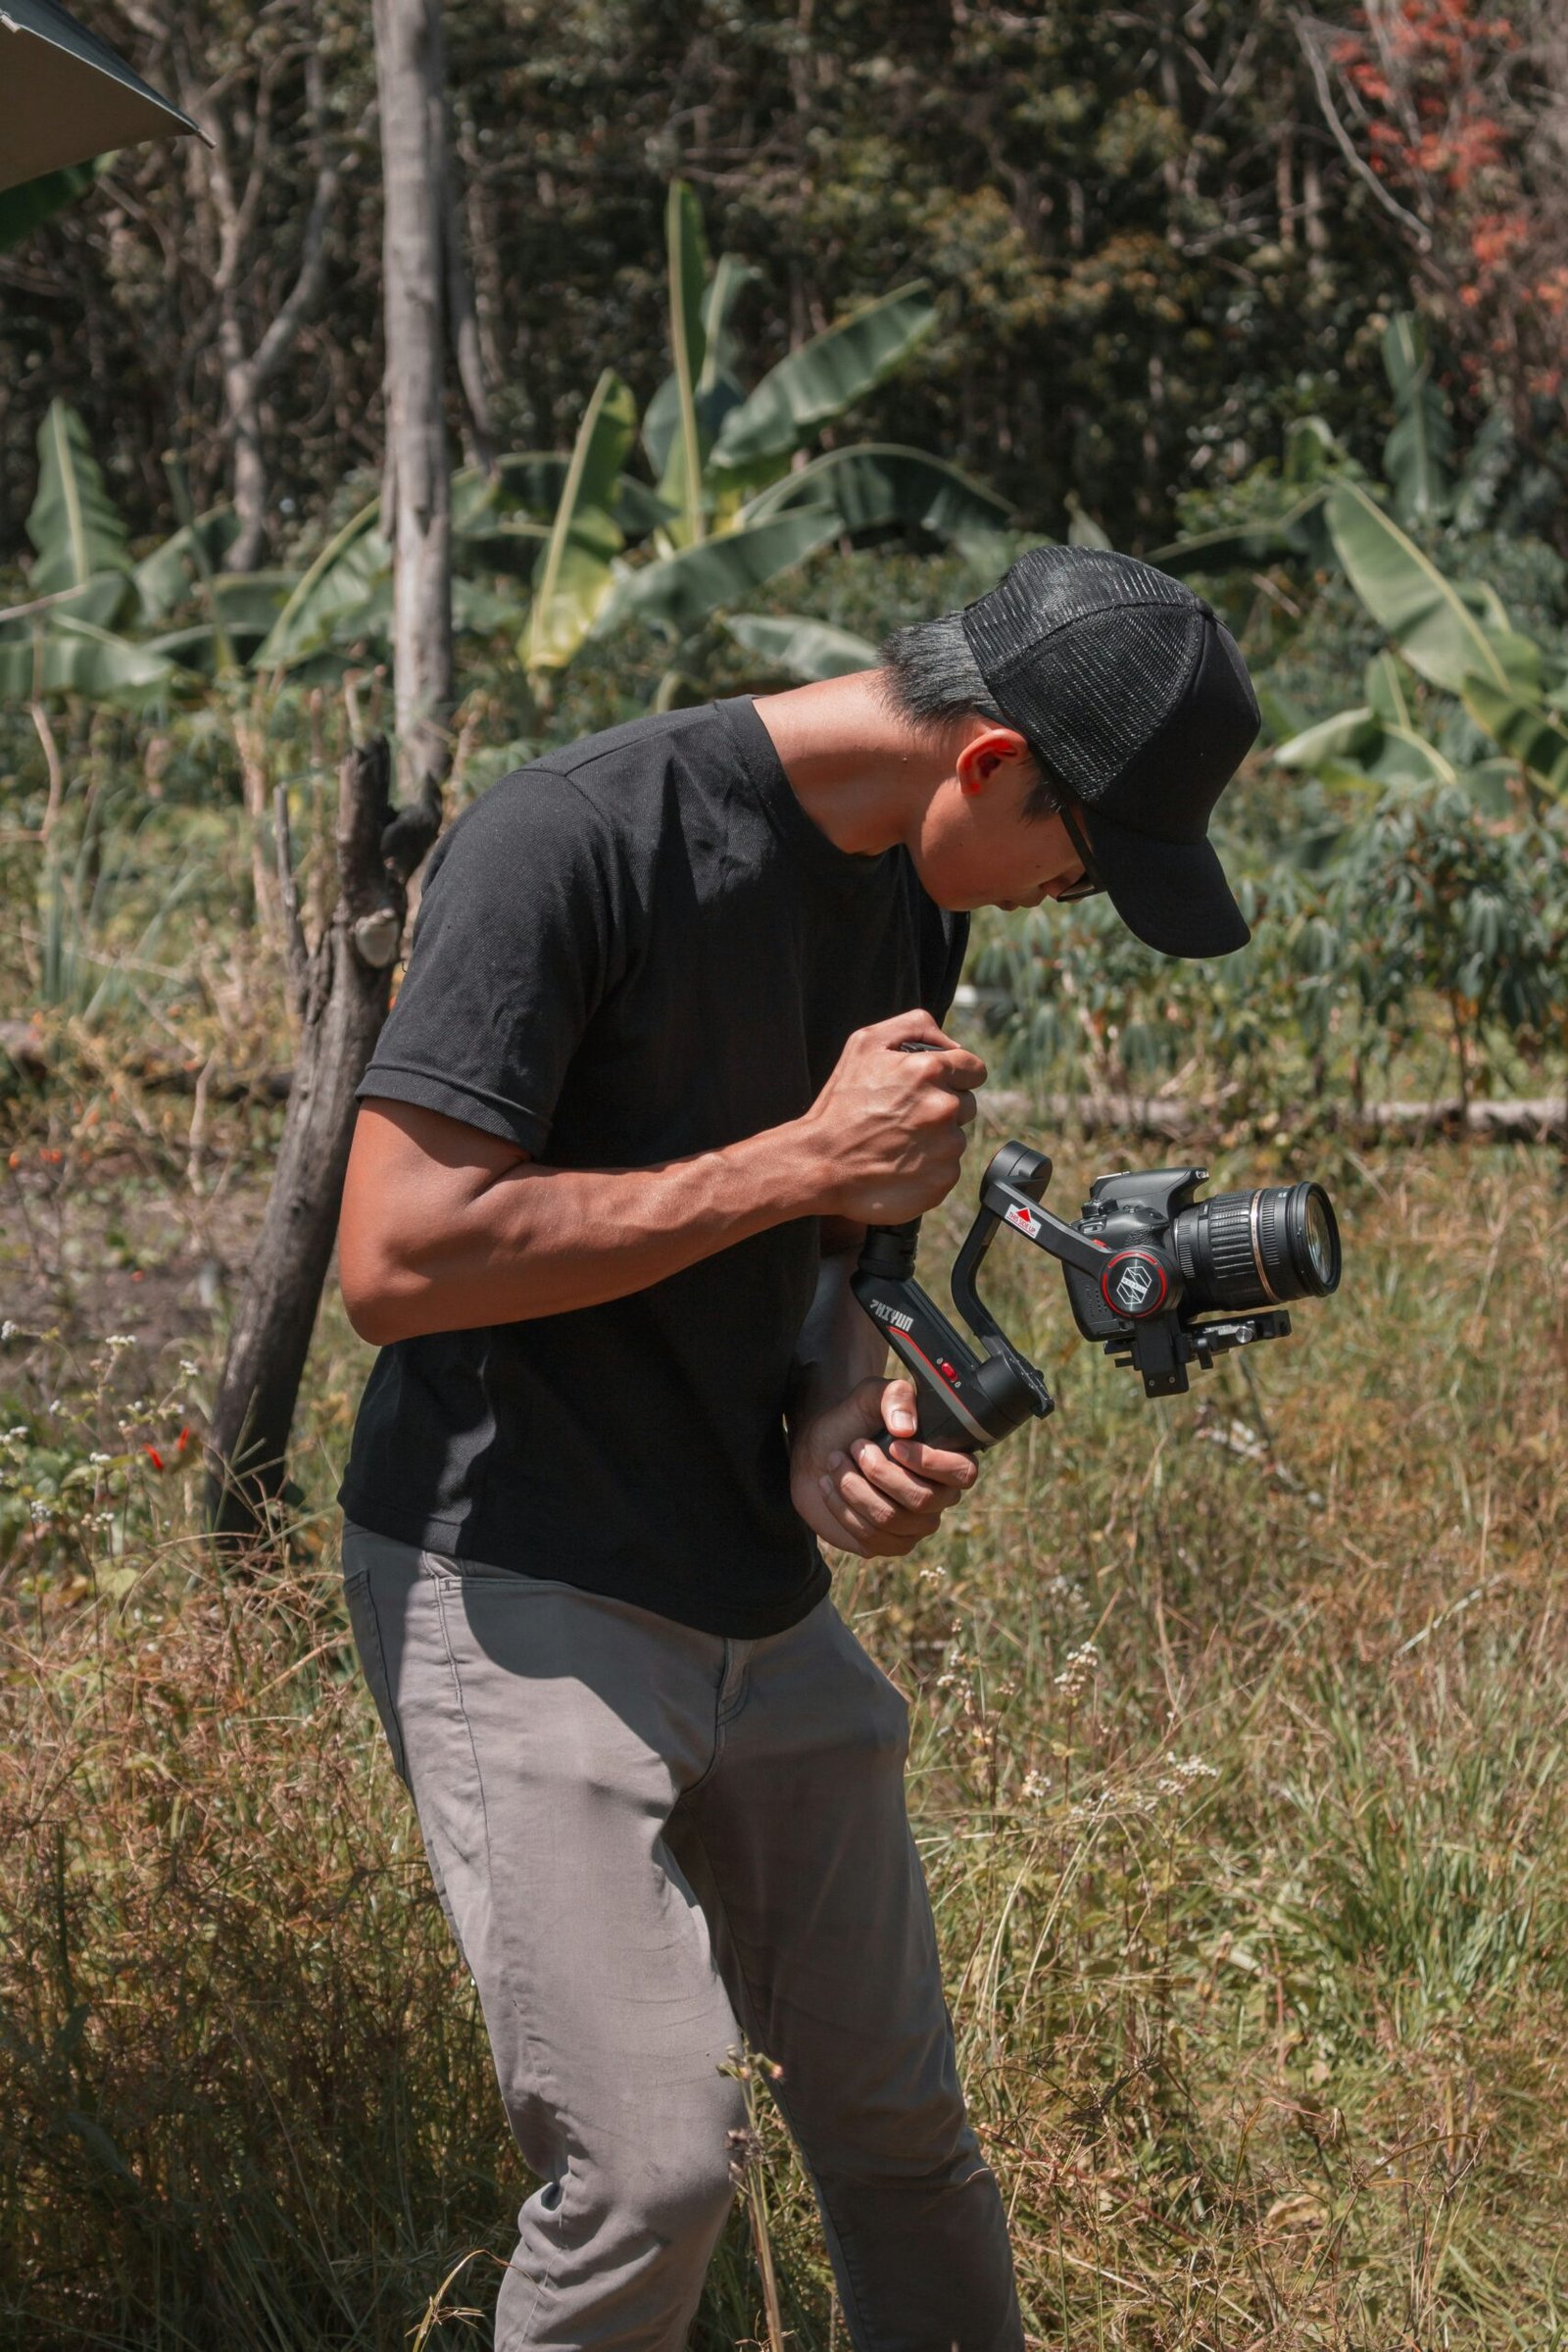
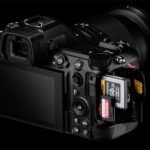
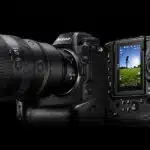
When it comes to zoo photography, choosing the right gear and settings can make all the difference. A zoom lens is essential for getting up close and personal with animals without disturbing them. Look for lenses that have a wide aperture so you can blur out distracting backgrounds while keeping your subject sharp.
Since zoos often have low light conditions, adjusting your camera settings is key to getting clear shots. Use a high ISO (at least 800) and a fast shutter speed (1/500 or faster) to compensate for any lack of light. When dealing with bright sunlight, use a polarizing filter on your lens to reduce glare.
It’s also important to take control of your camera’s focus when shooting in a zoo environment. Use autofocus mode if you’re just starting out, but switch to manual focus once you’ve got the hang of things. This will allow you to pinpoint exactly where you want the camera’s focus point to be – typically on an animal’s eye or face – ensuring that they’re always in crisp detail.
Remember: practice makes perfect! Take time experimenting with different gear setups and settings until you find what works best for each situation at hand.

Finding Your Focus: Techniques to Capture Sharp and Clear Animal Portraits
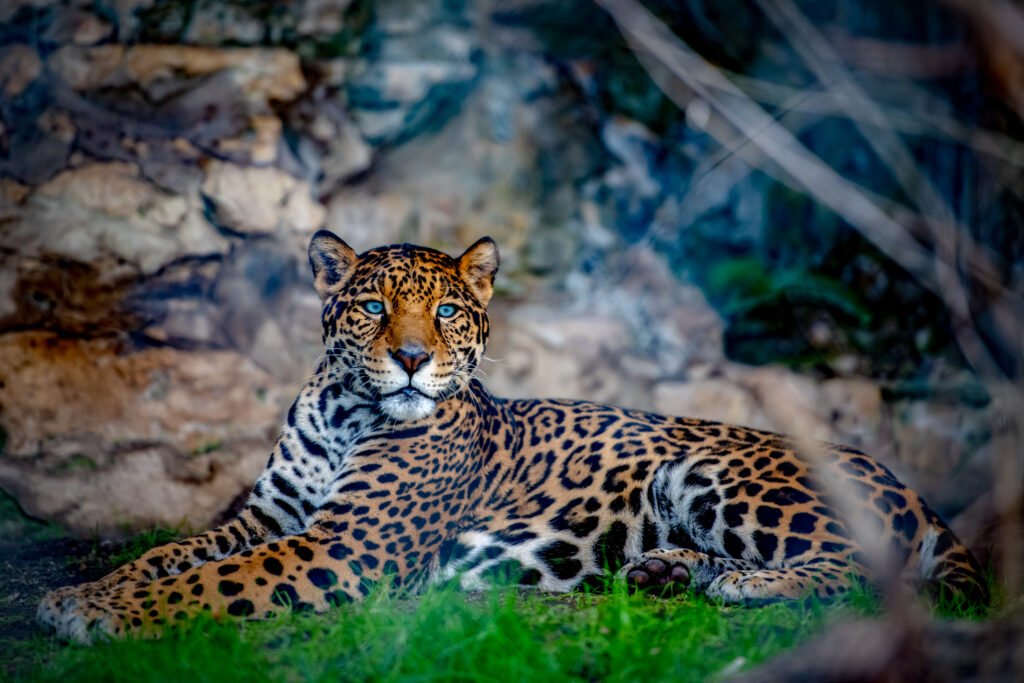
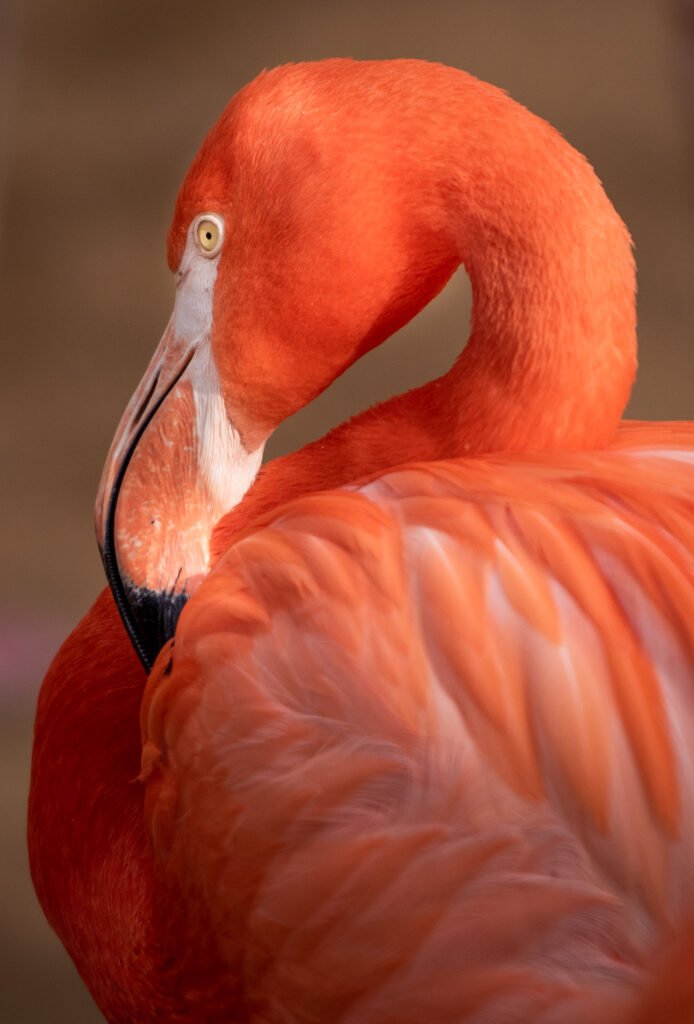
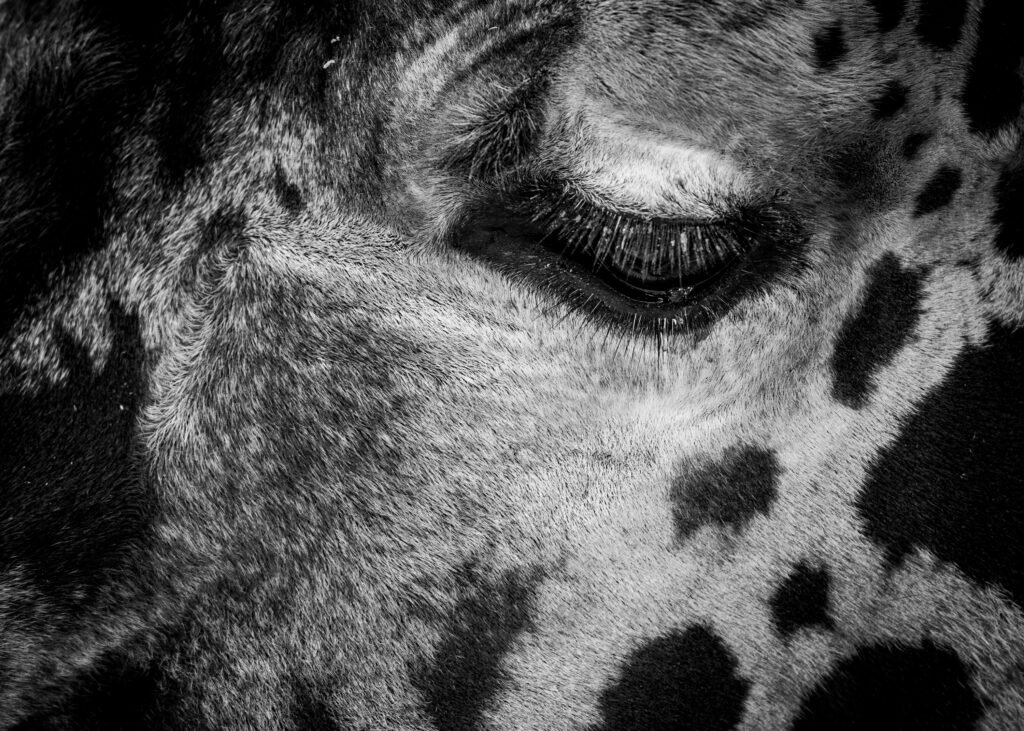
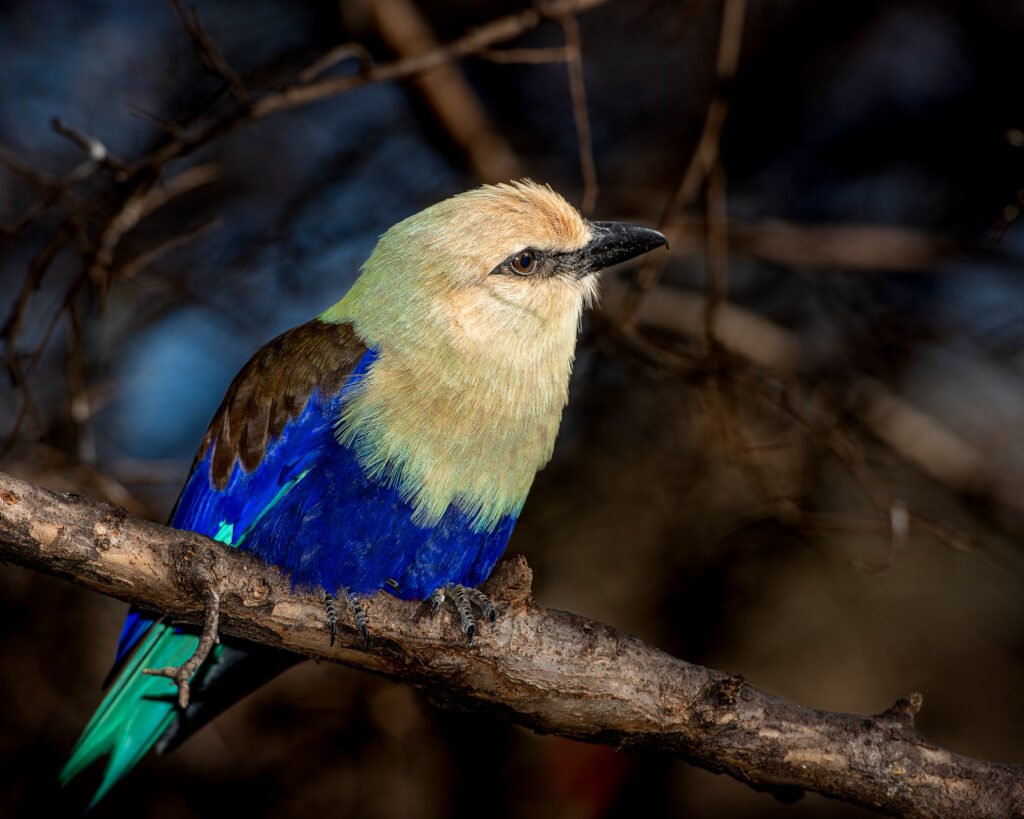
When photographing animals in a zoo, finding your focus is crucial if you want to capture sharp and clear portraits. One important key phrase to remember when focusing is “focus on the eyes.” This helps create a connection between the animal and the viewer, making for a more engaging photo.
Another technique that can help with focus is using back-button autofocus (BBF). This separates focusing from the shutter release, giving you more control over where to focus. Additionally, it’s important to be mindful of which AF mode you’re using – single point or zone AF may work best for capturing stationary animals while continuous AF may be better suited for those in motion.
Lastly, consider adjusting your aperture settings based on how much depth of field you want in your shots. A wider aperture (lower f-number) will give you a shallower depth of field with only part of the image in focus while a narrower one (higher f-number) will keep most or all parts of the image sharp. Just don’t forget that having too narrow an aperture can result in less light reaching your camera sensor!
Composition Matters: How to Frame Compelling Shots That Tell a Story
Understanding the Rule of Thirds: How to Create Balanced Compositions
Understanding the Rule of Thirds is crucial in creating balanced compositions for zoo photography. This technique involves dividing your frame into thirds both horizontally and vertically, resulting in nine equal parts. The points where the lines intersect are called “power points,” and placing your subject on these points can create a more visually appealing image. Additionally, placing your subject off-center can add depth and interest to your composition. Experiment with different placements and angles to find the most compelling shot. Remember, the composition of your photo can greatly enhance the story you want to tell through your zoo photography.
Using Leading Lines and Symmetry: Techniques for Drawing the Viewer’s Eye
Using leading lines and symmetry techniques can help you create visually compelling shots that not only grab the viewer’s attention but also tell a story. When framing your shot, look for natural lines such as roads or fences that lead toward the animal. You can also use man-made structures like bridges or gates to create leading lines in your composition. Additionally, using symmetry – where elements on both sides of your frame are mirrored – creates balance and harmony in an image. This technique works well when shooting animals from head-on or capturing their reflection in a body of water. Overall, understanding how to use these compositional techniques will elevate your zoo photography game and help you capture stunning images every time!
Capturing Action and Emotion: Tips for Creating Dynamic Wildlife Shots
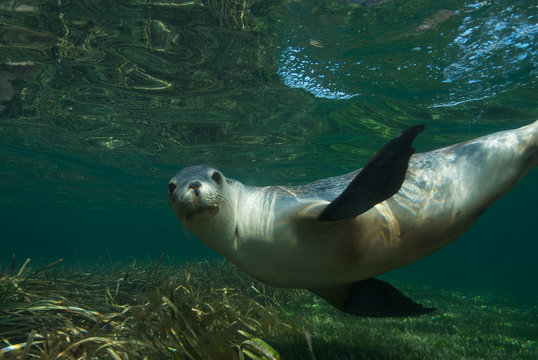
To create dynamic wildlife shots, it’s important to capture action and emotion in your photos. Look for animals that are engaged in interesting activities, such as playing, fighting, or eating. Use a fast shutter speed to freeze the action and create a sharp image. To add emotion to your photos, focus on the animal’s eyes and facial expressions. Try to capture a moment that tells a story or conveys a feeling. Remember to use the rule of thirds and other composition techniques to create visually interesting shots. With these tips, you can create compelling zoo photos that capture the essence of the animals you’re photographing.
Experimenting with Perspective: How to Add Depth and Interest to Your Photos
To make your zoo photography stand out, experiment with perspective. Instead of always shooting at eye level, try getting down low or shooting from above. This can add depth and interest to your photos, making them more engaging for viewers. Additionally, using leading lines can help guide the viewer’s eye through the image and create a sense of movement. Look for natural lines in the environment or use fences or other man-made structures to create leading lines in your photos. By playing with perspective and leading lines, you can create unique and compelling shots that tell a story about the animals and their environment.
Capturing Candid Moments: Tips for Photographing Animals in Their Natural Behaviors
One of the most exciting aspects of zoo photography is capturing animals in their natural behaviors. To achieve this, you need to be patient and observant. Spend some time watching the animals and try to anticipate their movements. Timing is crucial, so be ready to take the shot when the animal is doing something interesting.
Another important tip is to get down to their level. This will help you capture a more intimate and engaging shot. If you’re photographing a small animal, try getting as close as possible without disturbing it. If you’re photographing a larger animal, use a telephoto lens to get a close-up shot from a safe distance.
Don’t be afraid to experiment with different angles and perspectives. Shoot from different angles and try different compositions to create unique and interesting shots. And remember, sometimes the best shots are the ones that happen unexpectedly, so always keep your camera ready!
In conclusion, capturing great photographs at the zoo requires a combination of technical skills and artistic vision. By following these 8 simple tips on understanding lighting conditions, choosing the right gear, focusing techniques, composition, and candid moments, you’ll be able to capture stunning animal portraits that tell unique stories. Whether for fun or as a professional photographer, with practice and persistence in applying these tips, you can take your zoo photography to the next level!
Answers
Q. Who can benefit from these 8 zoo photography tips?
A. Anyone who wants to improve their zoo photography skills.
Q. What are some tips for taking better photos at the zoo?
A. Use a fast shutter speed, focus on the animal’s eyes, and avoid using flash.
Q. How can I capture the animals in their natural habitat?
A. Use a telephoto lens to zoom in and get close to the animals without disturbing them.
Q. What is the best time of day to take photos at the zoo?
A. Early morning or late afternoon when the light is softer and the animals are more active.
Q. How can I avoid getting reflections in my photos?
A. Use a polarizing filter to reduce glare and reflections on glass enclosures.
Q. But I’m not a professional photographer, can I still use these tips?
A. Absolutely! These tips are easy to follow and can help anyone take better zoo photos.