Unlocking The Ultimate Blue Hour Photography Guide: Tips And Techniques
As photographers, we are always in search of that perfect shot. And what better time to capture the stunning beauty of the world than during the blue hour? This magical time between day and night offers a unique opportunity to create breathtaking images. But mastering blue hour photography can be a challenge. From understanding the right settings to finding the ideal location, there are many factors involved in creating stunning blue-hour photos. In this ultimate guide, we will explore tips and techniques for unlocking the full potential of your blue-hour photography skills. So grab your camera and join us on this journey to capture the beauty of the blue hour like never before!

Understanding the Blue Hour: A Beginner’s Guide to Blue Hour Photography
Blue Hour photography is a magical time for photographers when the sky transitions from deep blue to warm orange, pink and yellow hues. It usually occurs twice in a day – during dusk and dawn- lasting only for around twenty minutes. This window of opportunity may seem small but captures breathtaking photographs that often make it worth the effort.
To capture stunning blue hour photos, understanding what makes this period special is essential. The Blue Hour happens due to the scattering of light by Earth’s atmosphere just before sunrise or after sunset. During this time, indirect light creates brilliant colors with soft shadows that can quickly disappear as night falls.
To get started, locate your desired shooting location well ahead of time as you will have limited shooting opportunities each day. Once there, pay attention to both light intensity and composition– two critical factors in creating impactful images during the Blue Hour.
By grasping these fundamental concepts, beginners are on their way to capturing spectacular photographs during one of nature’s most beautiful times.
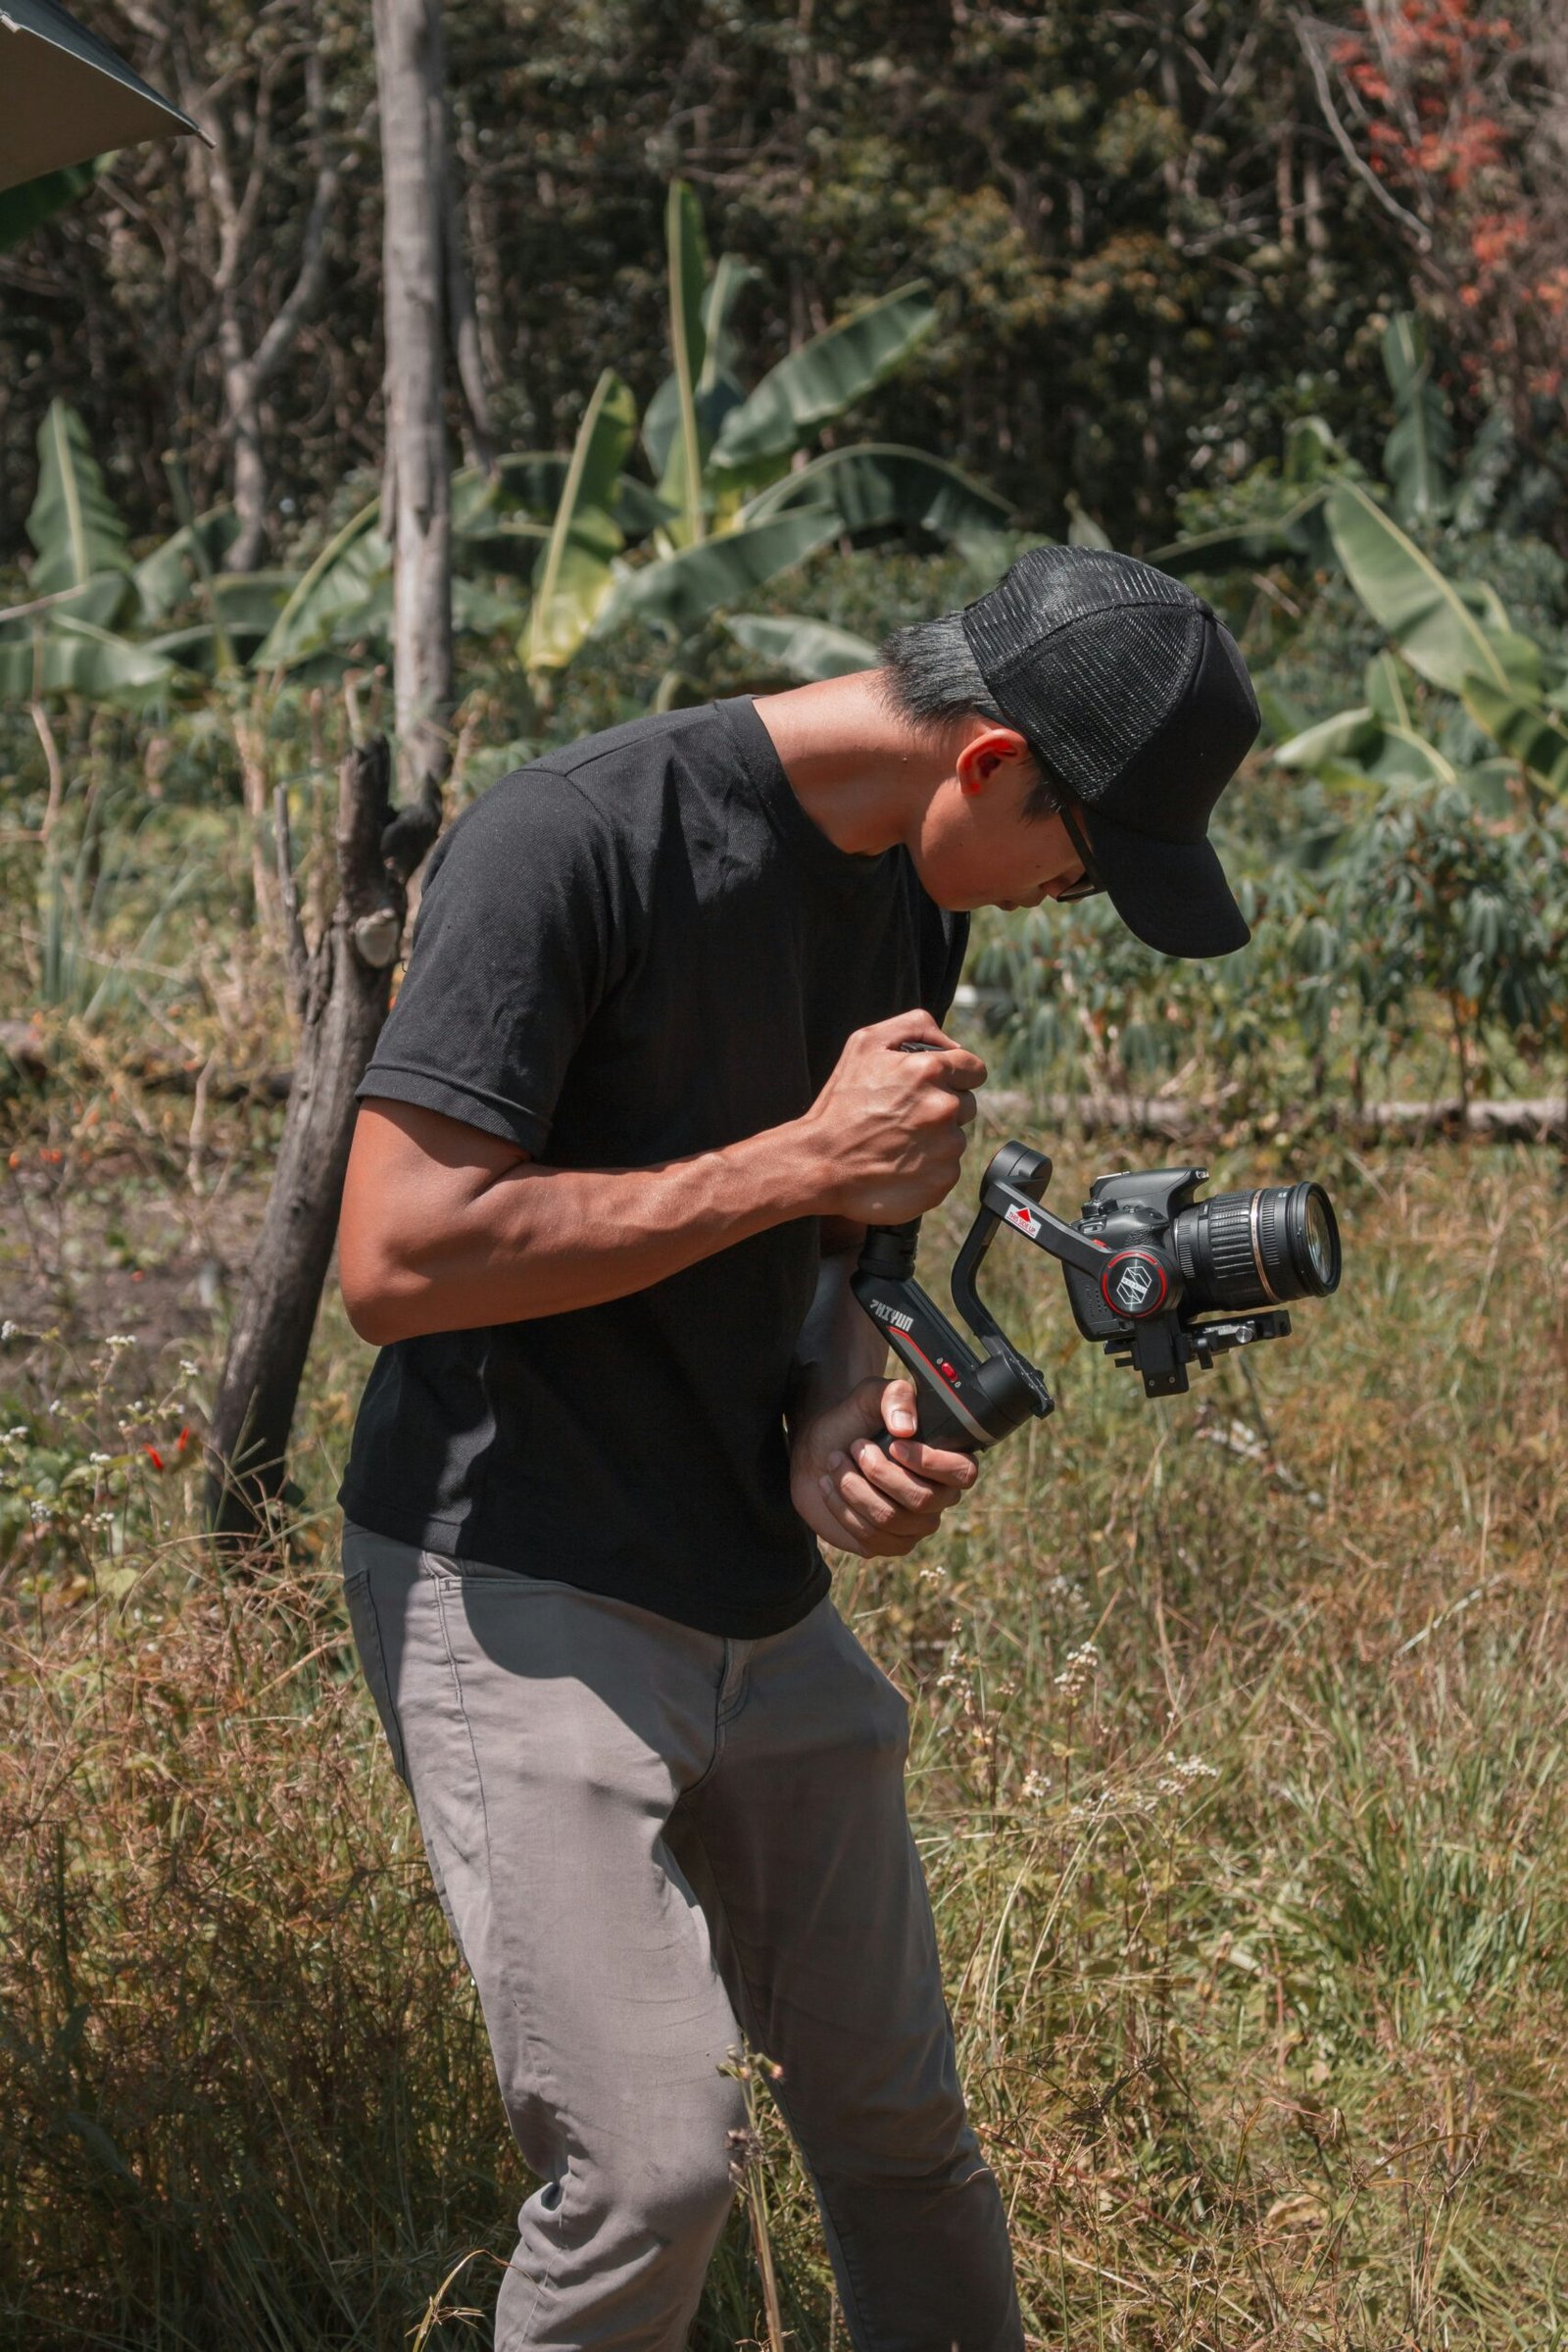
Essential Gear for Capturing Stunning Blue Hour Photos
To capture stunning blue-hour photos, it’s important to have the right gear. A sturdy tripod is essential to keep your camera steady during long exposures. This will prevent any camera shake and ensure your images are sharp. A remote shutter release is also helpful to avoid touching the camera and causing any movement.
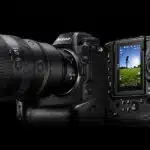
In terms of lenses, a wide-angle lens is ideal for capturing the expansive sky and cityscape during the blue hour. A lens with a wide aperture, such as f/2.8 or wider, will allow you to capture more light and create a shallow depth of field.
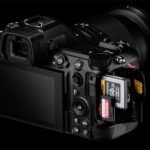
It’s also important to bring extra batteries and memory cards, as shooting during the blue hour can quickly drain your battery and fill up your memory card. Finally, dress warmly and bring gloves as temperatures can drop quickly during this time of day. With the right gear, you’ll be able to capture stunning blue-hour photos that will leave a lasting impression.
Tips to Master Exposure and Shooting Modes During the Blue Hour
During the blue hour, proper exposure is crucial to capture stunning photos. It’s essential to shoot in manual mode to have full control over the camera settings. Start by setting the ISO to its lowest value, typically 100 or 200, to reduce noise in the image. Next, adjust the aperture according to your desired depth of field. A smaller aperture like f/8 or f/11 is ideal for landscape photography, while a larger aperture like f/2.8 or f/4 is better for portraits.
When it comes to shutter speed, there’s no one-size-fits-all solution as it depends on the lighting conditions and your creative vision. A general rule of thumb is to set the shutter speed to twice the focal length of your lens. For example, if you’re using a 50mm lens, set the shutter speed to at least 1/100th of a second.
Experiment with different shooting modes like aperture priority or shutter priority and see which one works best for you. Don’t be afraid to play around with exposure compensation and bracketing to get the perfect shot.
Remember that blue hour photography is all about capturing beautiful colors and light during this magical time of day. With practice and patience, you’ll be able to master exposure and shooting modes during the blue hour and create stunning images that will leave viewers in awe.
Creative Composition Techniques for Blue Hour Photography
Breaking the Rule of Thirds
One of the most basic composition rules is the rule of thirds, where you divide your frame into nine equal parts and place your subject on any intersection point. However, during blue hour photography, breaking this rule can create more interest in your images. Try putting your subject right in the center or placing it at the edge of one side to create a sense of depth.
Using Leading Lines
Leading lines are an effective way to draw attention to your subject and add depth to your image. During blue hour photography, look for leading lines such as roads, bridges, or railings that can emphasize your foreground while adding a dynamic effect to your image.
Symmetry
During blue-hour photography shooting symmetrically composed subjects is always pleasing to viewers’ eyes. Symmetrical compositions tend to appear static so think about moving things around within that symmetry like changing up lighting or colors that could be slightly different between either side.
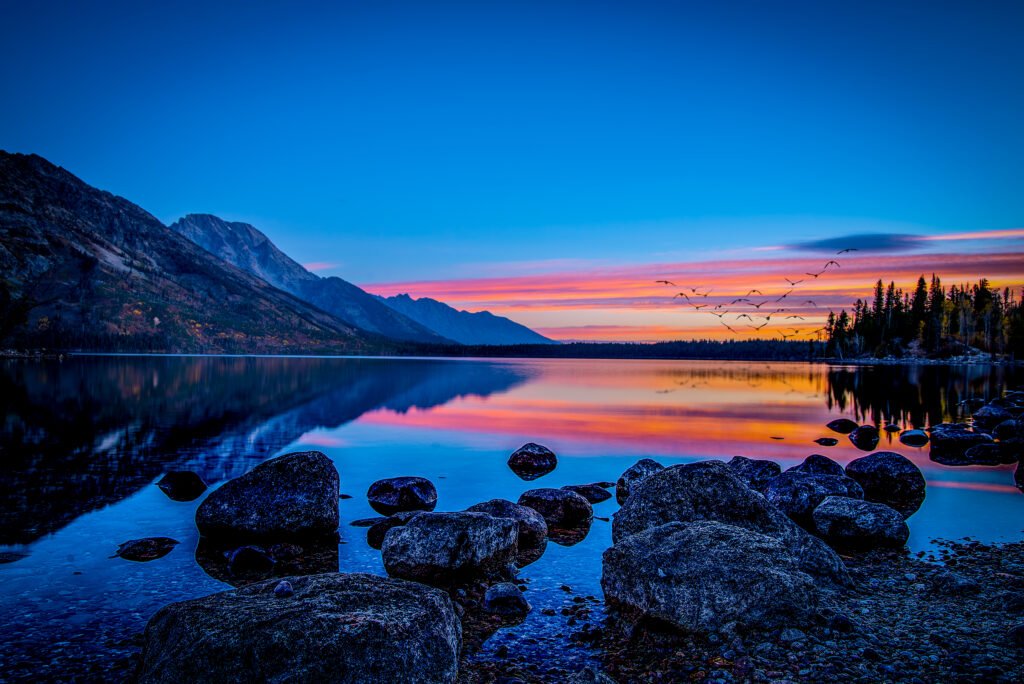
Incorporating Reflections
Water reflects light beautifully and creates stunning reflections during the blue hour which add another layer of drama and mood over an entire scene. Seek out bodies of water when doing Blue Hour landscape Photography because not only you will get some great reflections but also wafts allowing you perfect starbursts with longer exposures
Post Processing Tricks and Techniques to Enhance Your Blue Hour Images
Post processing is an essential step in enhancing your blue hour images. While some photographers prefer to keep their photos natural, others like to add creative filters and effects to give them a unique look. One of the most common post processing techniques for blue hour photography is adjusting the white balance. This can bring out the distinctive blues and purples in the sky or make it appear warmer with golden tones. Another technique is using graduated neutral density filters while taking the photo or applying digital ones during editing to balance bright skies and dark foregrounds.
To further enhance your photos, you can experiment with cropping, straightening horizons, removing distractions or adding contrast and saturation selectively in specific areas of your image. Basic adjustments such as brightness, exposure, highlights and shadows can also be made until you find a perfect balance that suits your artistic vision.
Lastly, do not forget that less is sometimes more when it comes to post-processing. Learn how to edit without overdoing it by making subtle tweaks instead of drastic changes that may ruin an otherwise great photo!
In conclusion, blue hour photography is a captivating and rewarding genre that requires some technical know-how, patience and creativity. It’s all about finding the right lighting conditions, choosing the perfect gear and settings for your camera, composing striking scenes, and processing your images effectively to bring out their full potential. With these tips and techniques in mind, you’re now equipped to unlock the ultimate blue hour guide as you explore this enchanting time of day with your camera. Don’t hesitate to experiment with new ideas or locations during different times of year or weather patterns – there’s always something new to discover in this magical window between nightfall and dawn!
FAQ
Who can benefit from a blue hour photography guide?
Anyone who wants to capture stunning photos during the magical blue hour.
What is blue hour photography?
Blue hour photography is the period of time after sunset or before sunrise when the sky is blue and the light is soft.
How can a blue hour photography guide help me?
A guide can provide tips on camera settings, composition, and location scouting for the best blue hour shots.
What if I don’t have a professional camera?
You can still take great blue hour photos with a smartphone camera by using manual controls or third-party apps.
How do I find the best location for blue hour photography?
Look for places with interesting architecture, cityscapes, or landscapes that will be illuminated by the soft blue light.
But isn’t it too dark to take photos during the blue hour?
With the right camera settings and a tripod, you can capture stunning photos even in low-light conditions.
Landscape and Blue Hour Lenses: